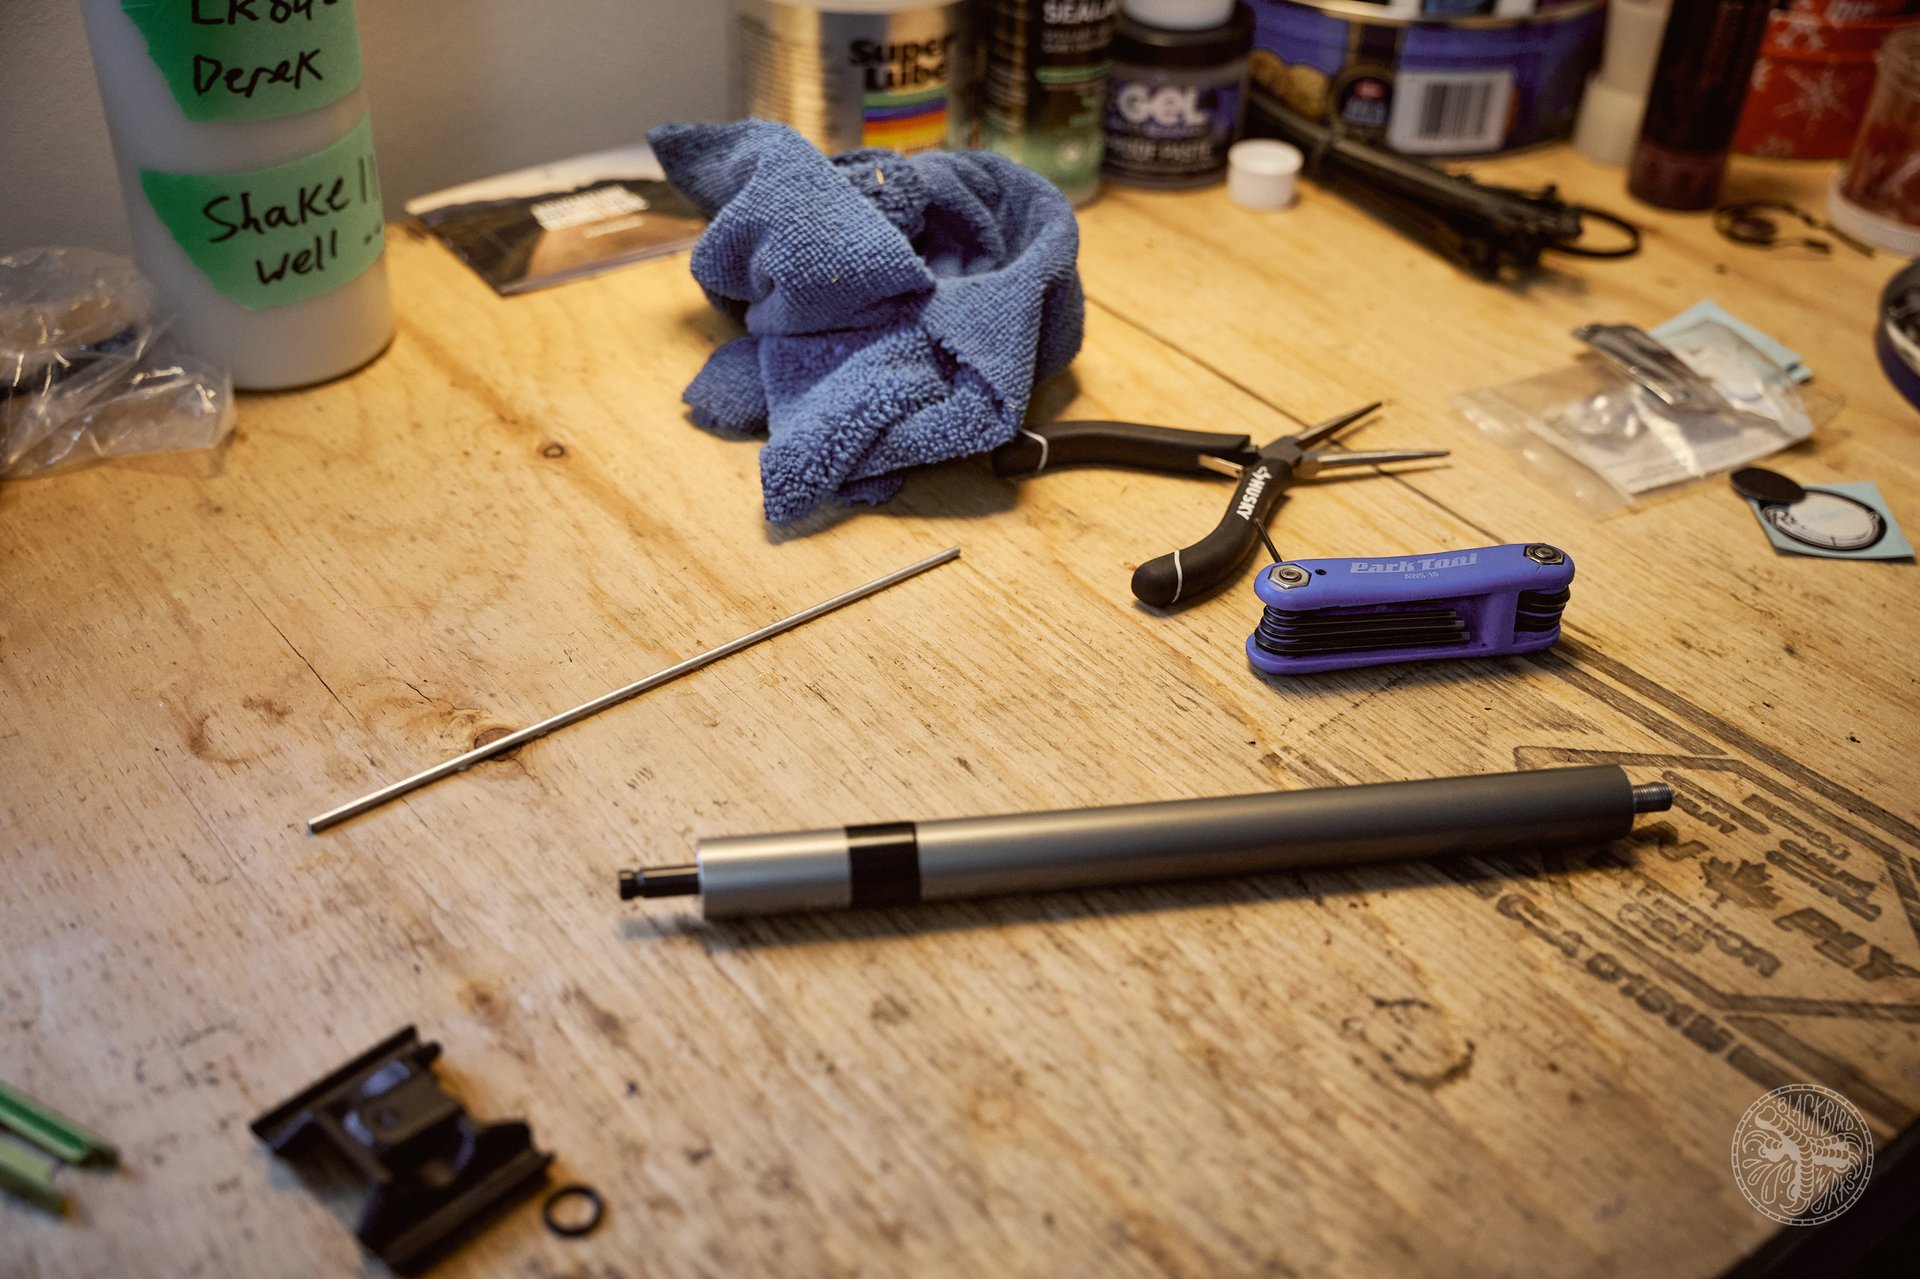
Tear Down
A Look Inside the OneUp Dropper Post V2
The Inspiration
I'm watching Sasha the dog push and roll her Death Star-shaped treat dispenser around the house. She knows the rules, the more she rolls the treat dice, the more likely she will get to taste the low value treat that also happens to be her kibble. She is a cheap date but she knows how to work the machine. The ball that dispenses M&M-sized treats one or two at a time also has golf-ball like dimples that slow the roll down or perhaps they provide a visual distraction like a warship dazzle. The simplest of tools increases Sasha's daily living standards.
A couple of important toys that came into her life in the past 2 years. They have been food-focused, reliable, and simple in design. I treasure that reliability because it helps me believe there are companies out there making products that are simple, reliable and good value.
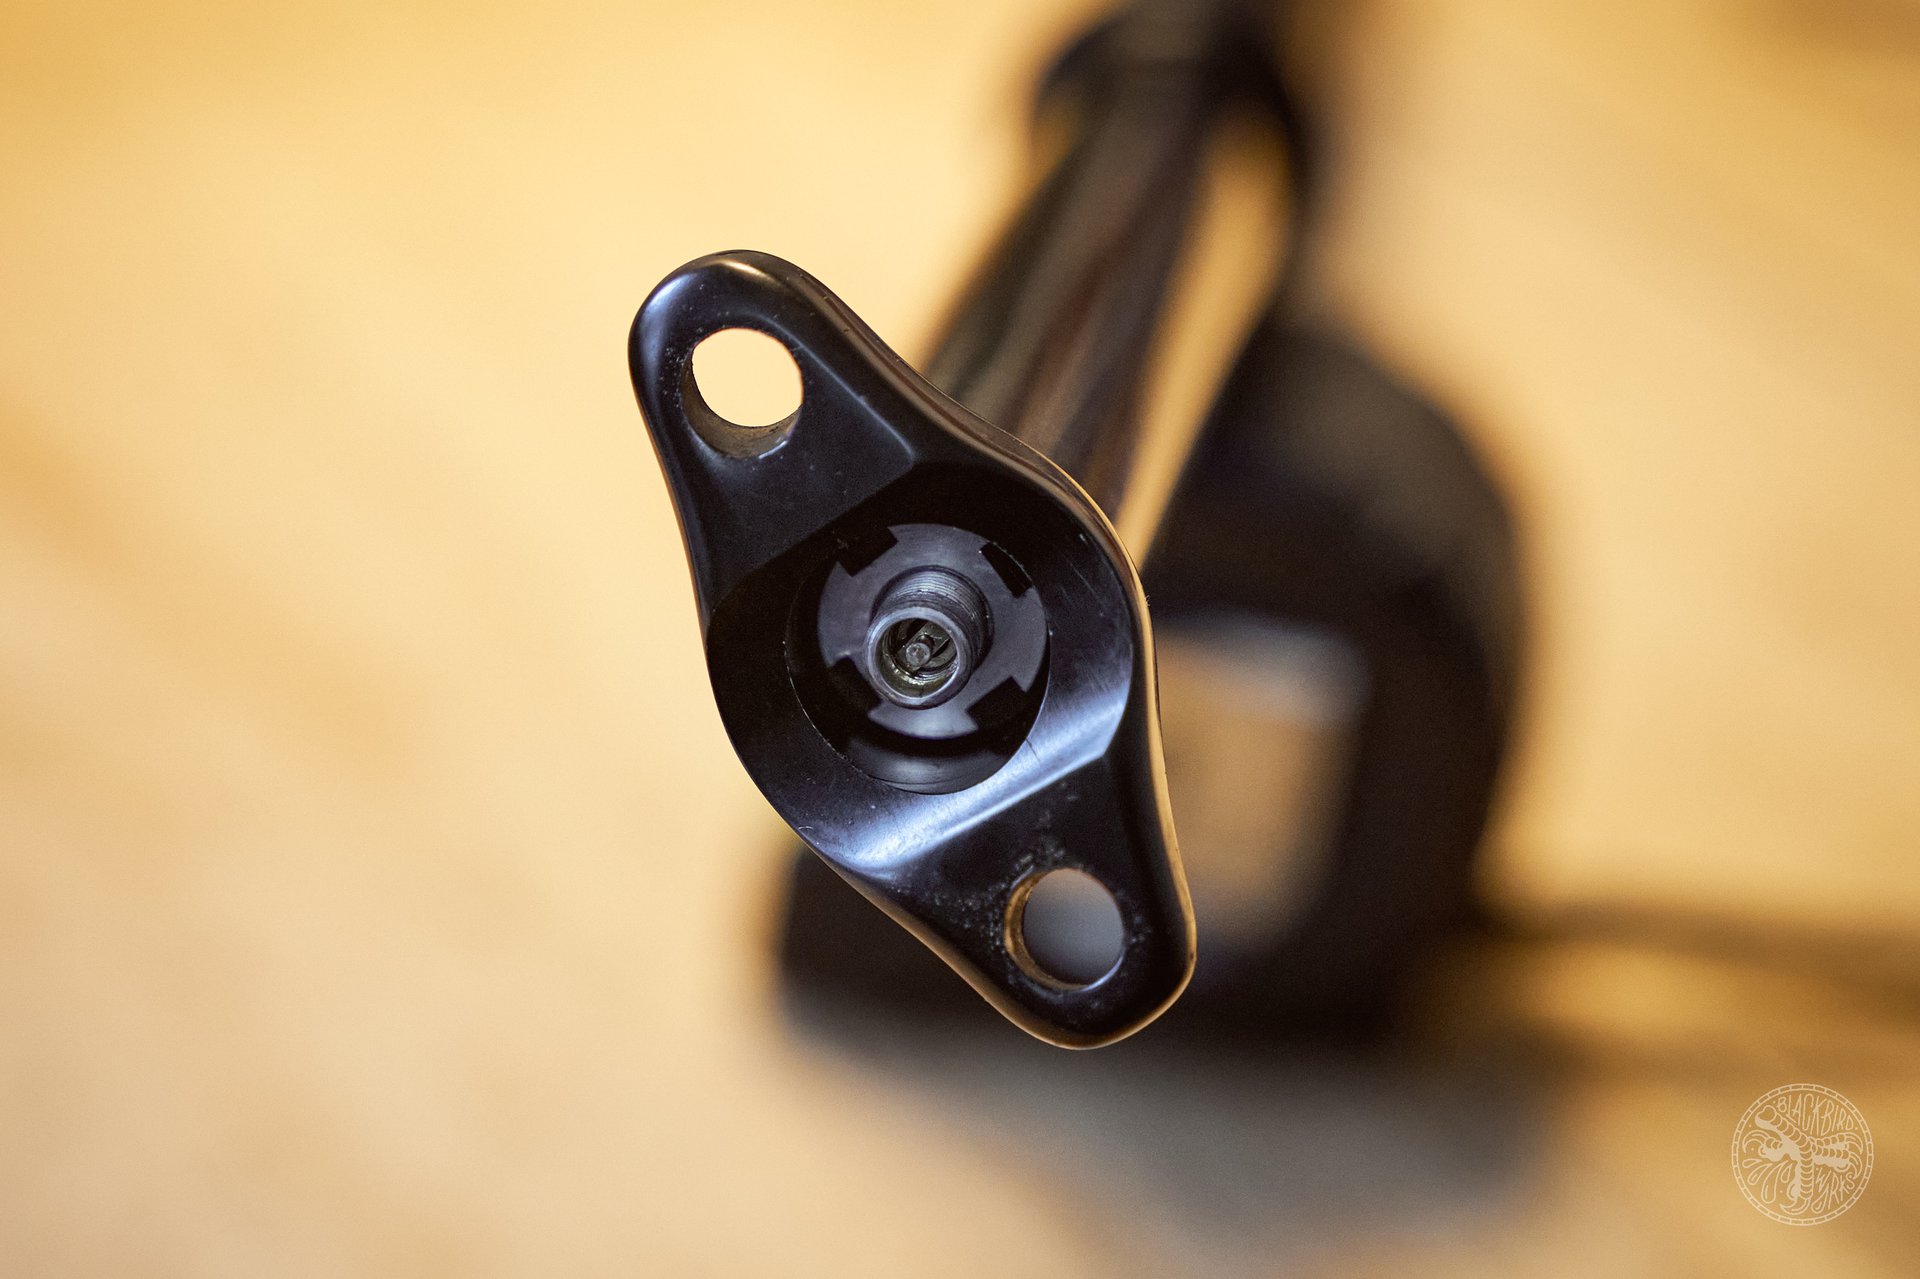
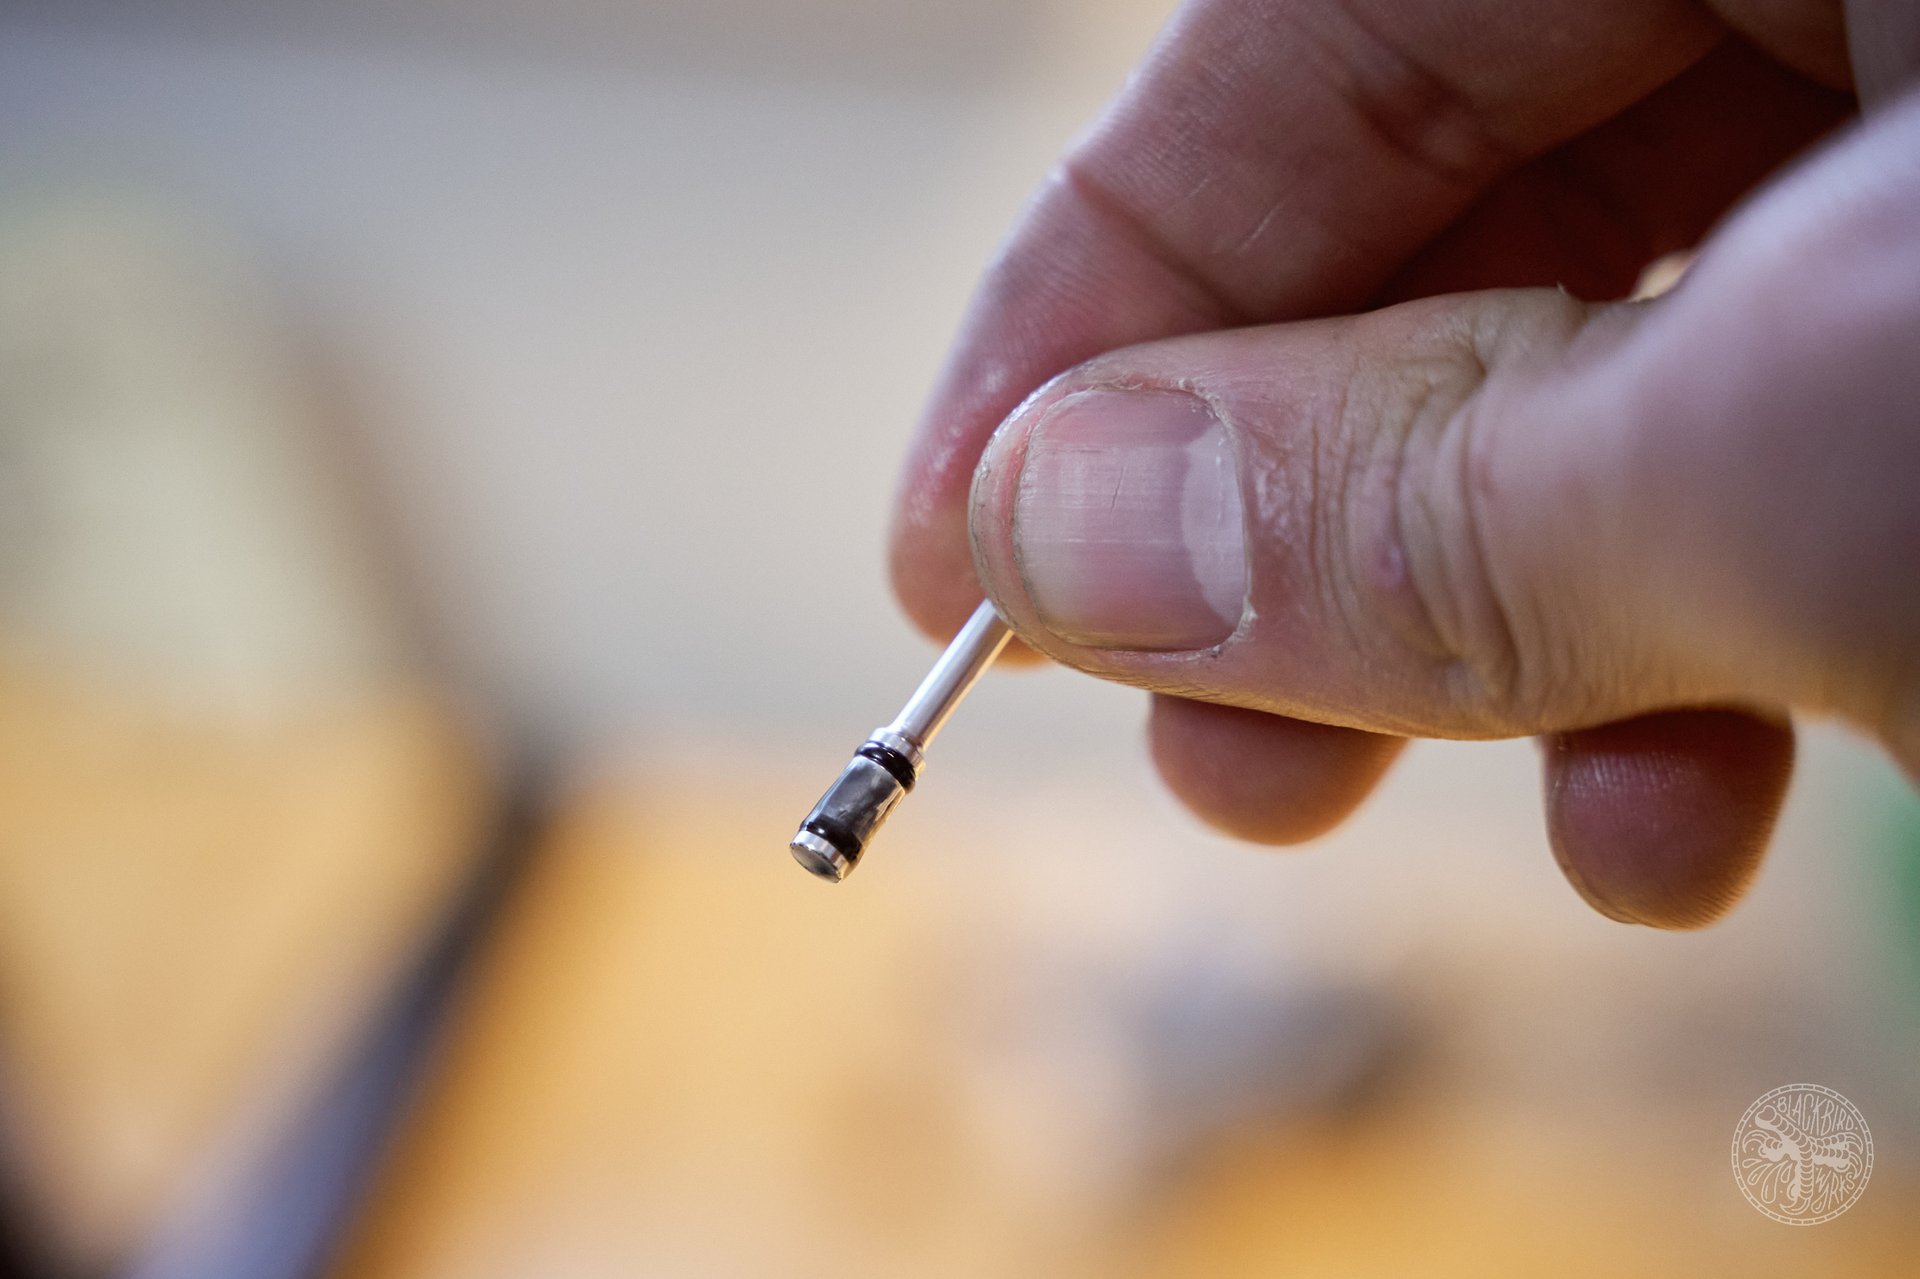
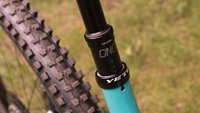
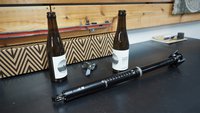
The air valve is hiding under the saddle clamp. Yours may have a rubber cap on it, mine didn't, or maybe I lost it
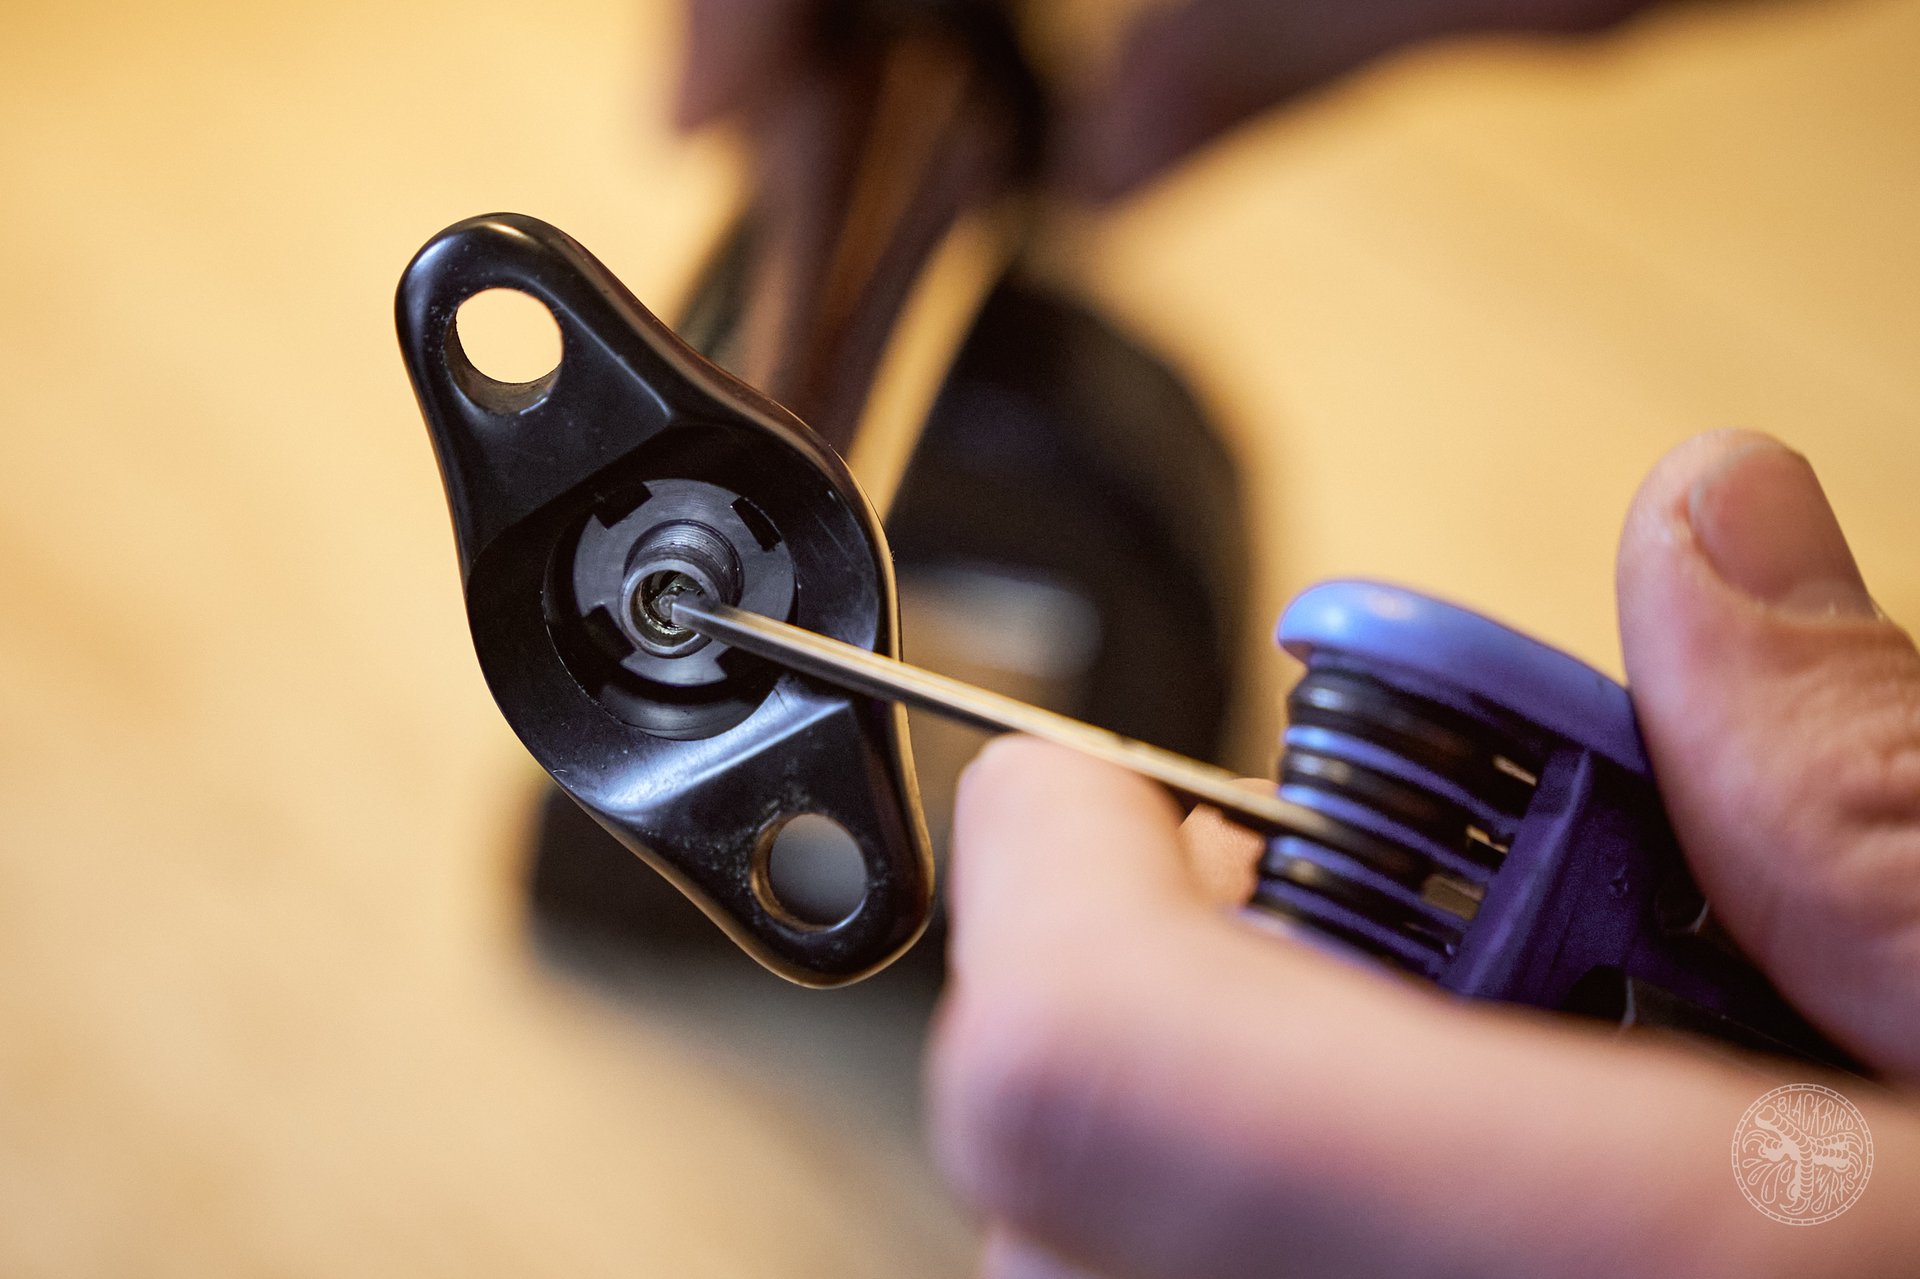
While holding the post upright to drain the oil away from the valve, do your safety squint and release all the air out.
OneUp Components' dropper post is also one of those products. It isn’t the only dropper that offers wicked value but it's one that does it simply and effectively.
There should be no denying the influence of uppy downy seat posts in mountain biking's popularity. There would be a fraction of the riders on the trails today using these high-end bikes if it wasn’t for droppers. What good is a suspension if you can’t immediately make the saddle disappear? Being able to position yourself in the middle of the bike without the influence of a saddle is a wonderful feeling. Even a purist old timer will agree on the convenience these tools.
Originally part of the build on my Forbidden Druid, I have been using the 180mm OneUp V2 dropper since February of 2019. It was the first bike I could fit a 180mm dropper post on. The fruits of this telescopic convenience improved my relationship with the Druid. With the saddle out of my way, I could really manipulate the bike underneath me without any space constraints. This extra articulation was most evident on steeper sections of the trail where I wanted to be centered on the bike. This was an issue on previous frames where a 125mm dropper was the max I could fit. It was easy to make friends with the OneUp Dropper and apart from unthreading the collar and squeezing in some Slickoleum now and then, I did very little to maintain the post. I took the stanchion out once and cleaned the grime out to get rid of some crunch.
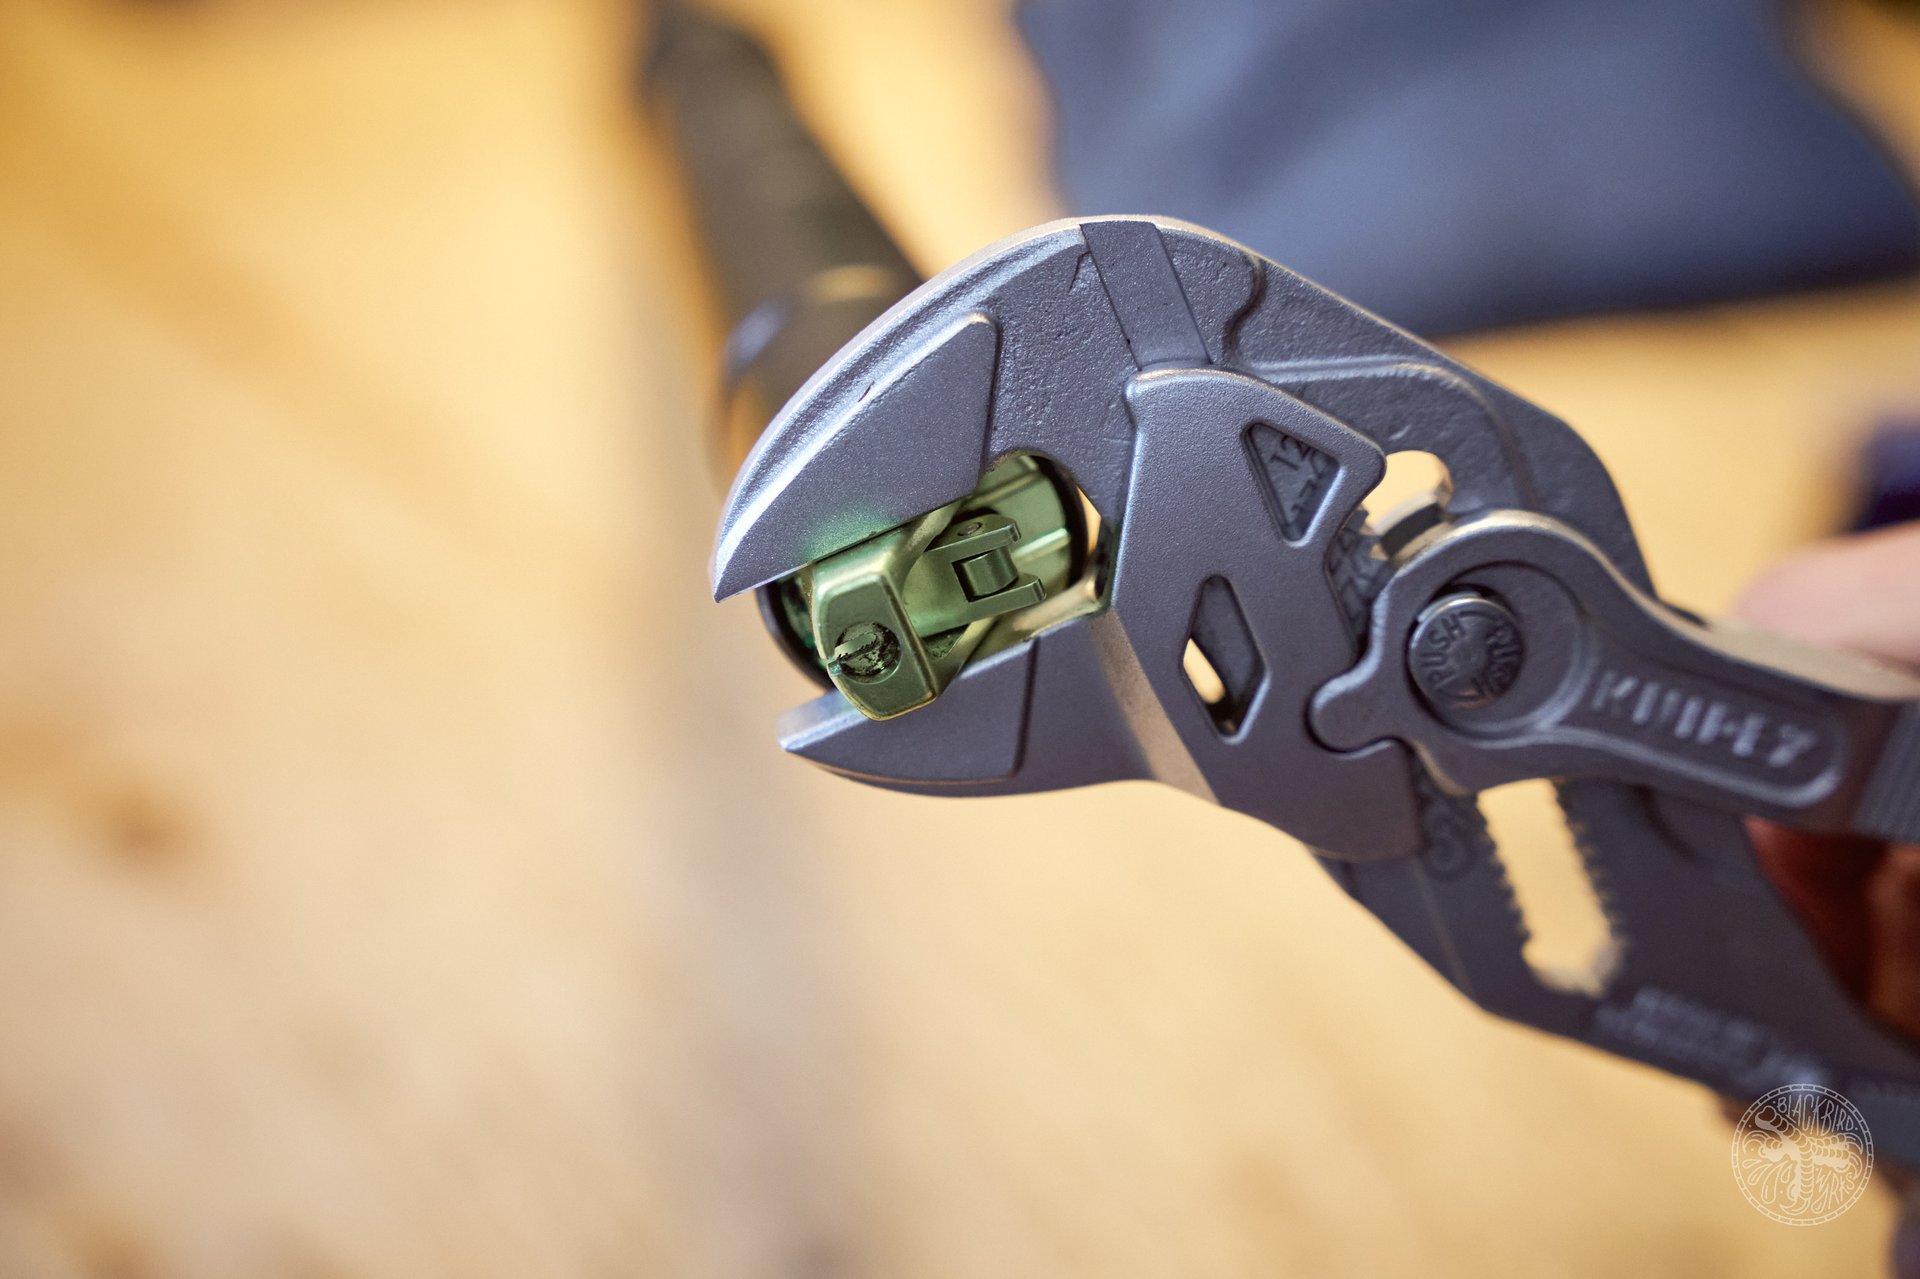
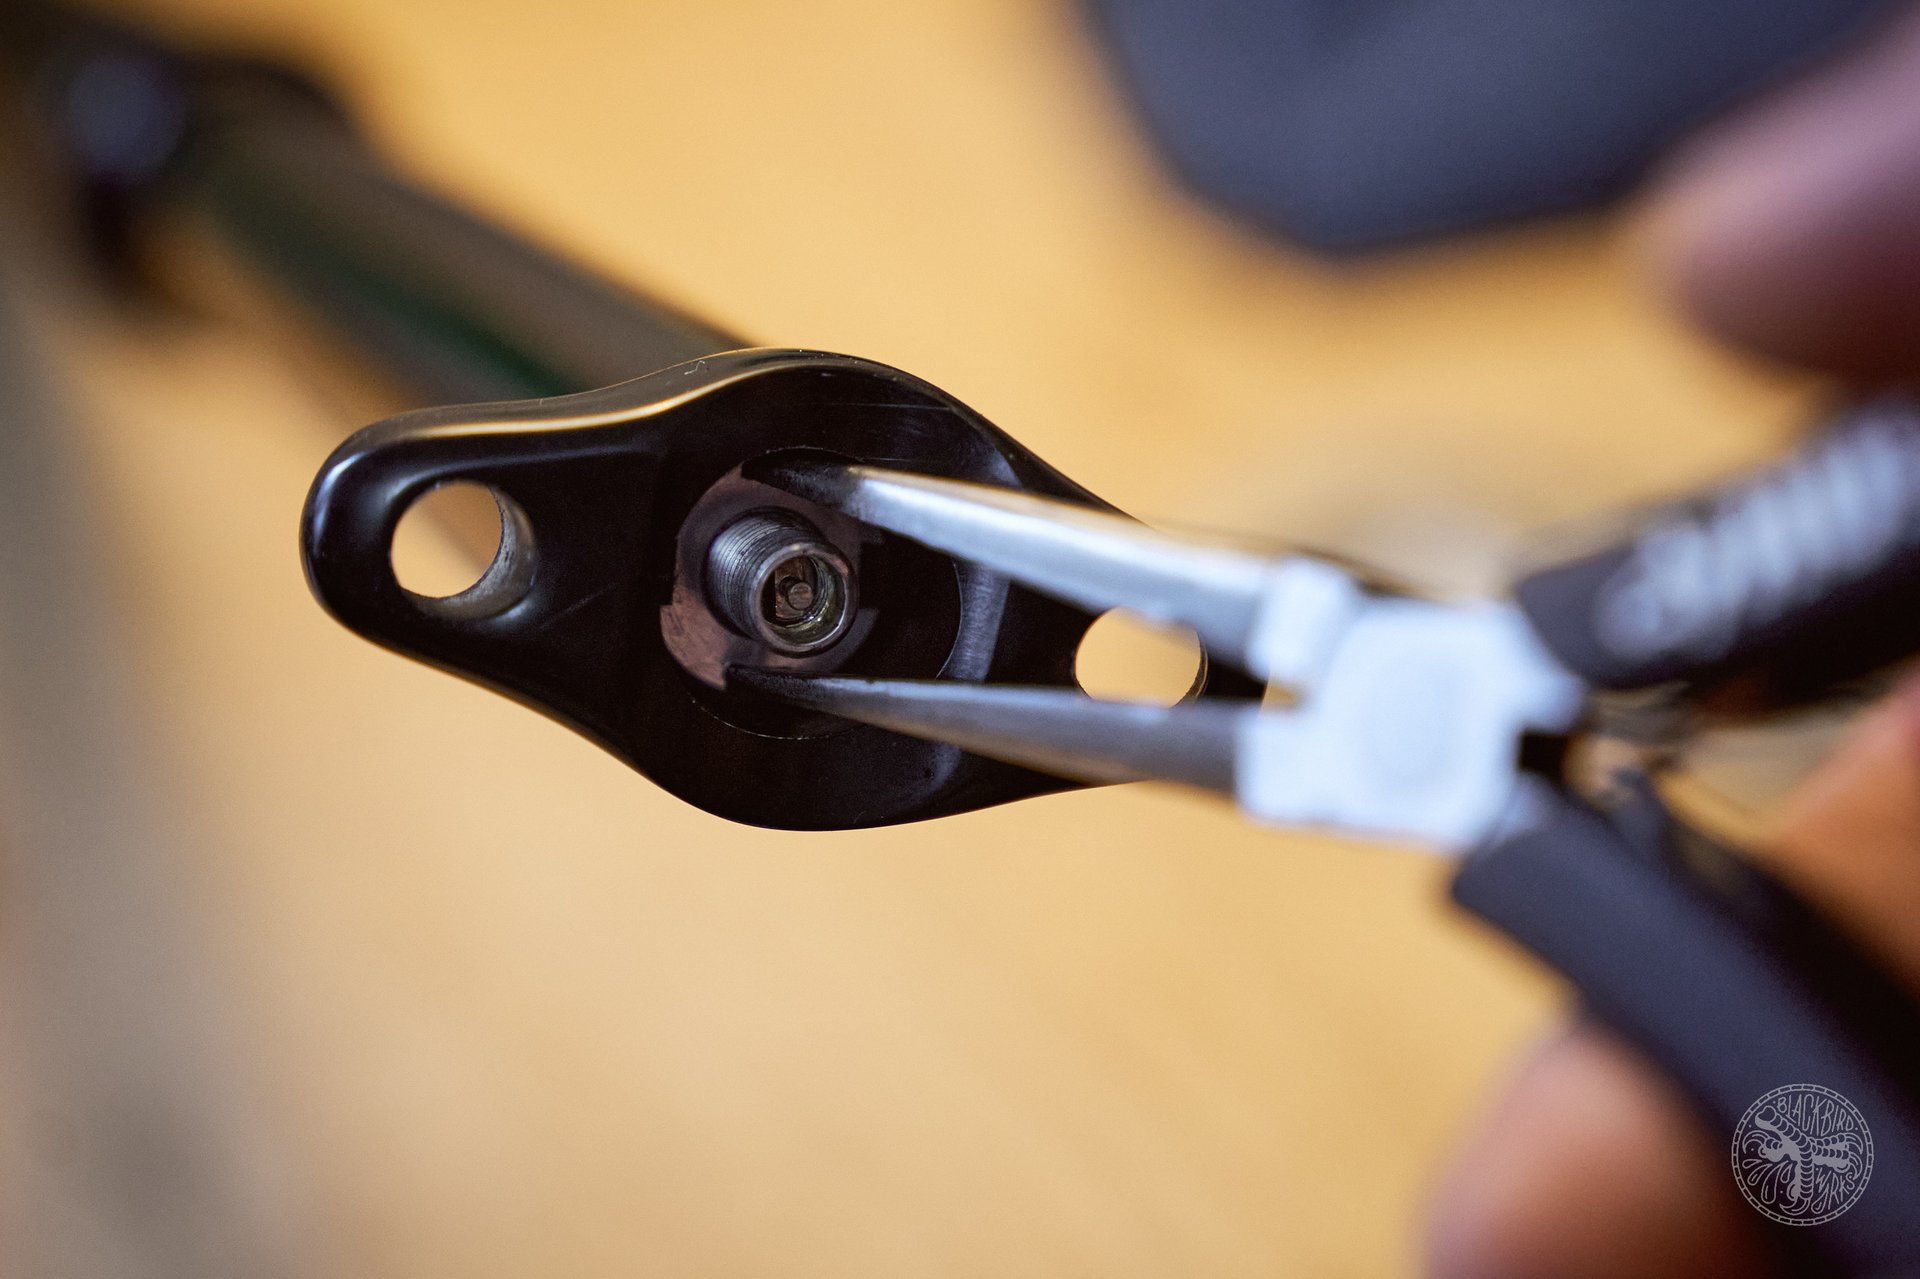
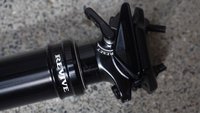
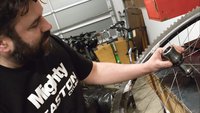
Knipex pliers that I lovingly call the "duct-tape tool" unthread the actuator with ease.

Once the Knipex loosened off the actuator, I spin it off to expose a few threads but not fully remove it.
This was a good relationship in my books. Kind of like how Sasha could rely on the treat ball to deliver when needed, the OneUp had my back. I may have changed the actuator cable from the lever once in this relationship but I think it was due to a silly crash damaging the cable. About a month ago I swapped some parts between frames and the OneUp dropper found its way onto a new frame I am riding. Happy to not to compromise on my dropper length, I ran the old reliable for a few weeks. On a particularly steep ride, I noticed I was being nudged forward by my seat after riding fast, rough sections of trail. First I thought I was being taken by this new frame and geometry but quickly realized that my seat was creeping up to my derriere. I would sit and slam it down and continue the plunge. The sneaky saddle that was trying to unseat me would slowly creep back up again.
It was unfortunately not just a crusty binding cable causing the issue. Well, that sucks. Do I need a new dropper? Is this something I can repair? I knew I could put a new cartridge in the dropper and oversized guide pins to take out some of the side to side play but the creepy post syndrome seemed like a serious issue that might write off the post, and I didn’t want to do that. I put a call out to the group chat where Mike (Ferrentino) gets his usual North Shore gossip and inspiration from. Cooper, who is all things AXS, had a 180mm OneUp from a previous build that was hanging out in his parts bin. This kind of NSMB compatibility comes by once in a while so I was ready to experiment with my dropper and use the loaner in the meantime.
One Up Components has an excellent Support Page with lots of well-photographed and explained instructions to clean and service their equipment. I recommend referencing that information if you just need to freshen up your sticky dropper.
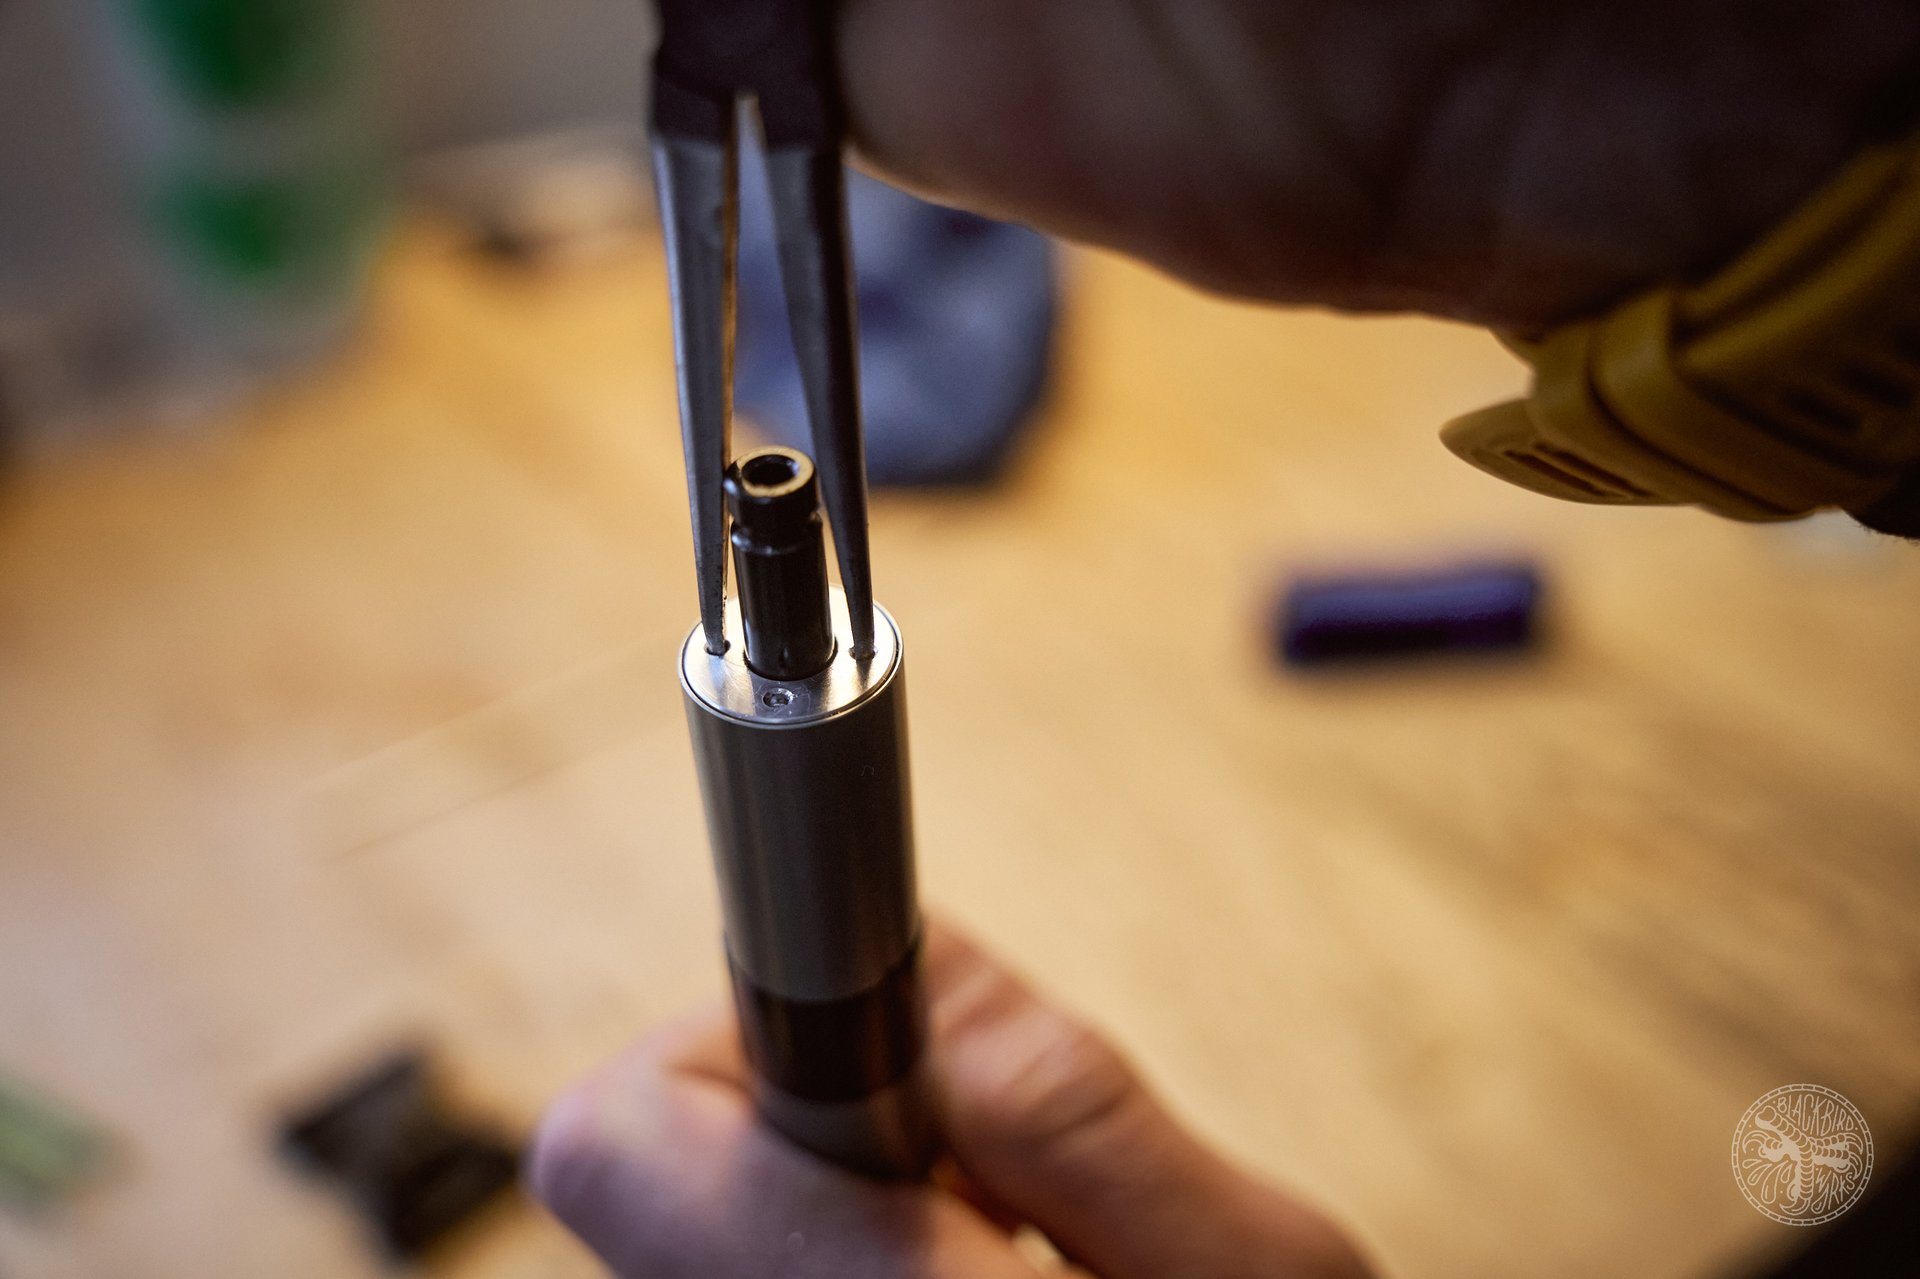
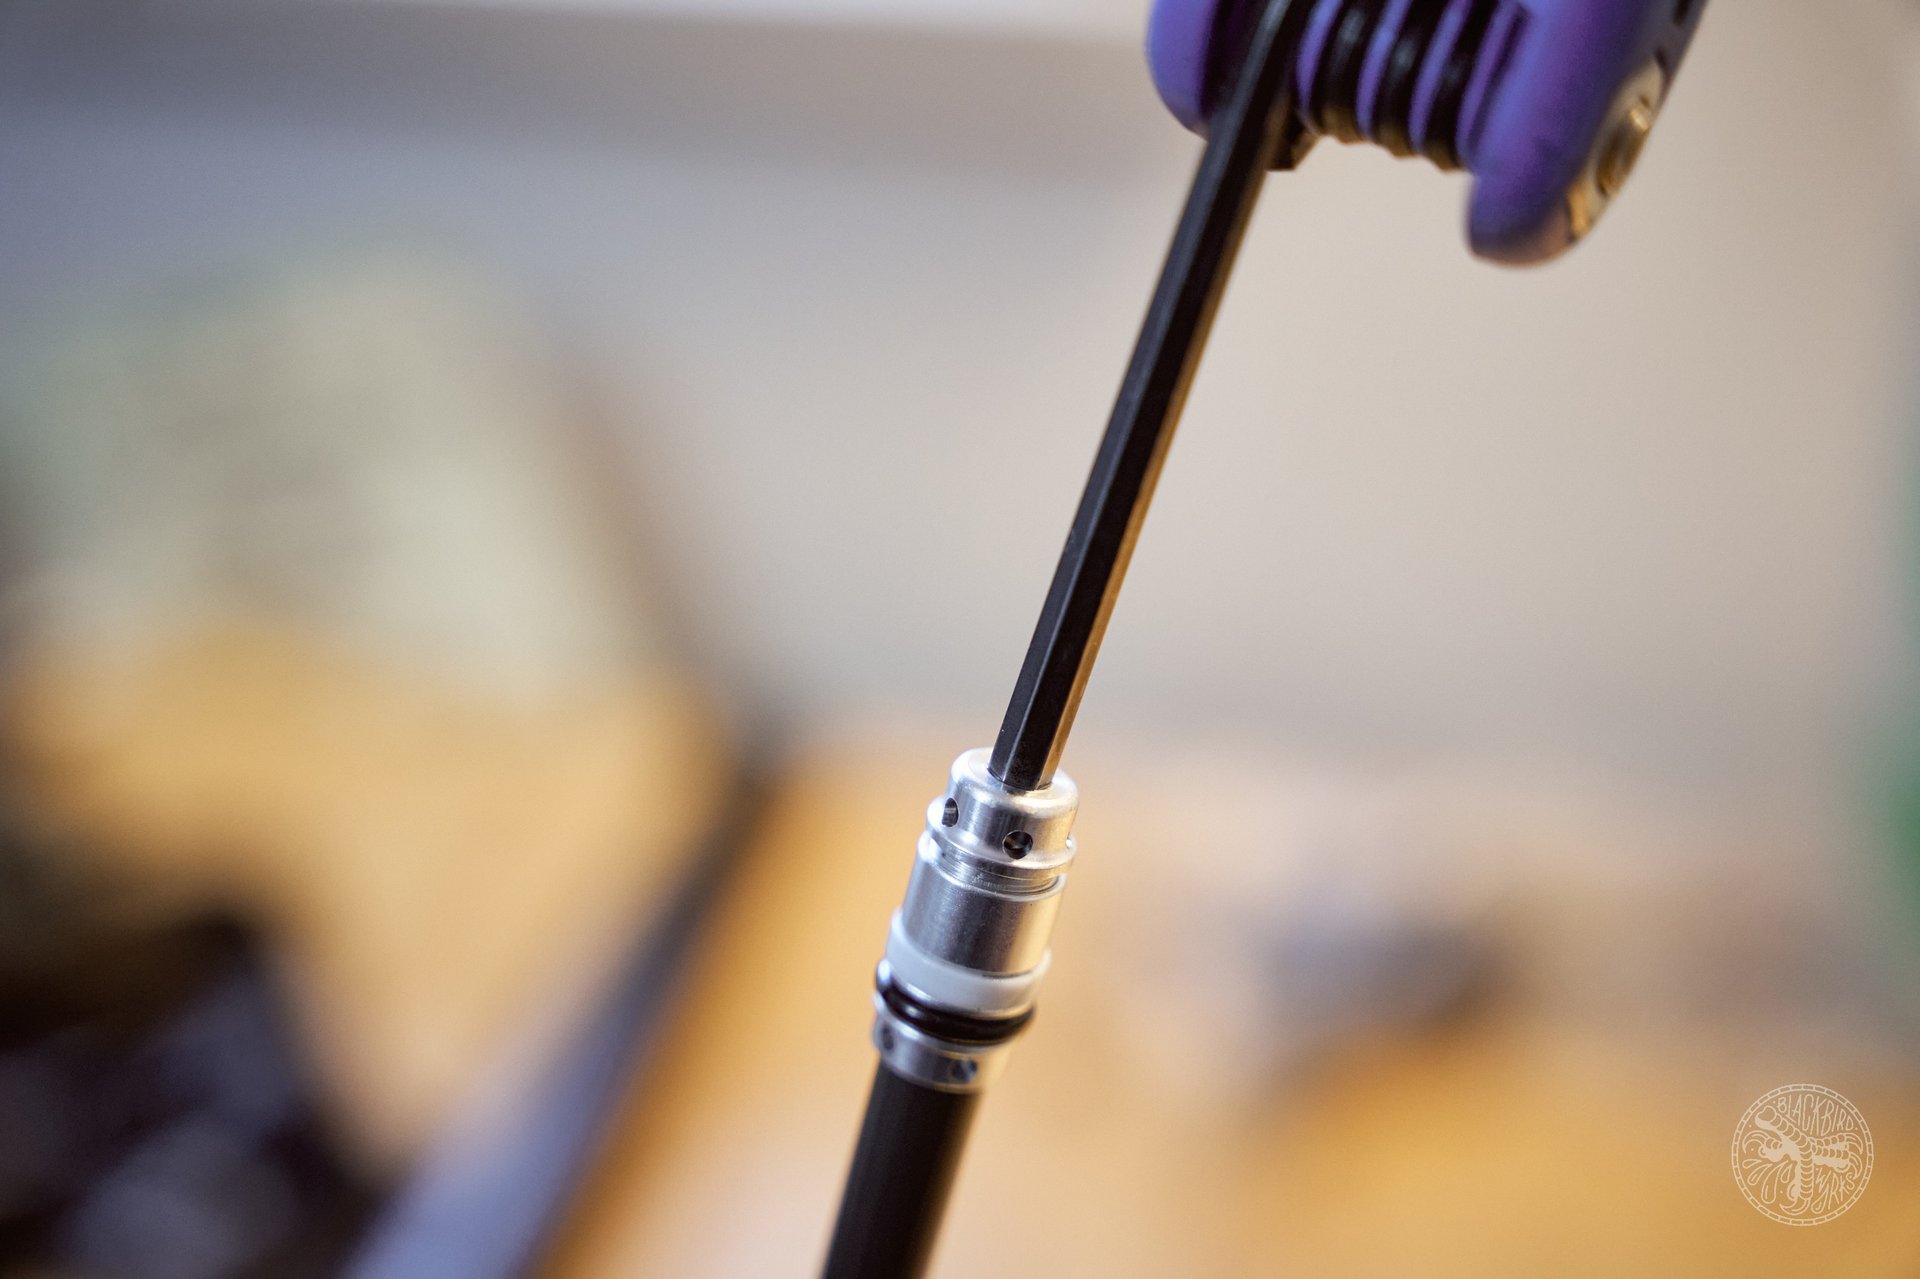
Grab the slotted nut with sturdy needle-nose pliers and unthread.
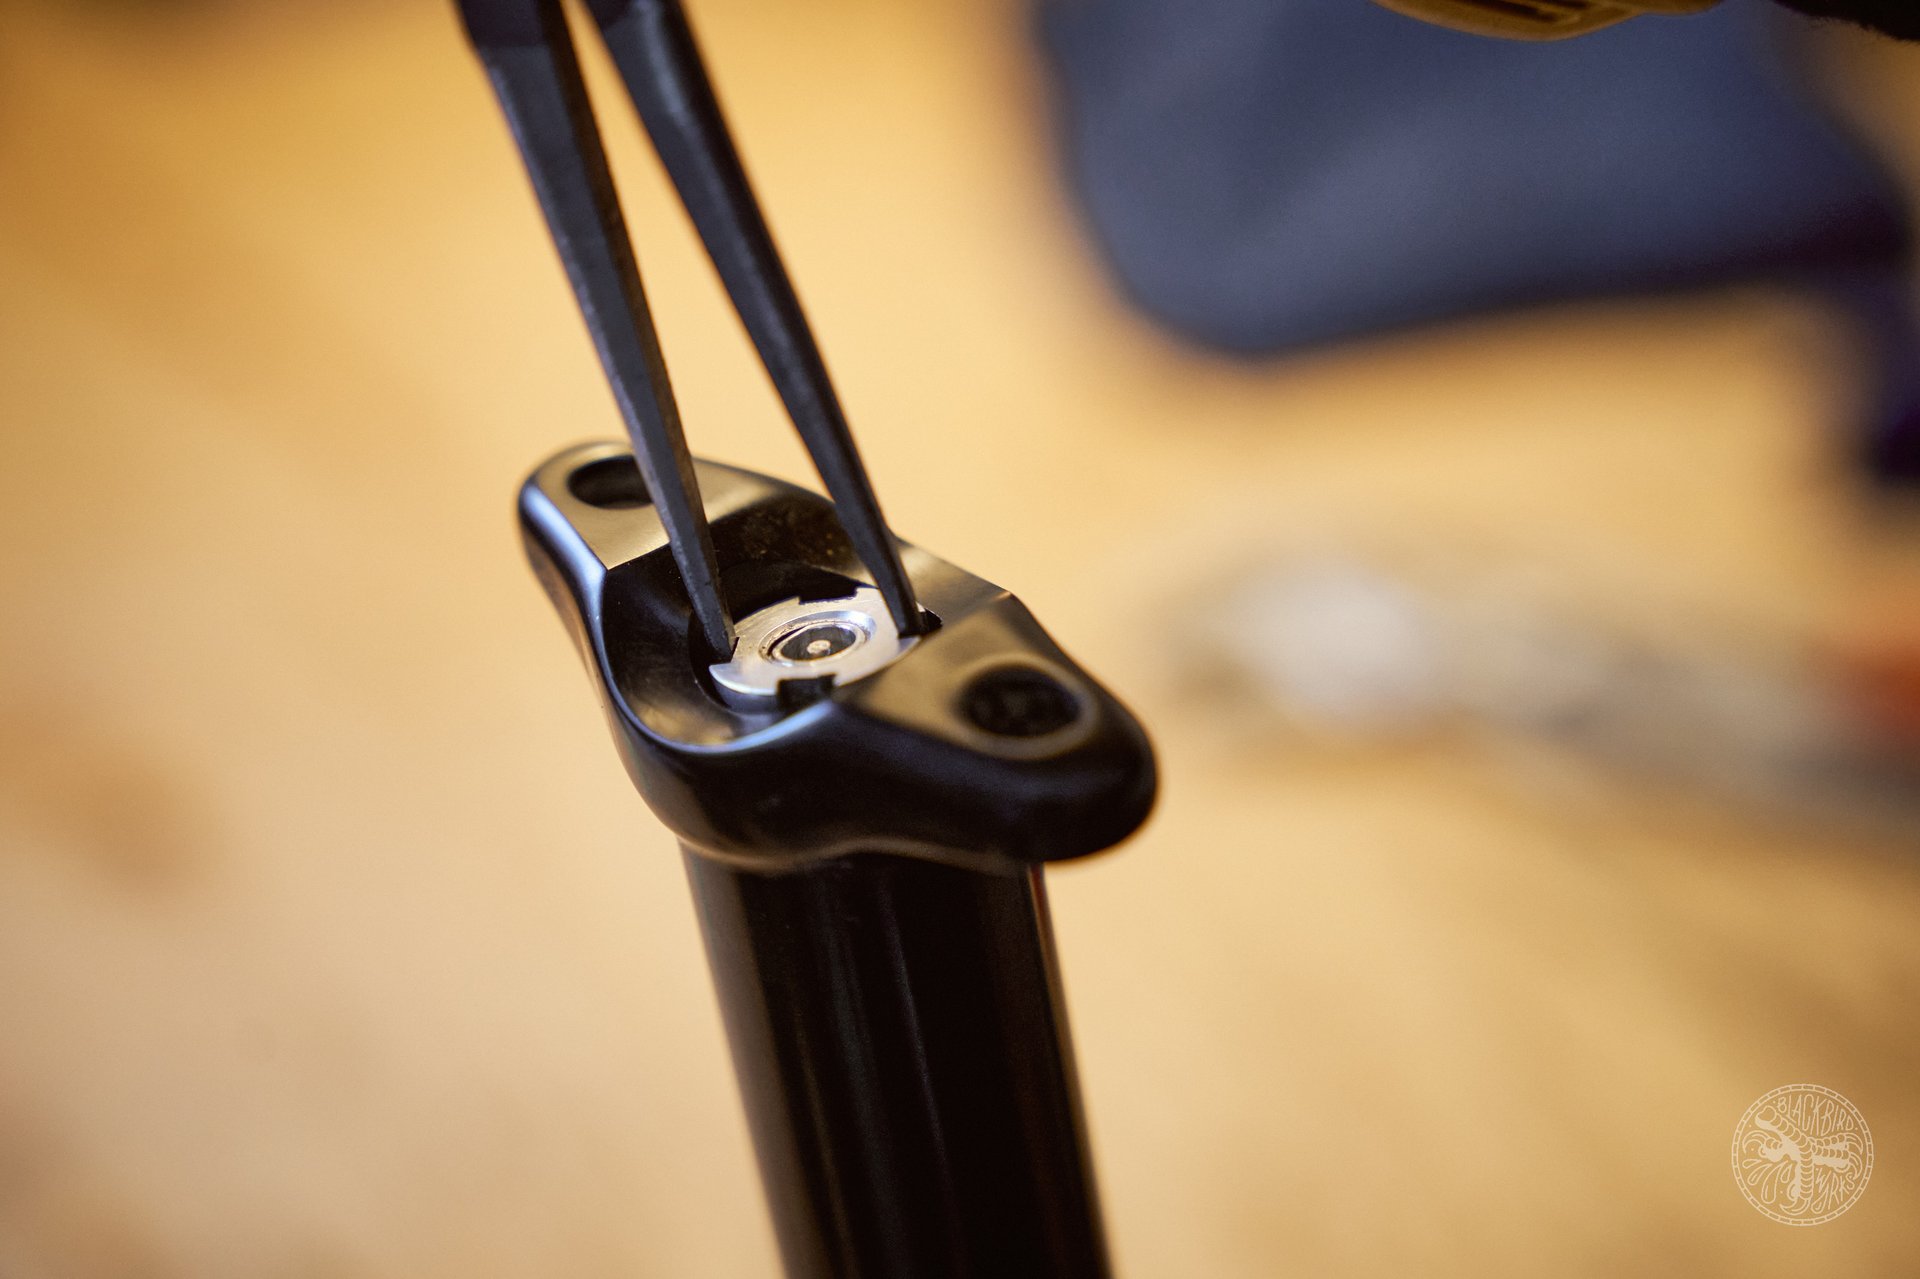
There is no loctite on the threads which should make for a hassle-free removal.
I can be what the shop guys call “ham-fisted” at times; over-torquing bolts and opening the wrong side of a Sturmey Archer hub. It’s all good though. Over the course of a decade or two, I figured out when to recognize the bolt I am about to strip and then passing it on to the next guy to finish fucking it up. When I set about opening up the guts of the post, I accepted the strong possibility that I could break, strip, or lose a fastener in the seemingly complicated toy, rather than actually fixing it.
The OneUp guys must know a lot of hacks like me so they don’t really recommend opening up the cartridge they put in their product. They will happily sell you a 60 USD replacement cartridge that you can install in under 10 minutes, or 15 if it’s your first time.
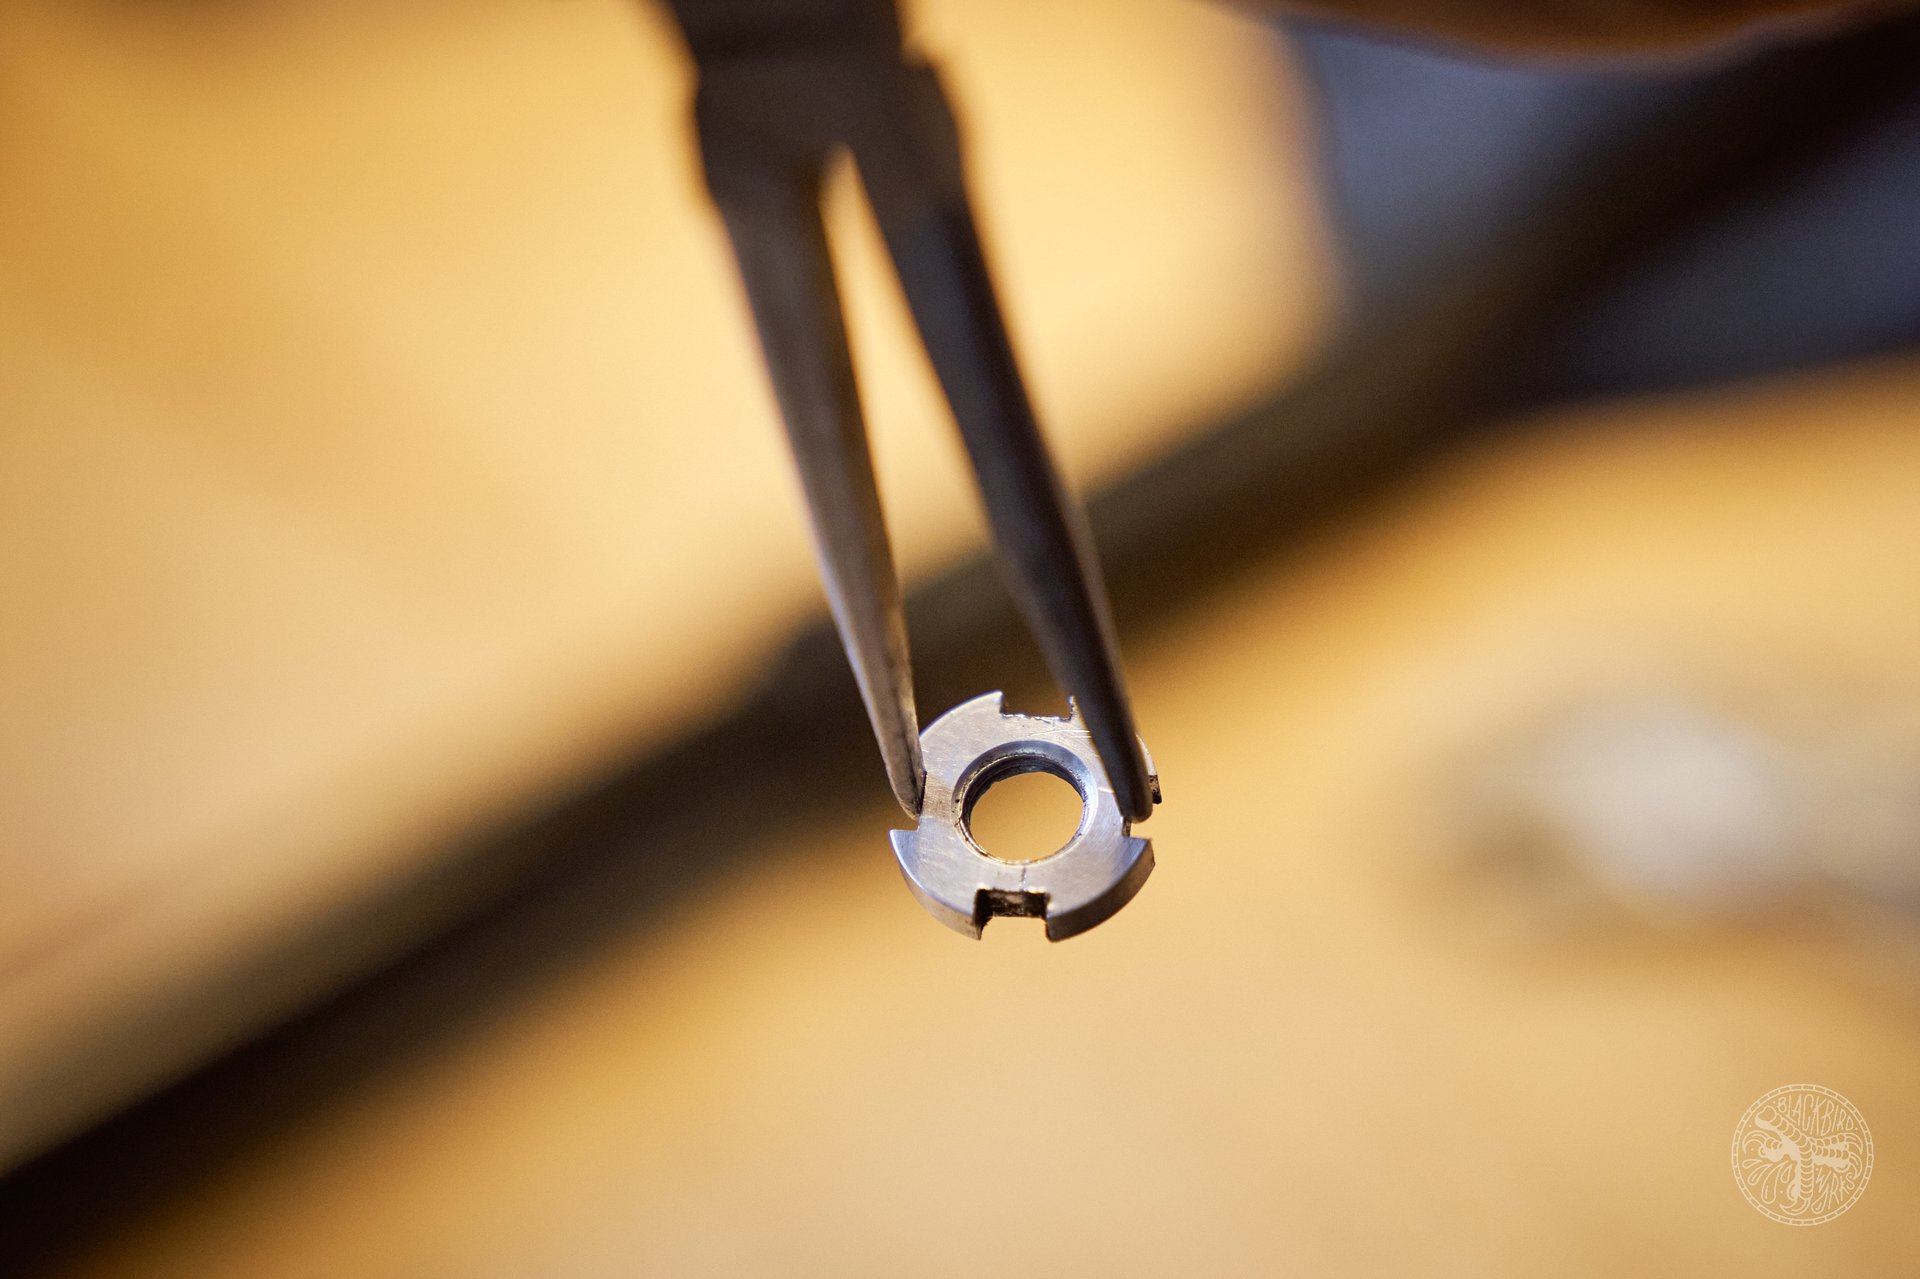
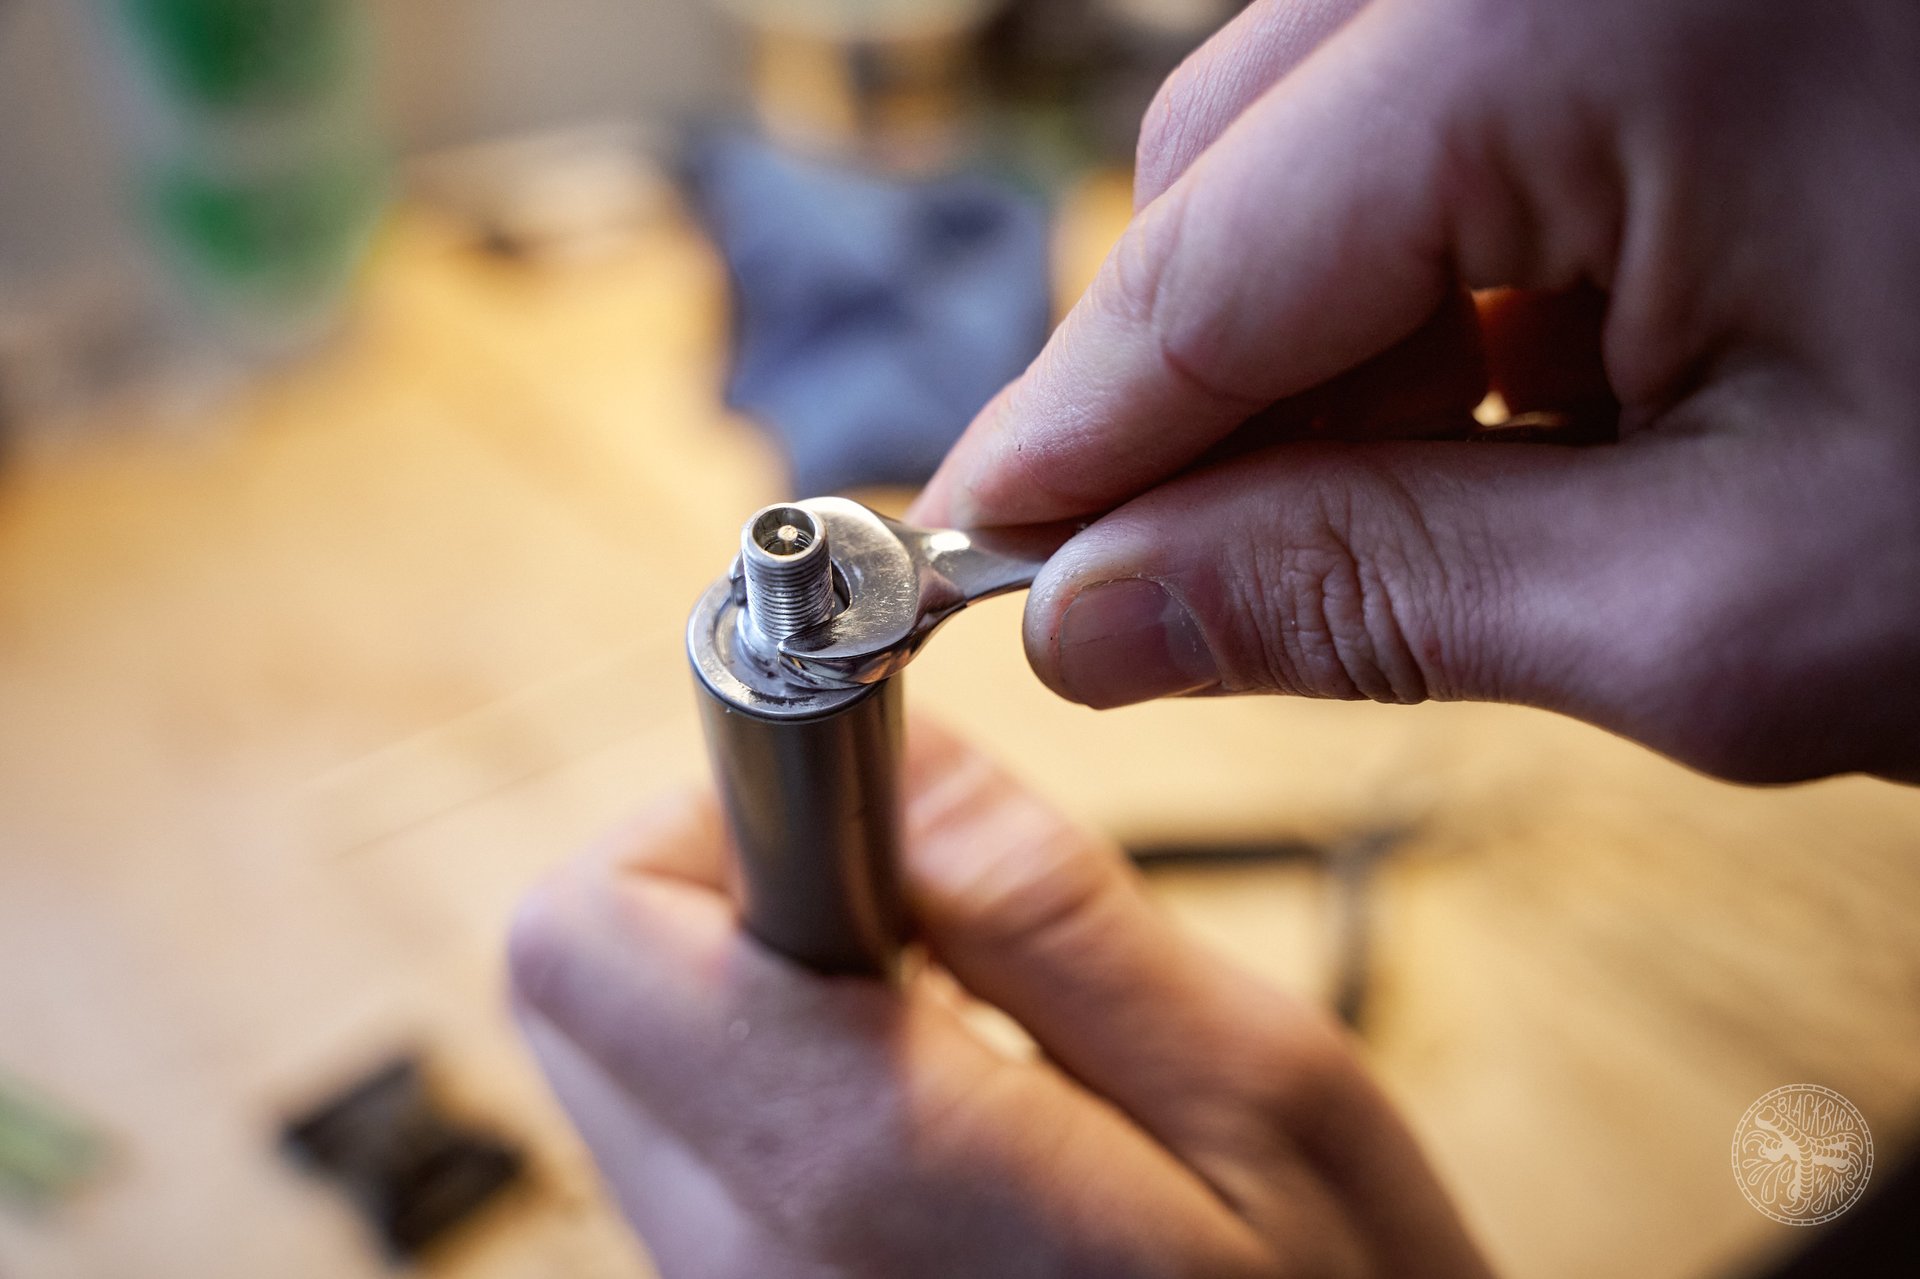
I wondered if this nut could have been a different shape or if there could have been more space around it to use a deep socket and a 12mm nut.
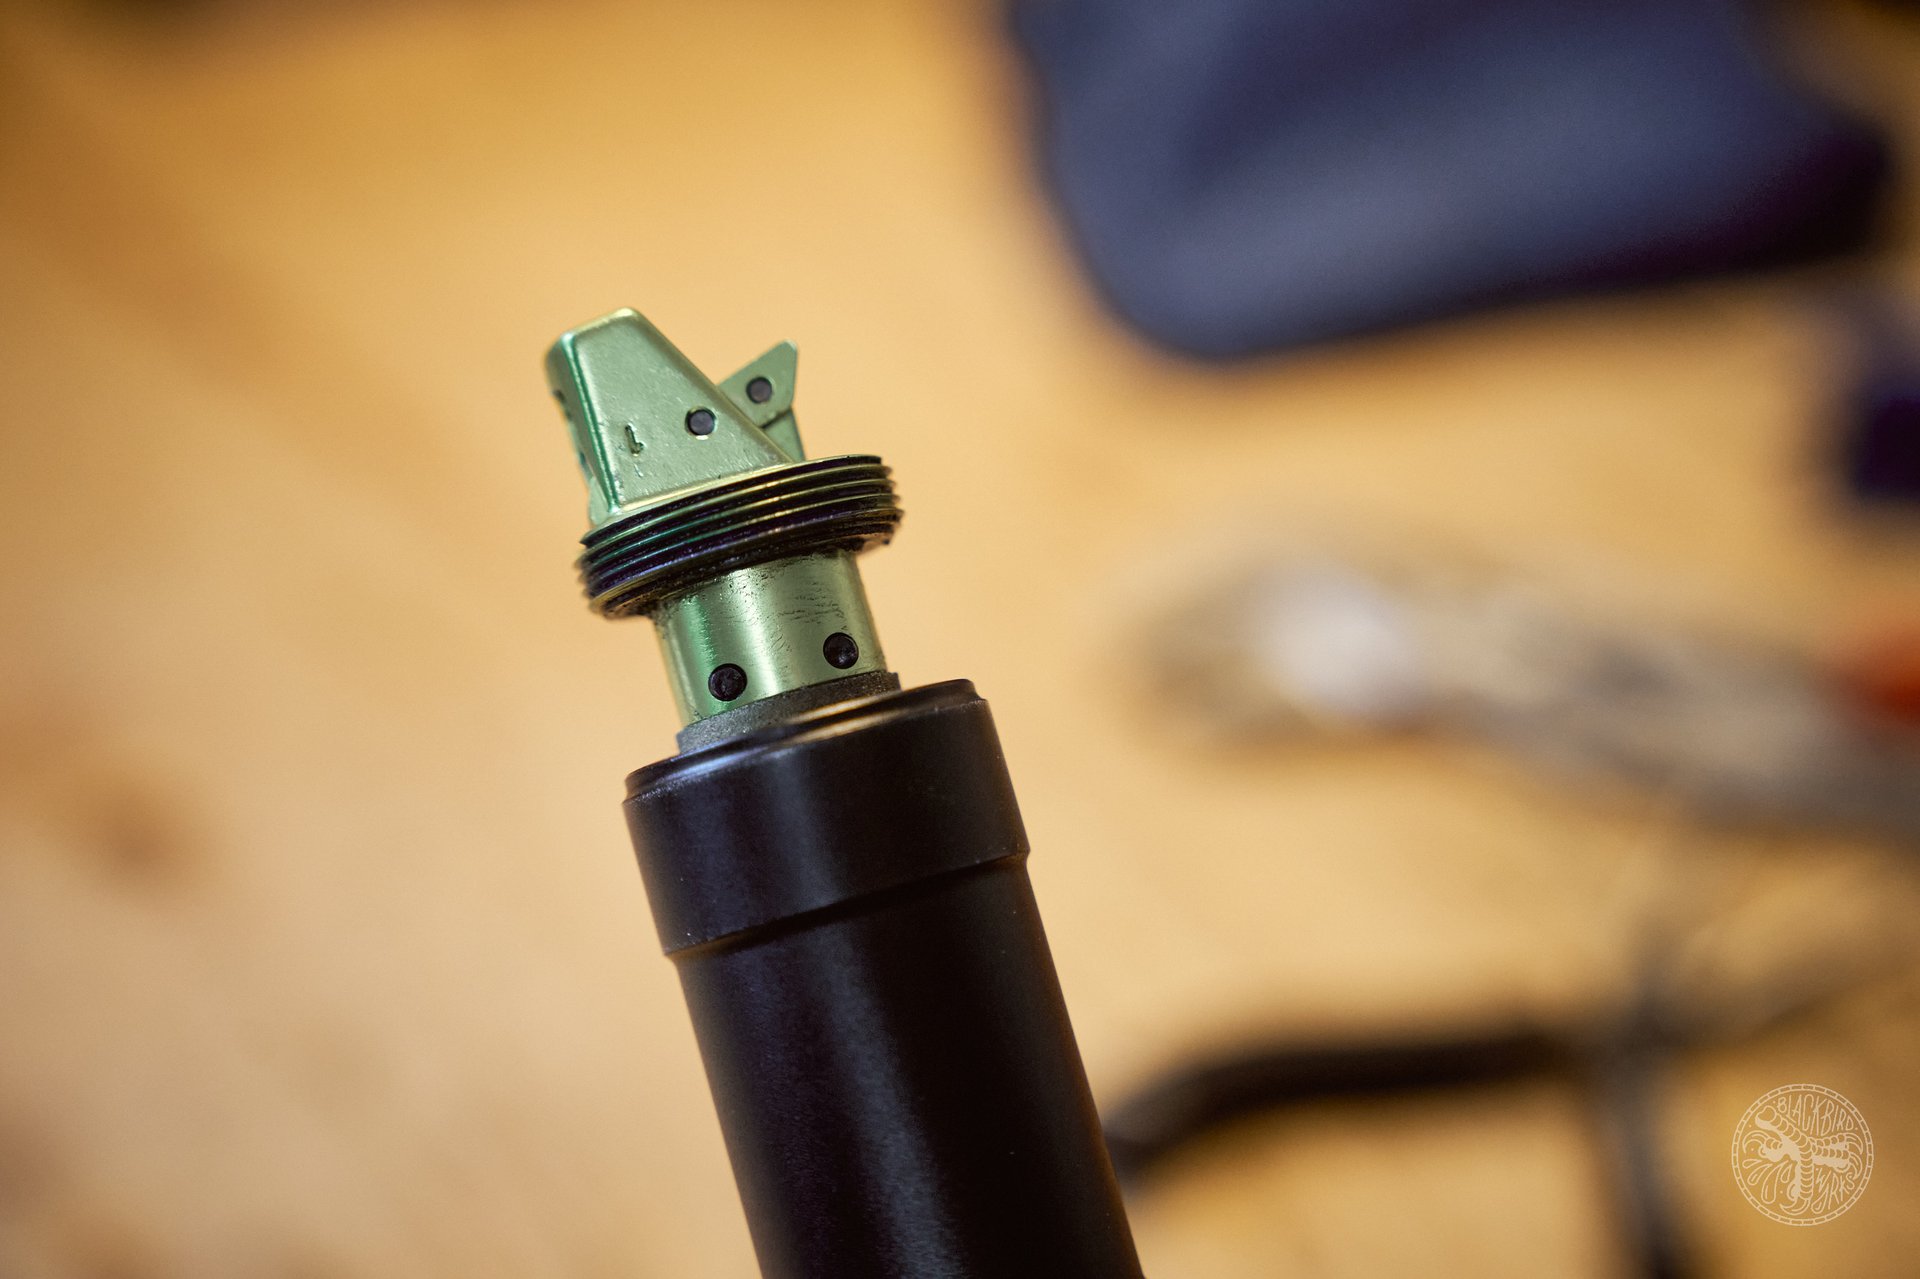
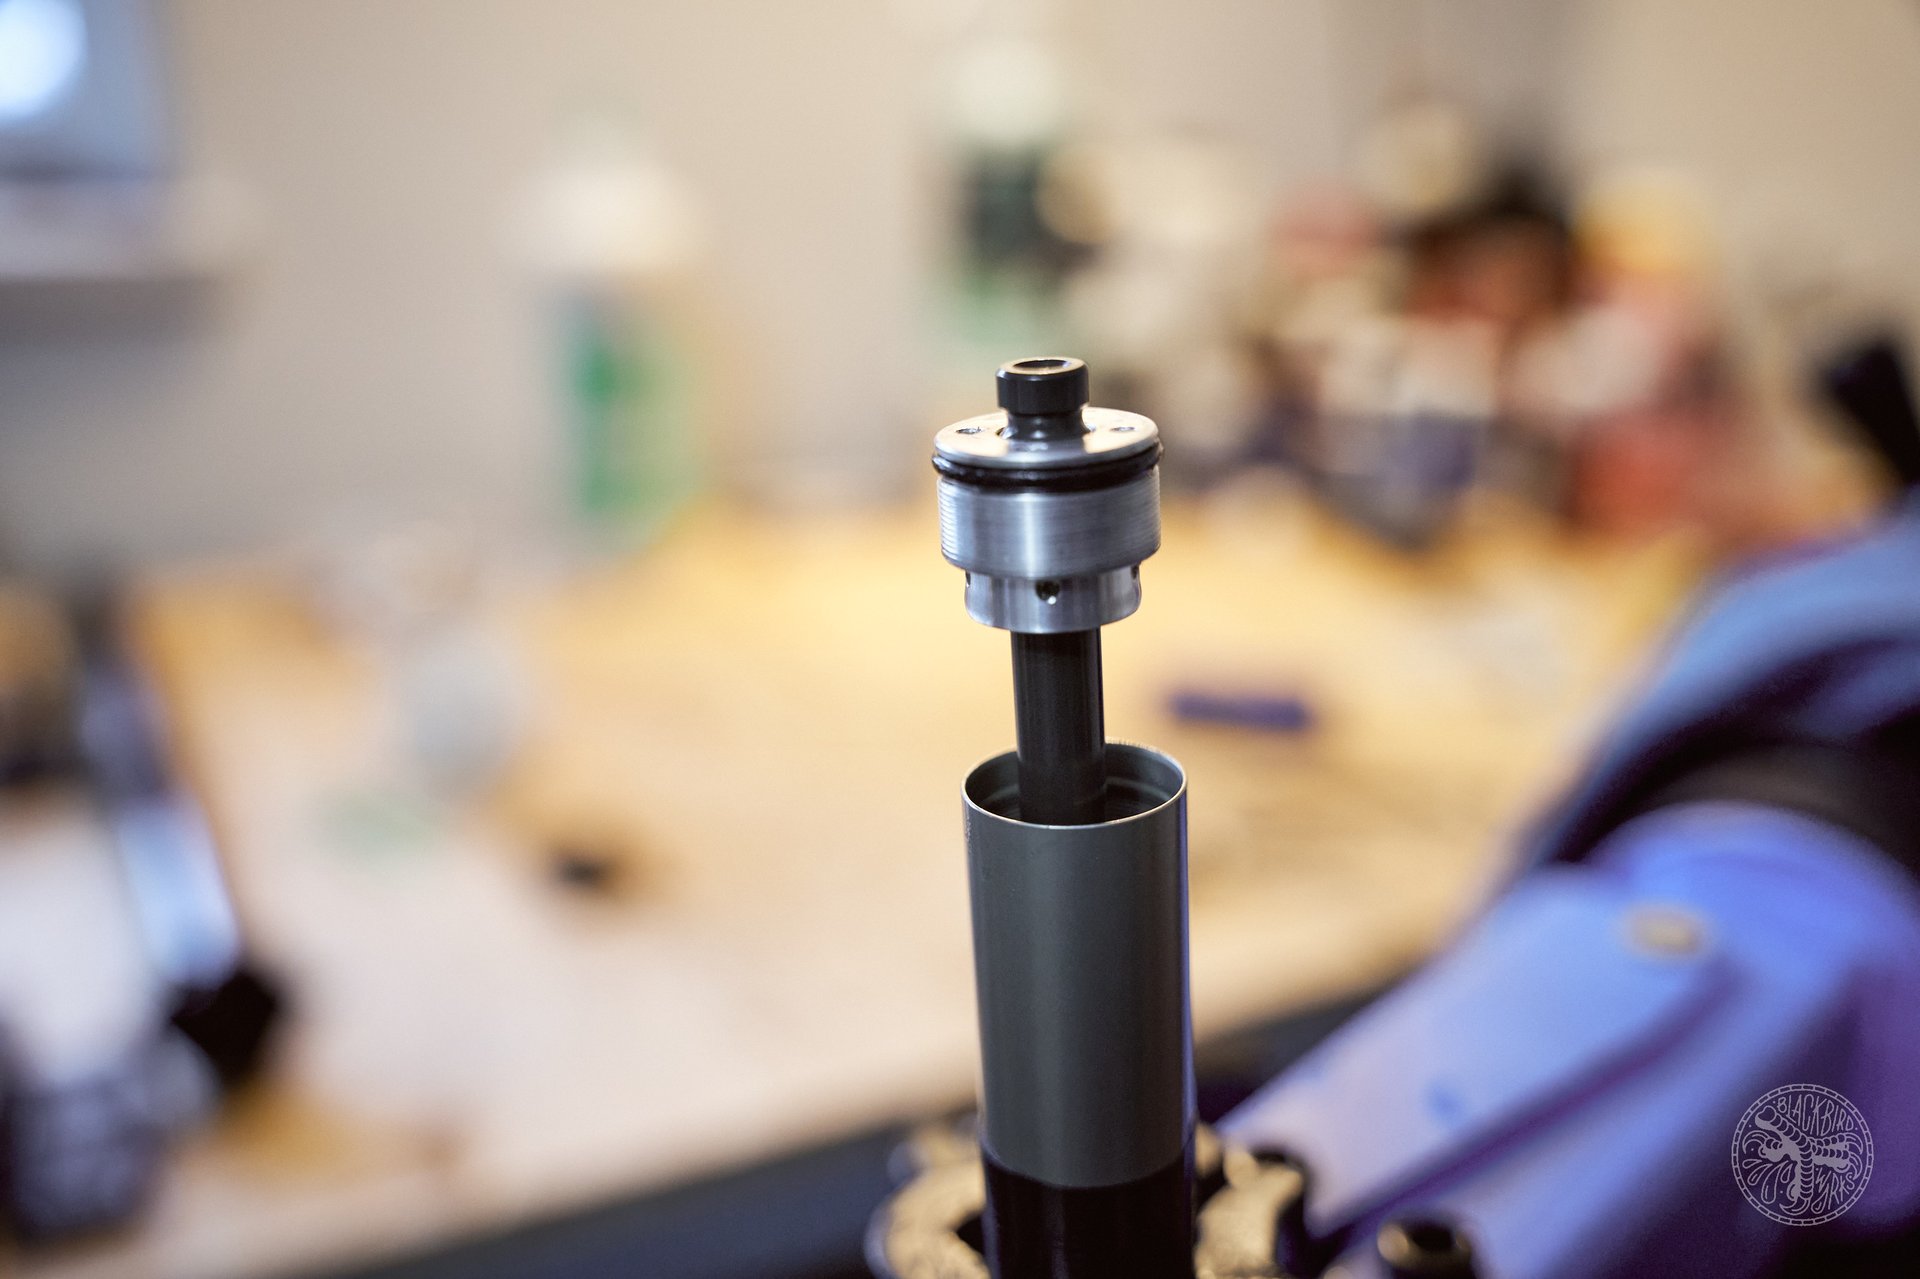
Once the nut is off the air side, you can unthread the actuator completely and pull the cartridge right out of the dropper chassis.
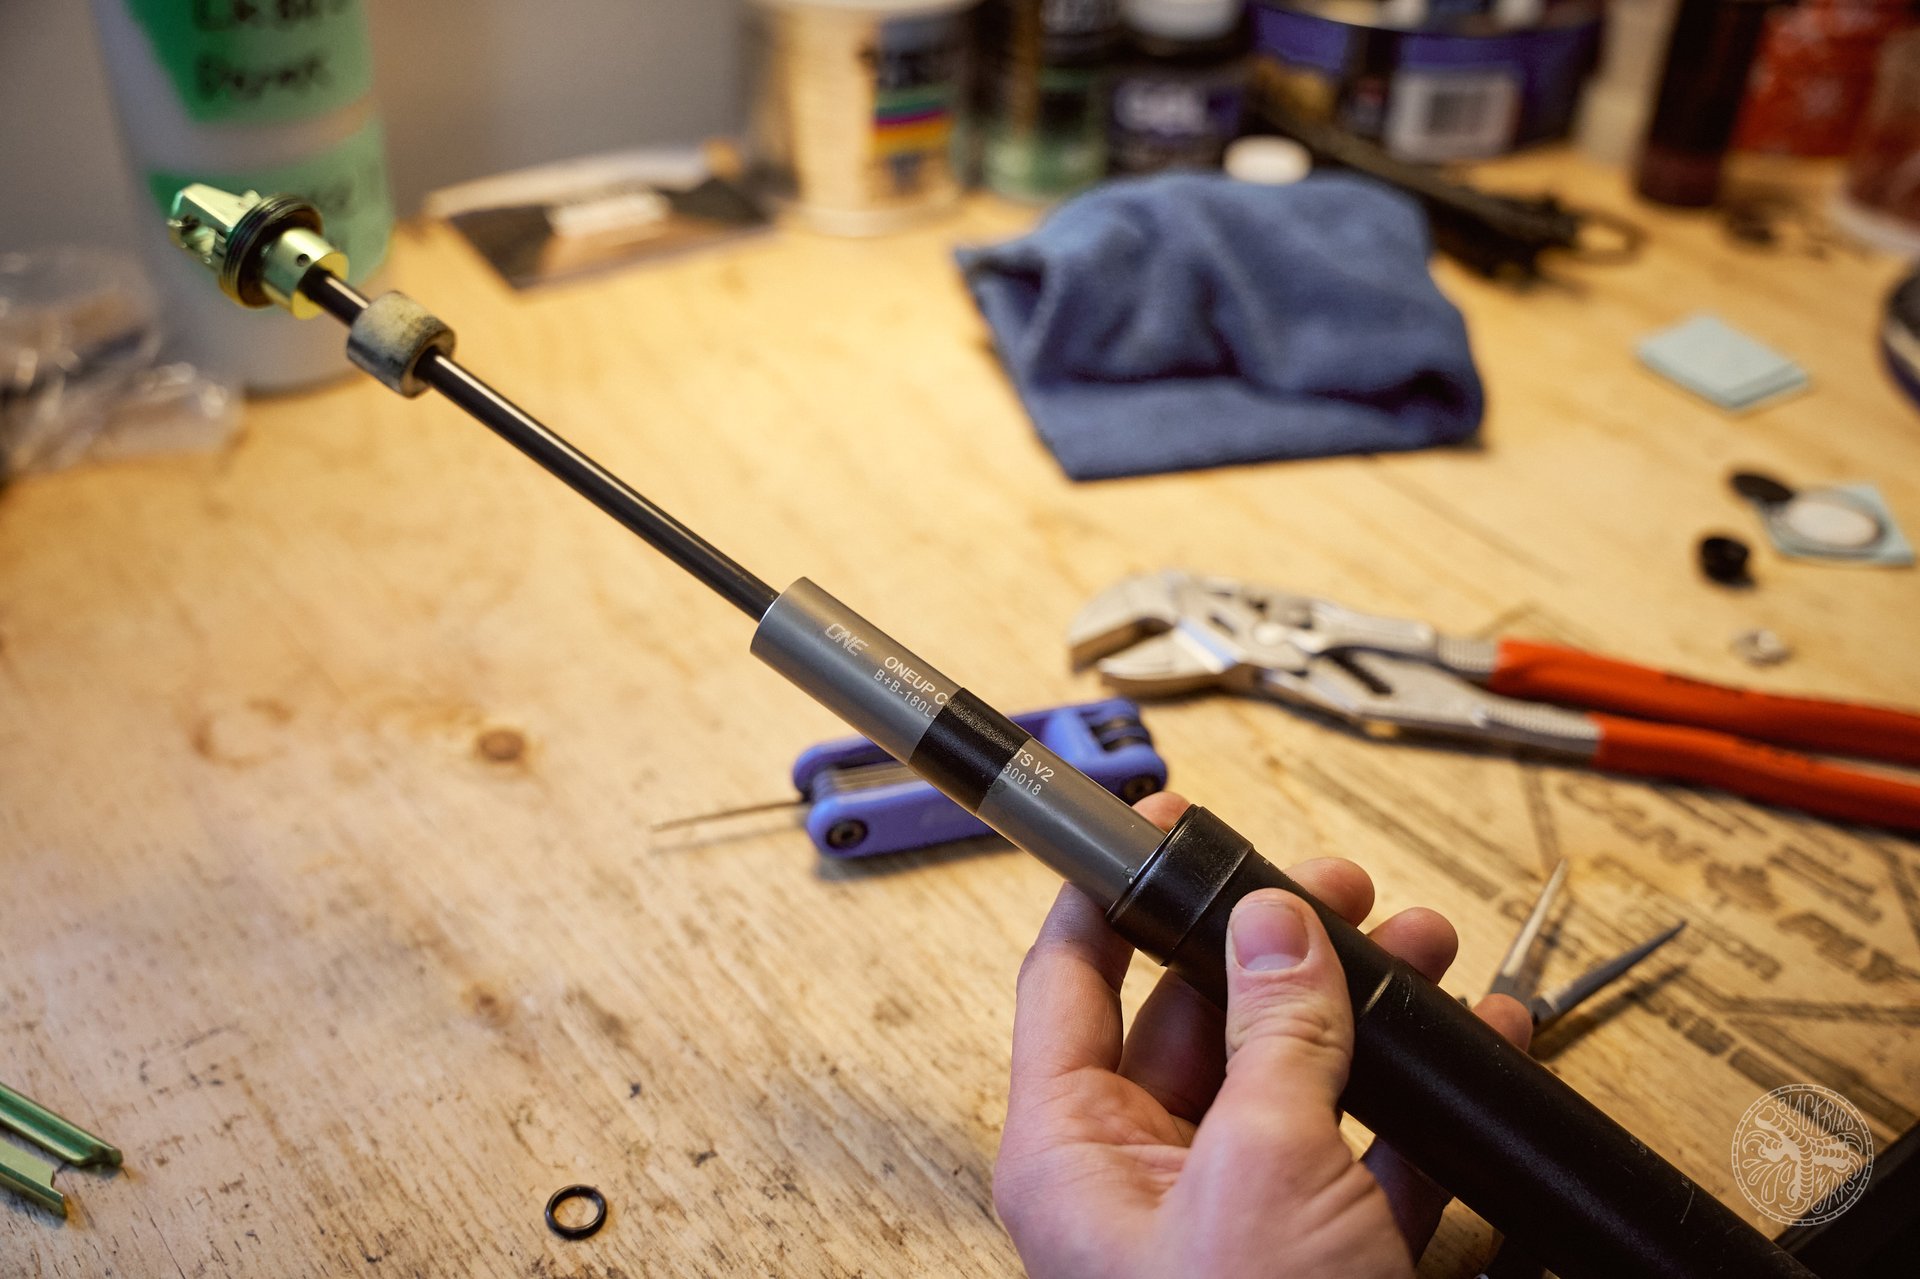
The electrical tape is standard issue and it might be to stop the cartridge from rattling agains the chassis.
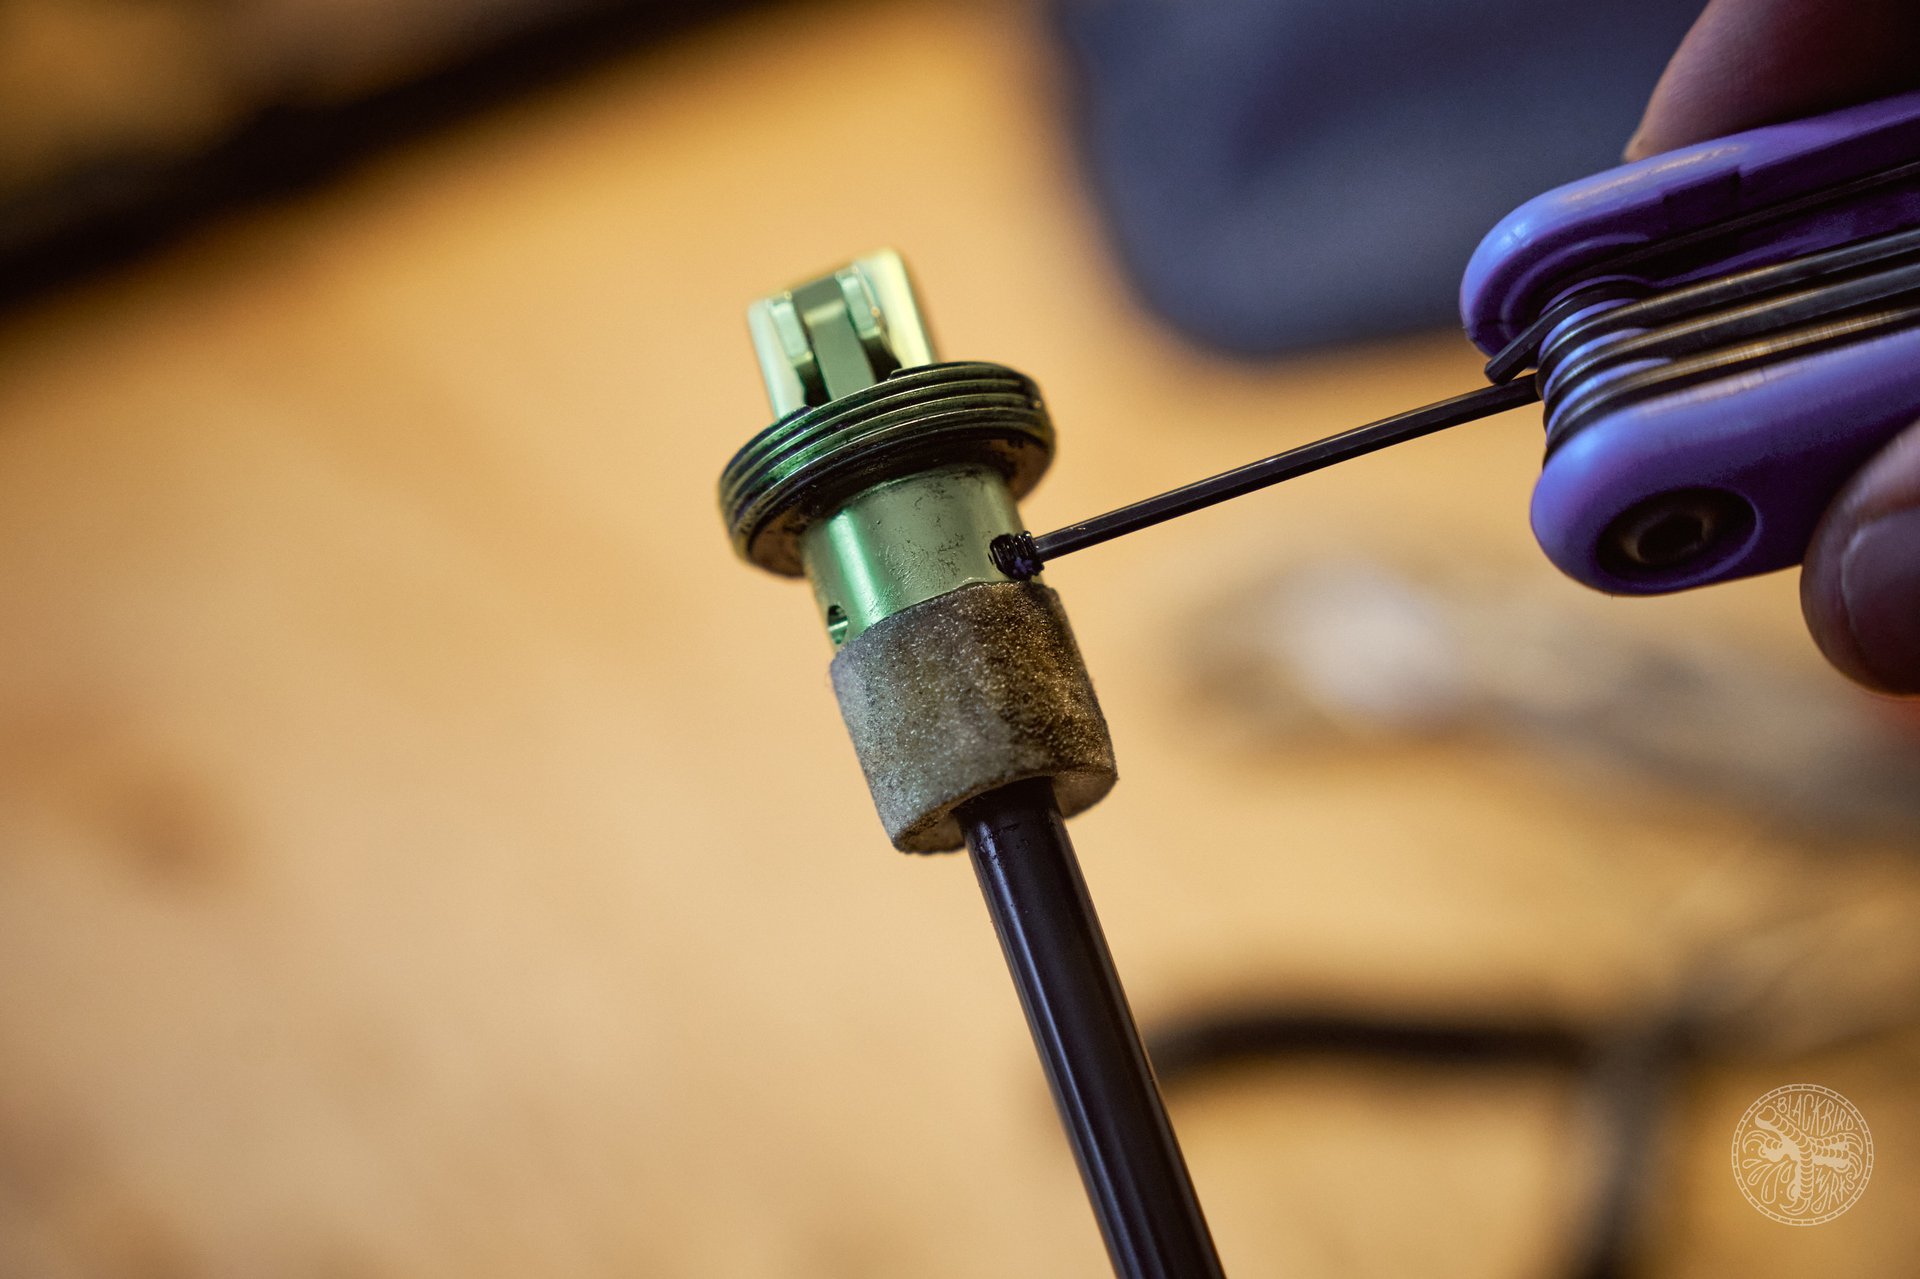
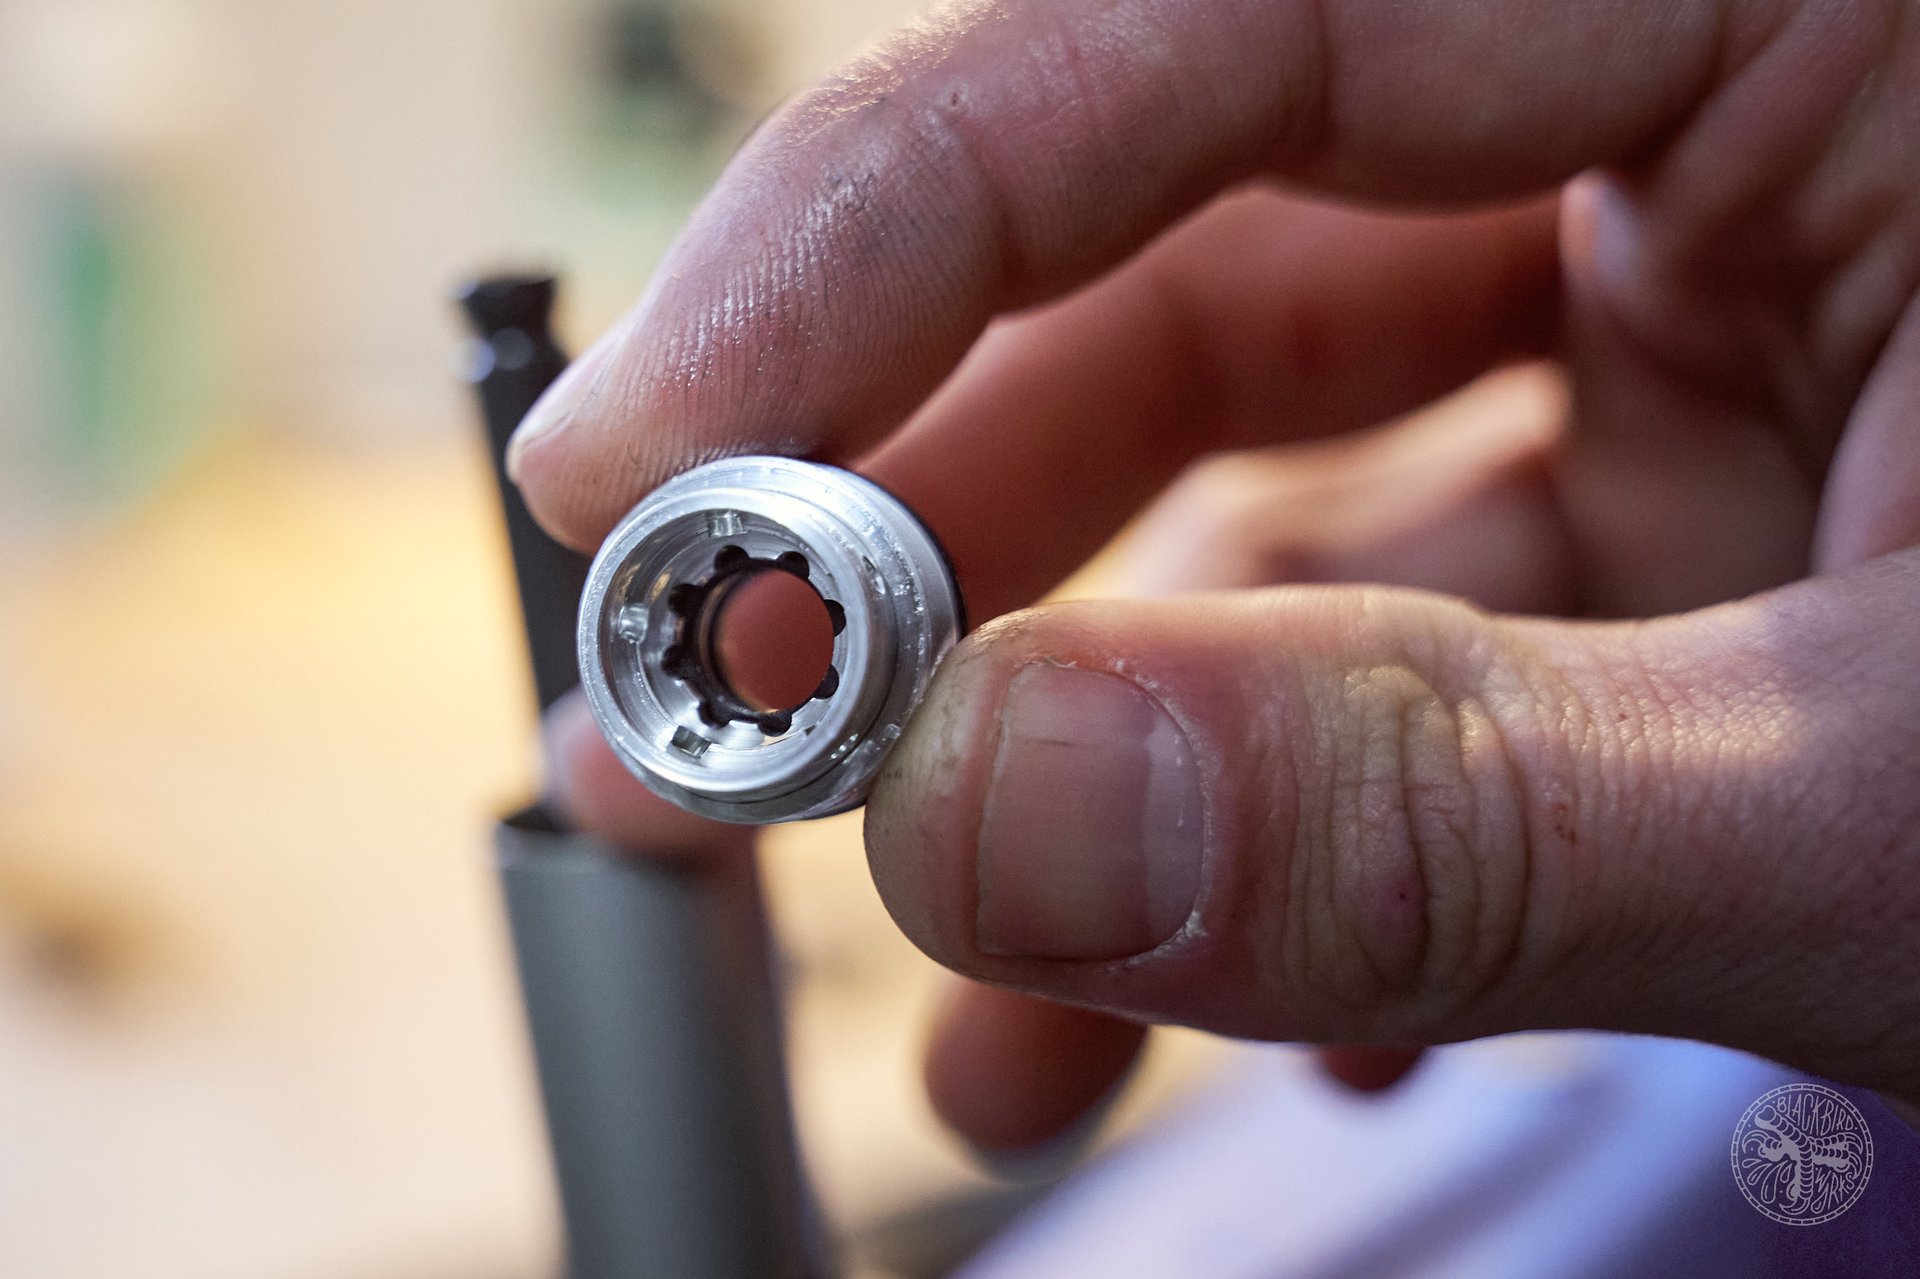
Two retaining pins attach the actuator to the cartridge. Remove these with a 2mm hex key.
I imagine it's best not to lose these. Keep them somewhere safe and not just laying on the bench where they can get knocked around
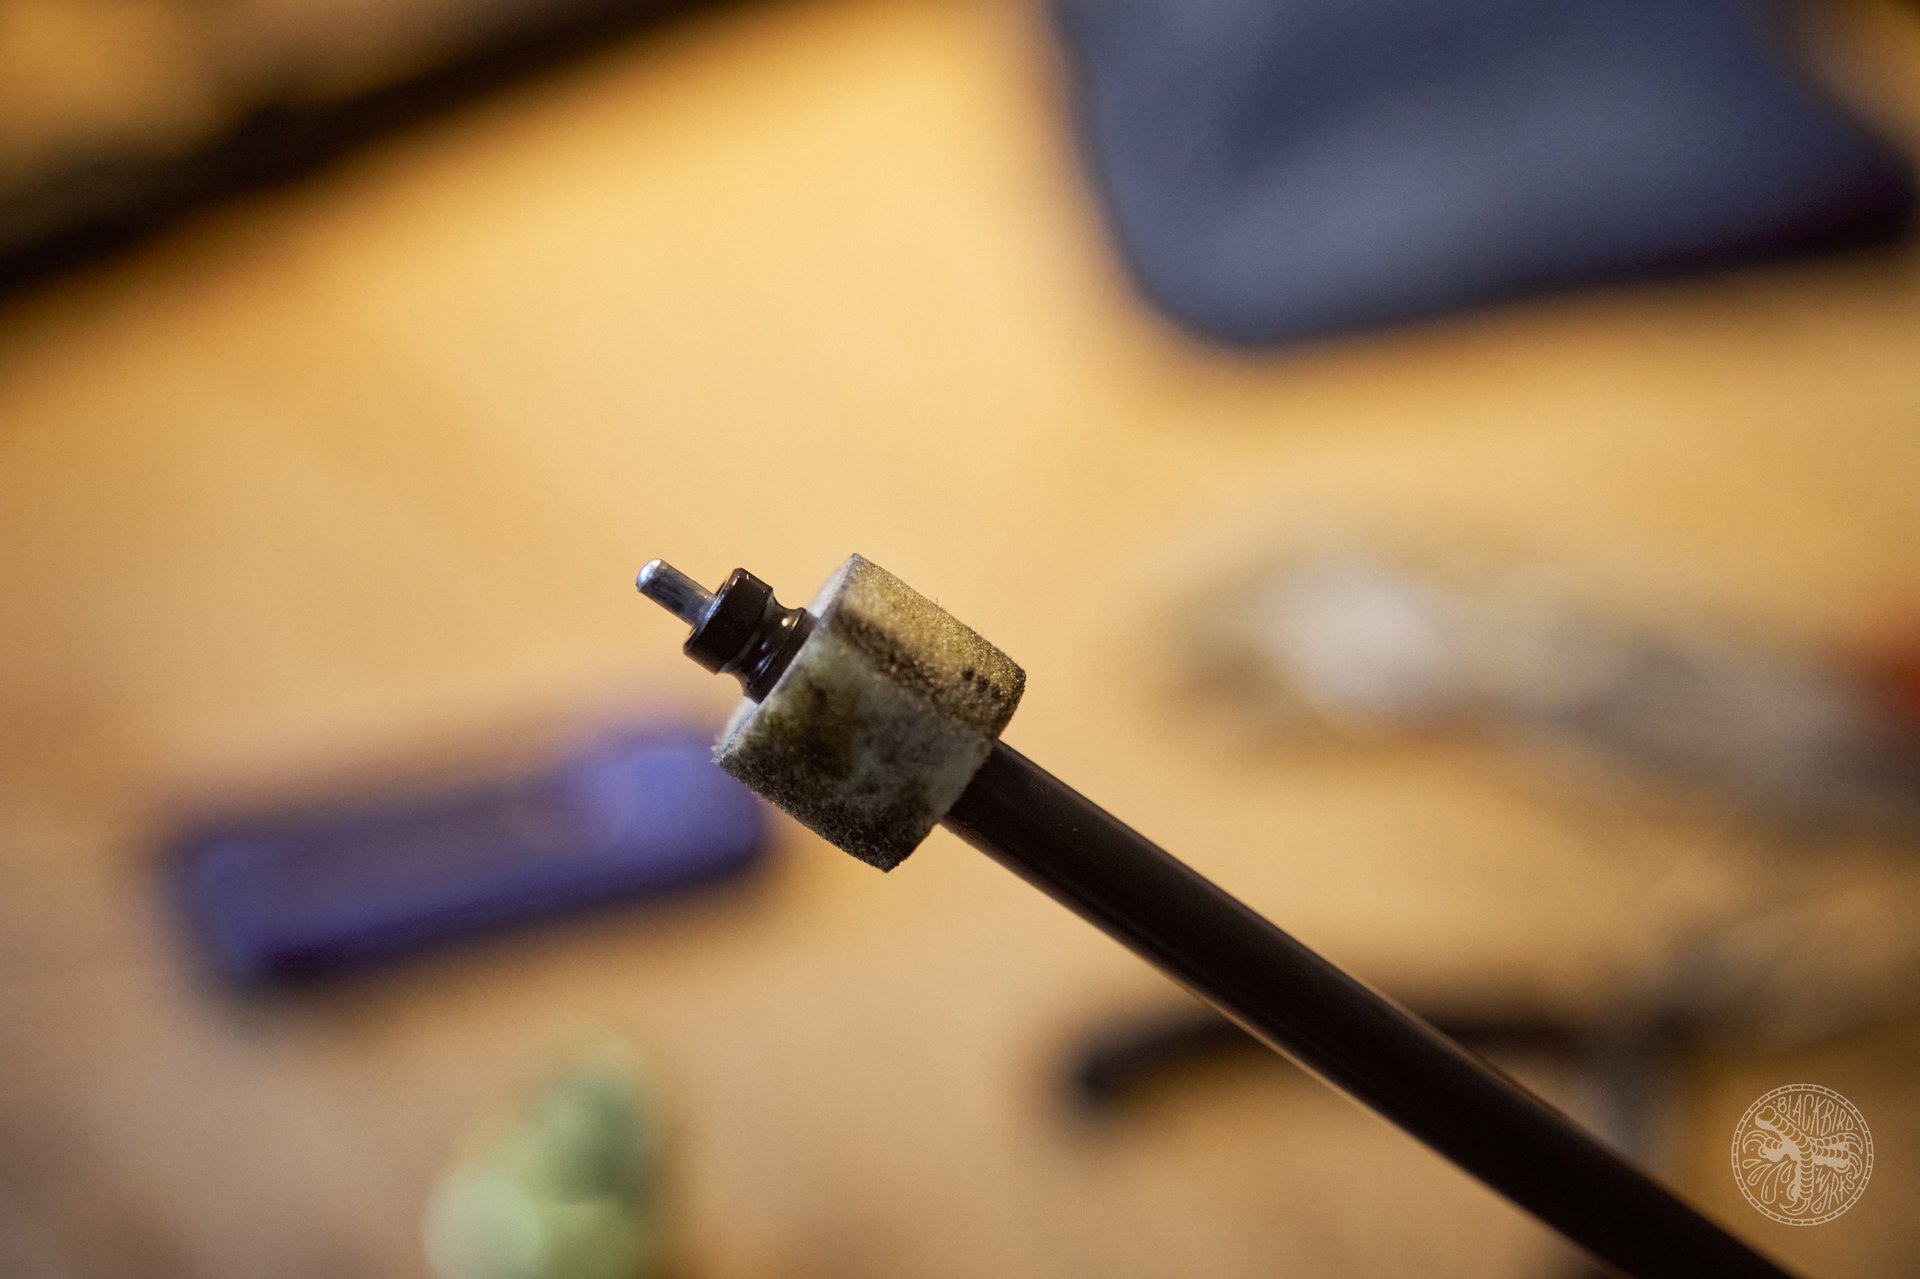
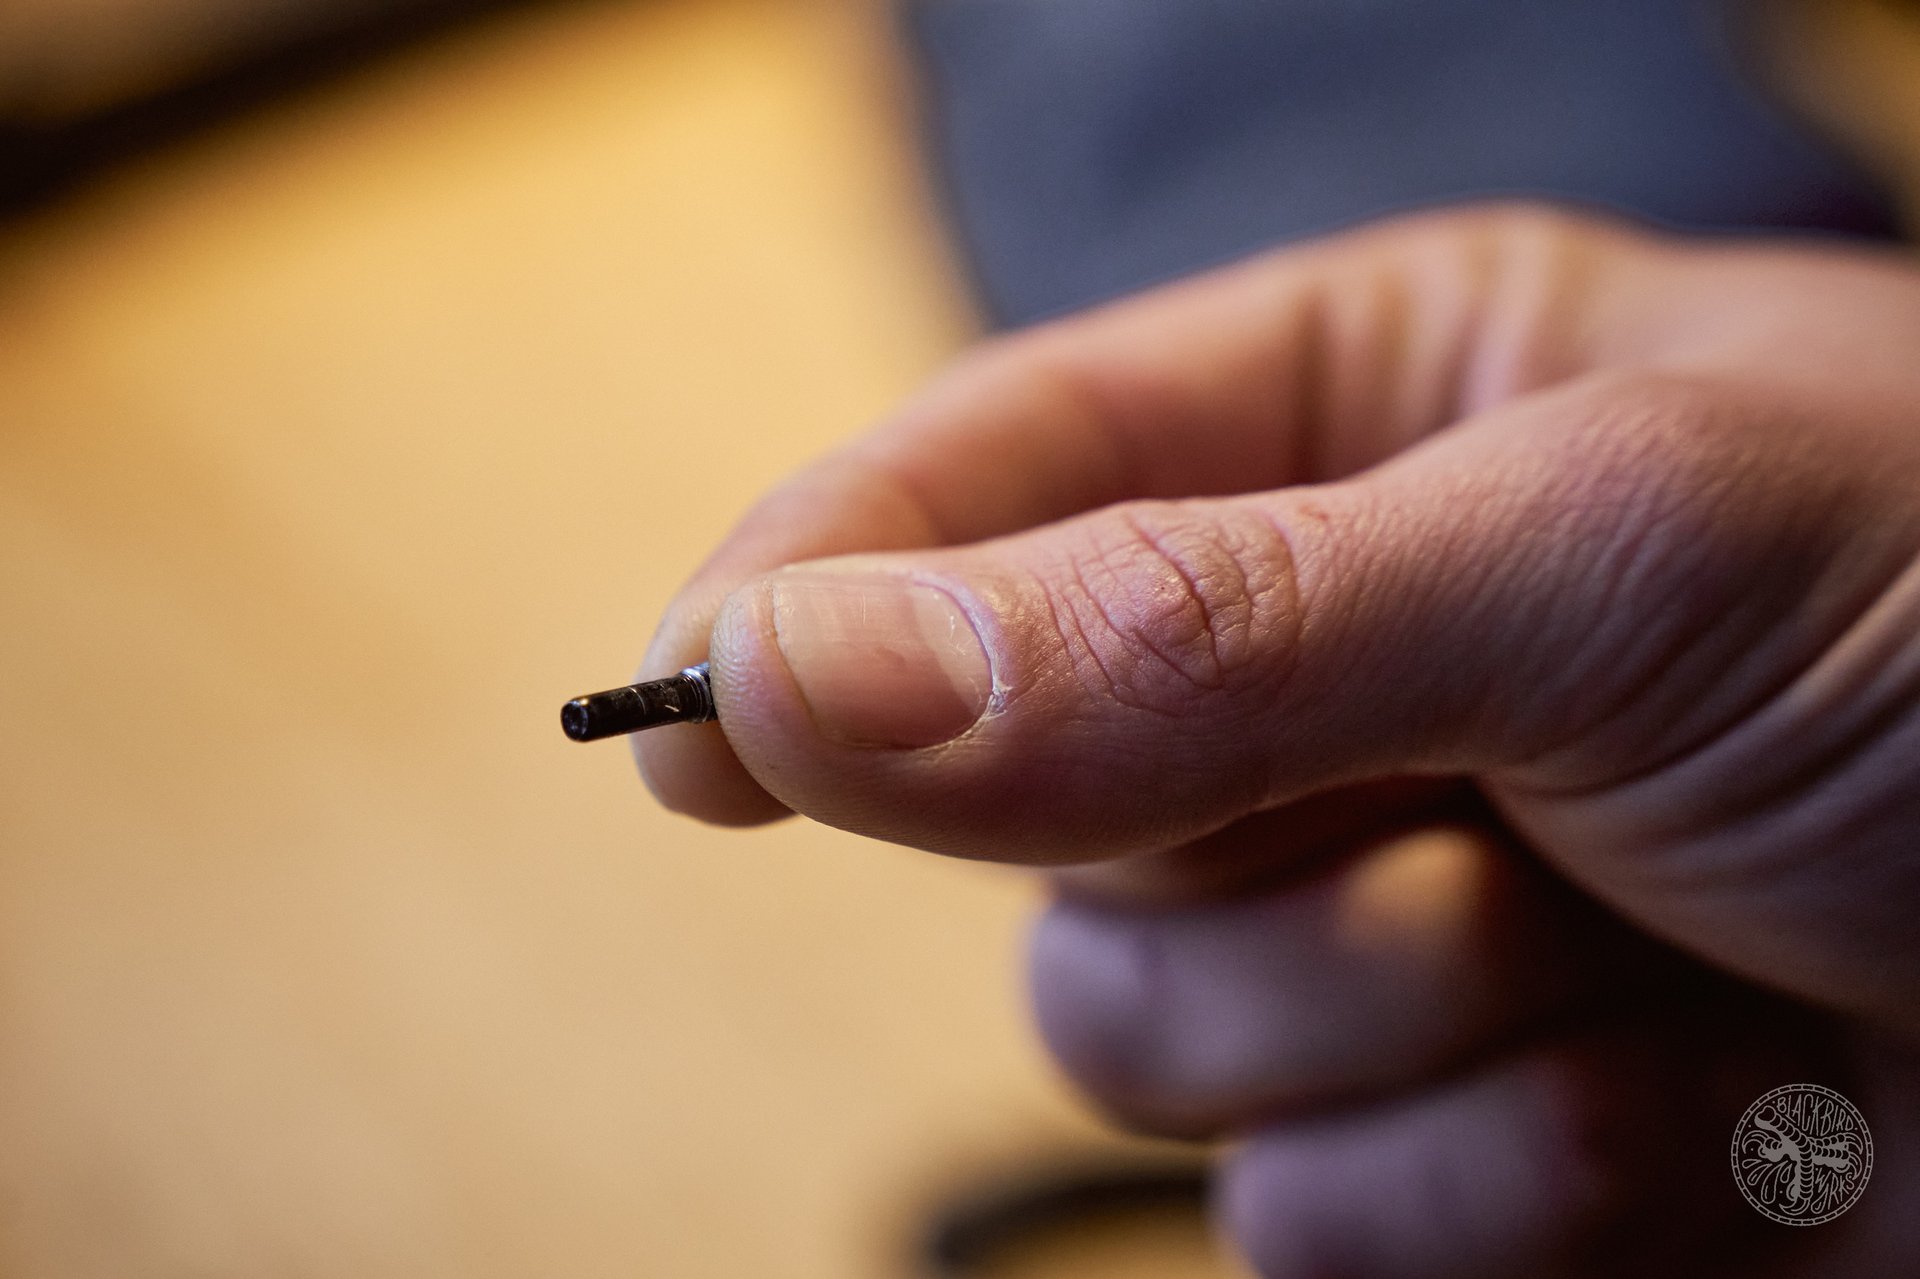
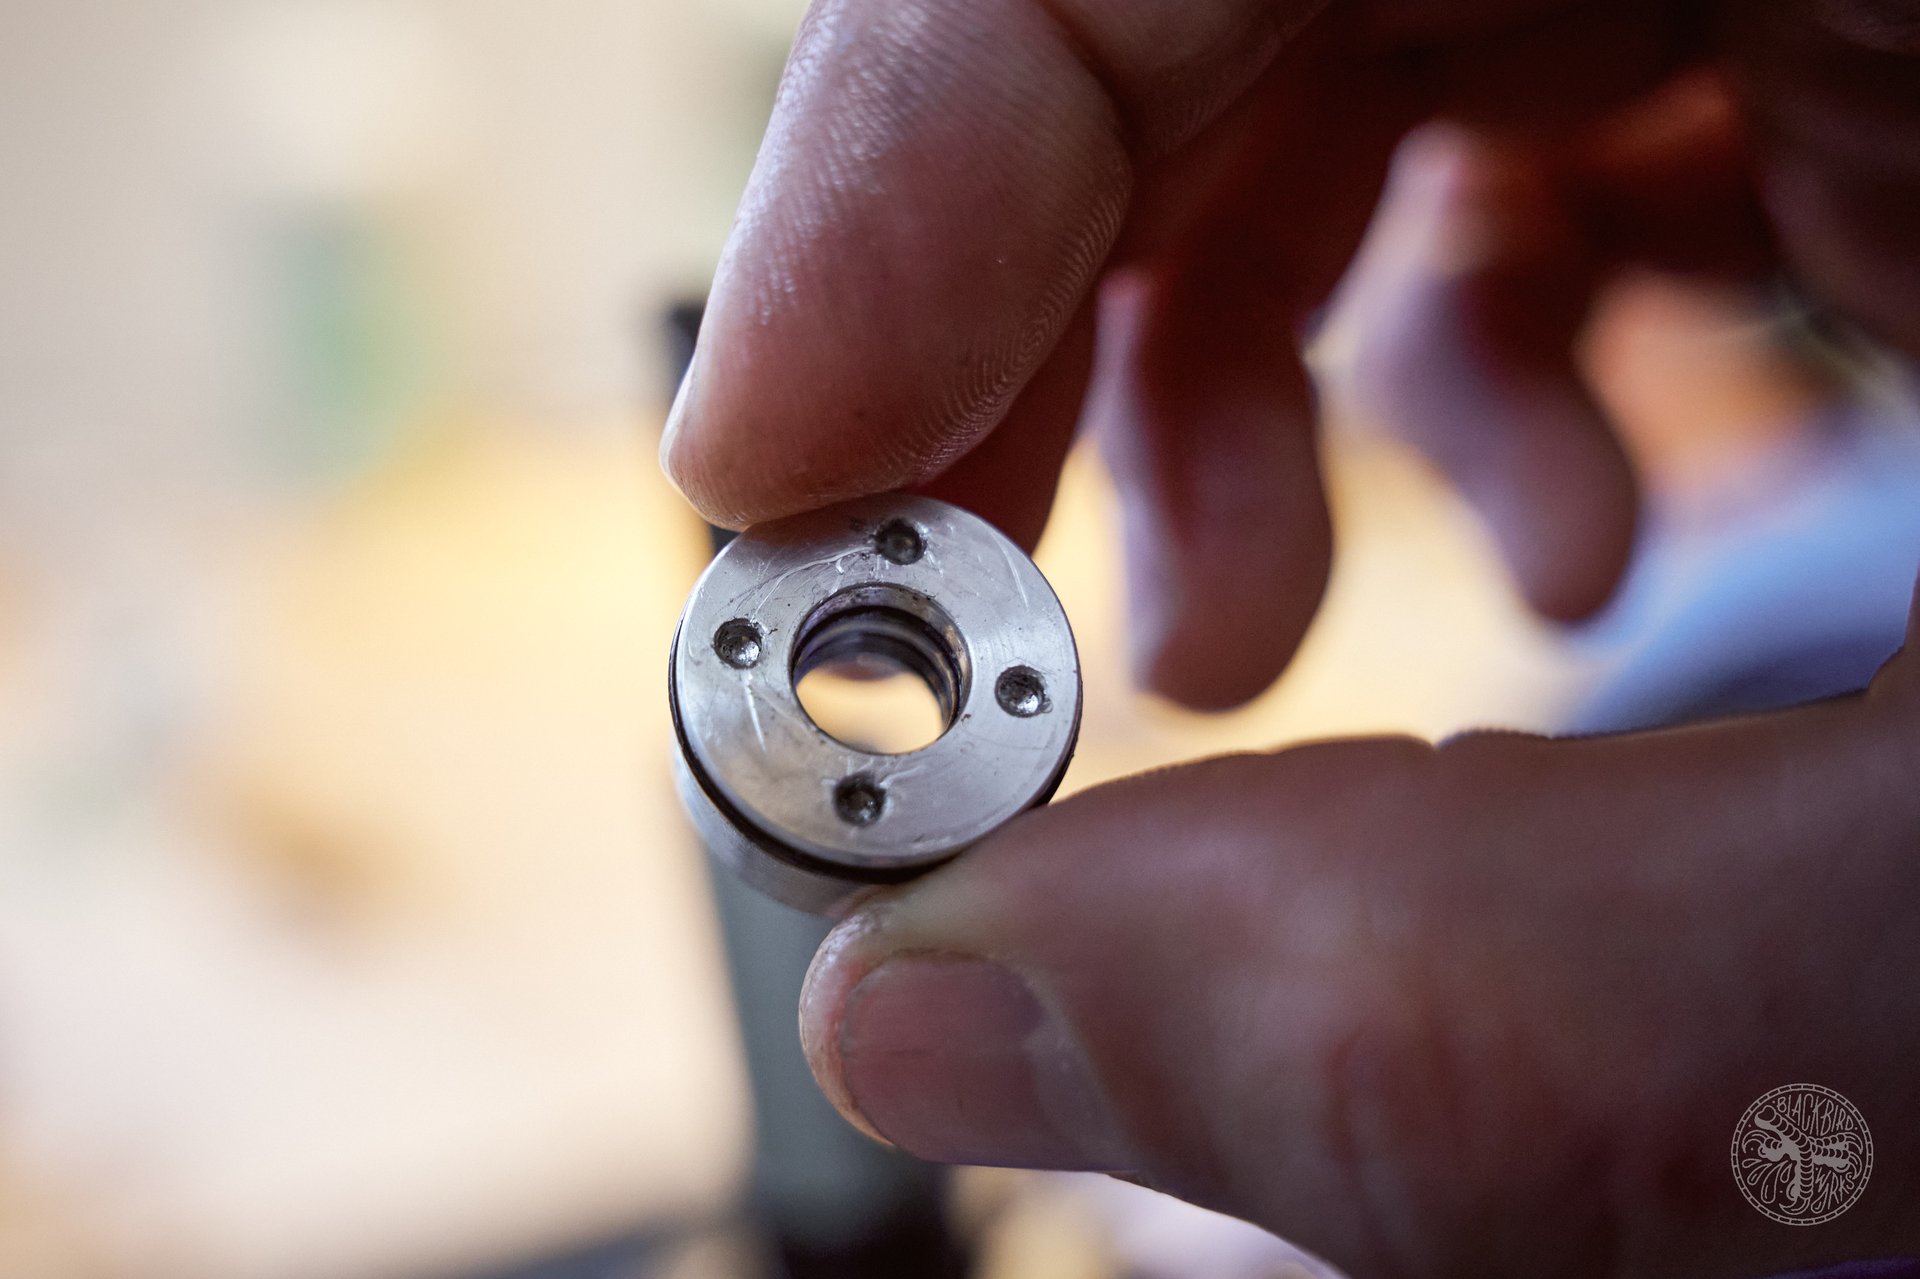
Those 2 pins lock the actuator to the cartridge in the simplest way. The filthy sponge bottom-out bumper has seen a couple of harsh winters. Clean it with 2.5wt oil and wring the excess out.
There is nothing to see here
If you are just swapping to a new cartridge, this is all you need to see. And that is all OneUp recommends.* Clean up all the parts your hands touched and reverse the removal process to slap everything back together. There is comfort in believing that a certain amount of magic makes these designs work. If you don't want to ruin the magic, this is all you need to do to get your post functioning like new. I'm wired a little differently and on the scale of "that's too risky" to "oh what the hell," so I entered the gamble zone by opening the cartridge up because I had a replacement on the way from OneUp. If It worked, I'd have a spare cartridge for a rainy day and some deep knowledge that would occupy space in my forgetful brain for a few months.
*OneUp does not recommend performing this procedure, and it may void your warranty.
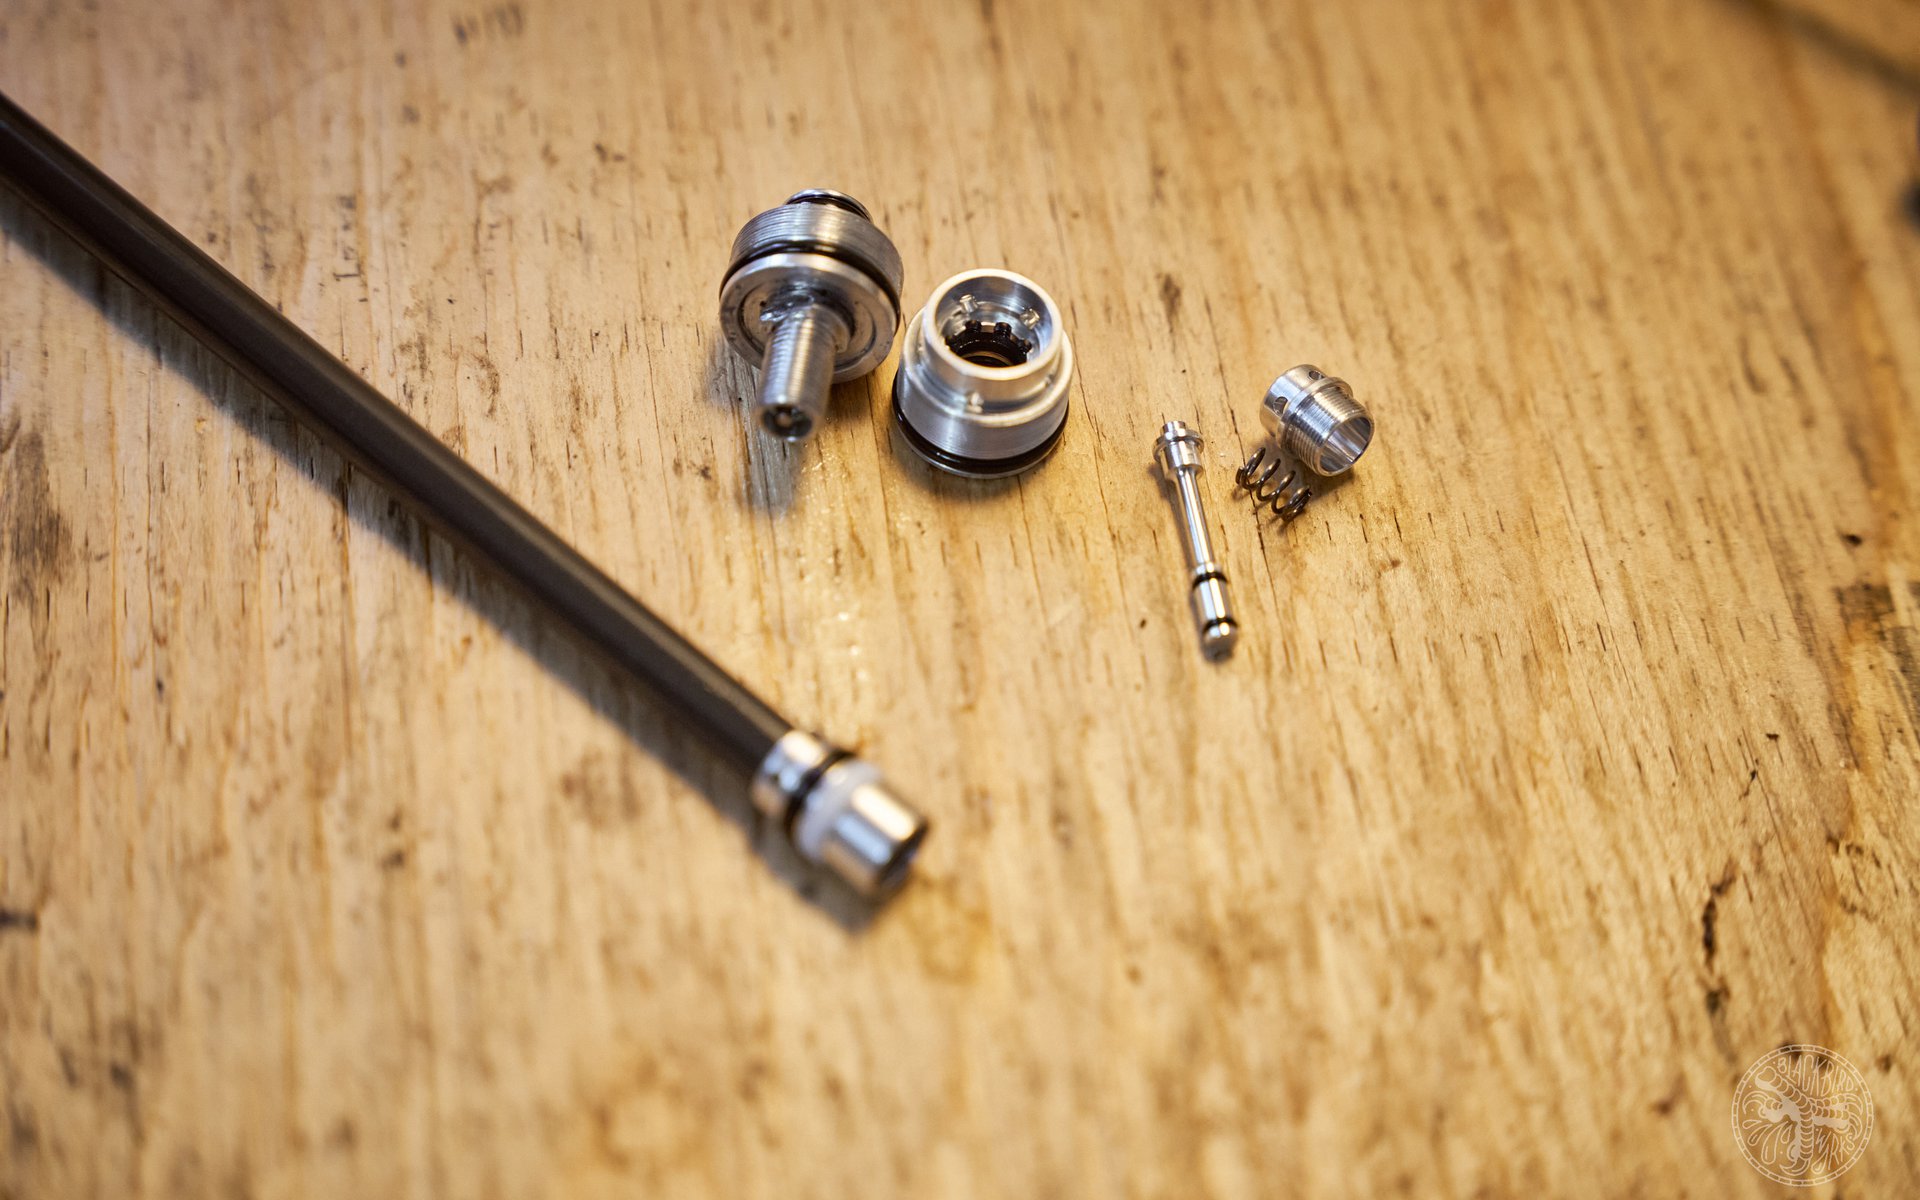
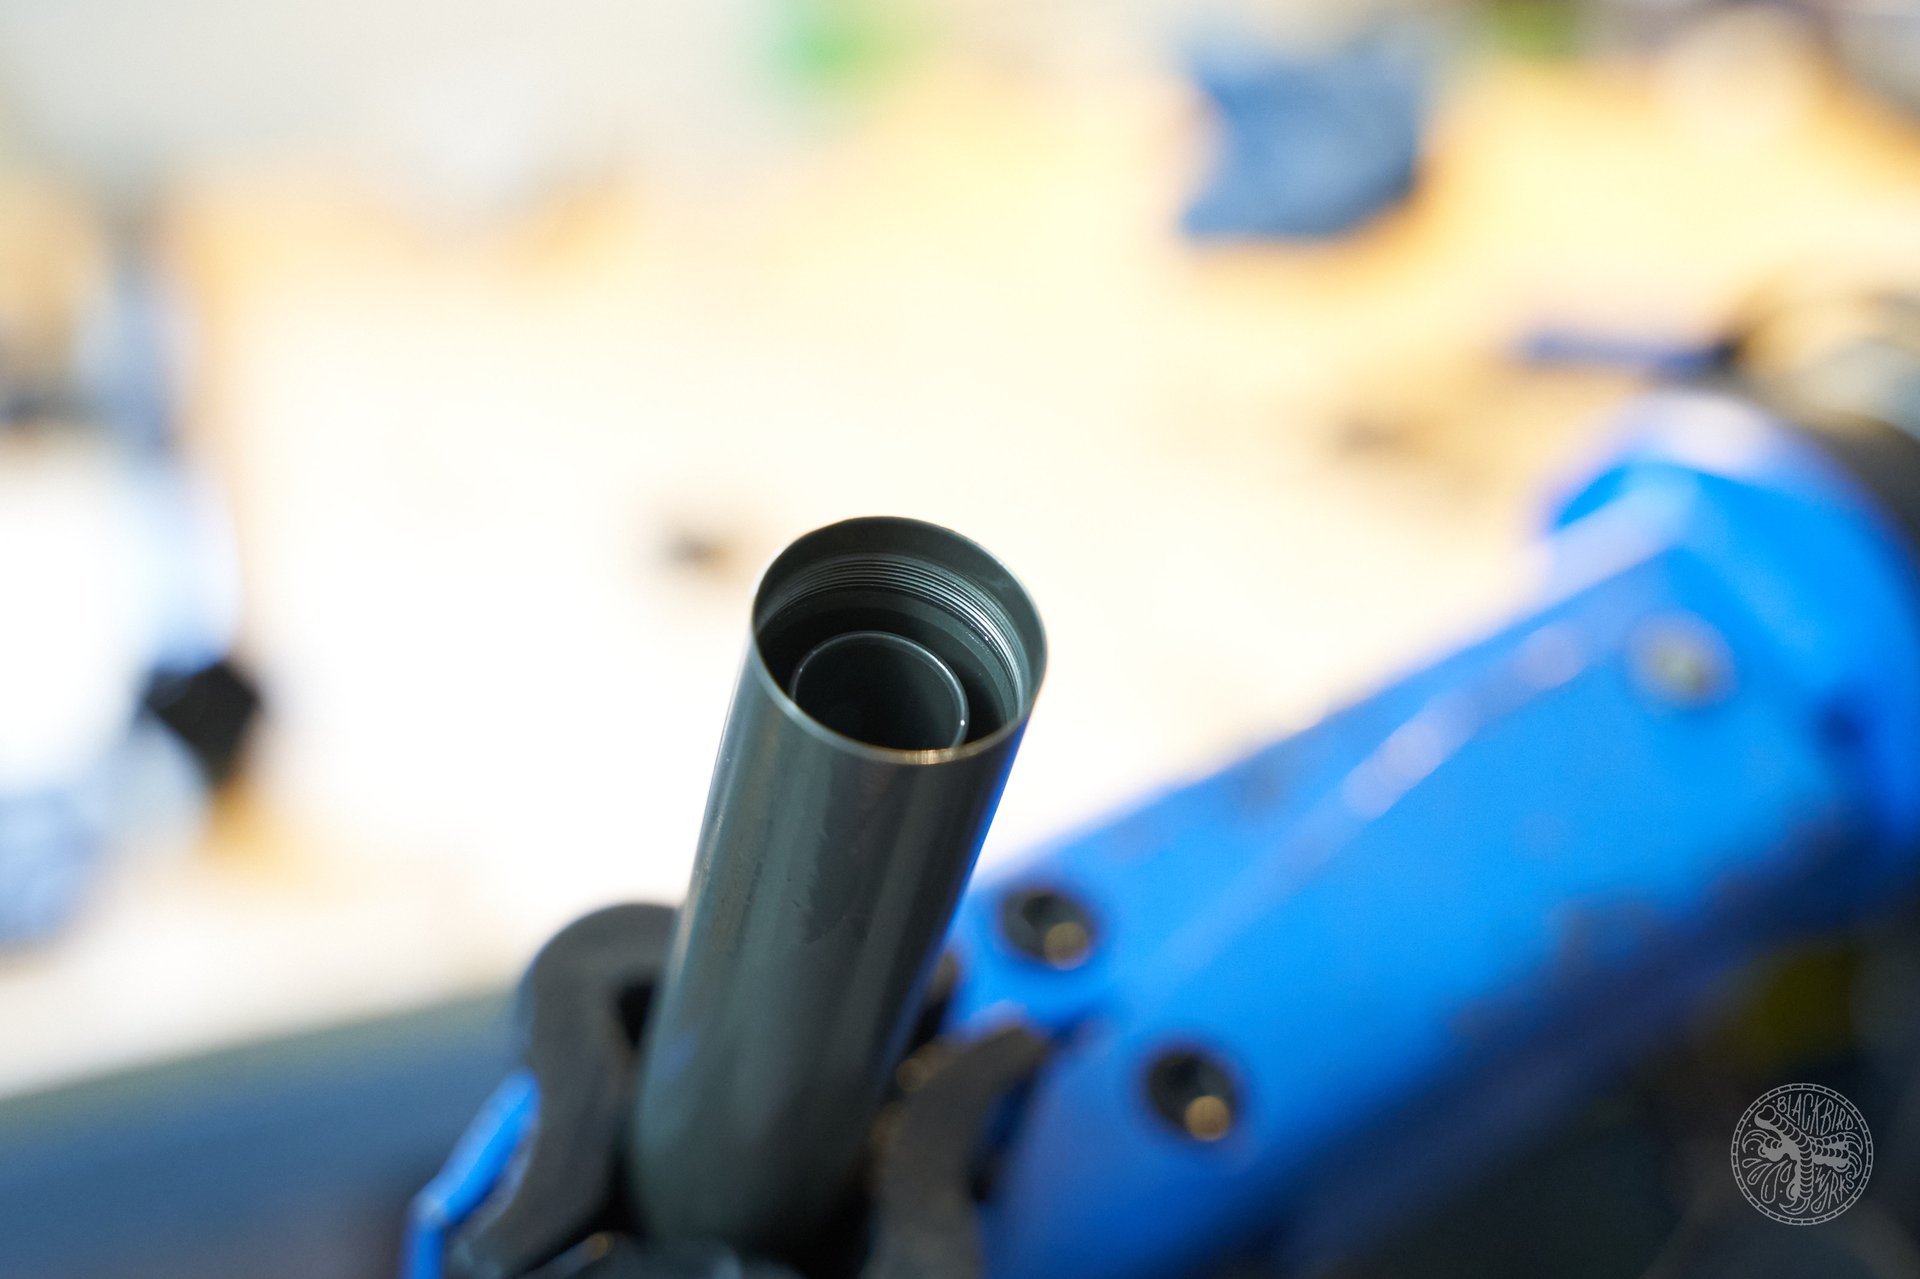
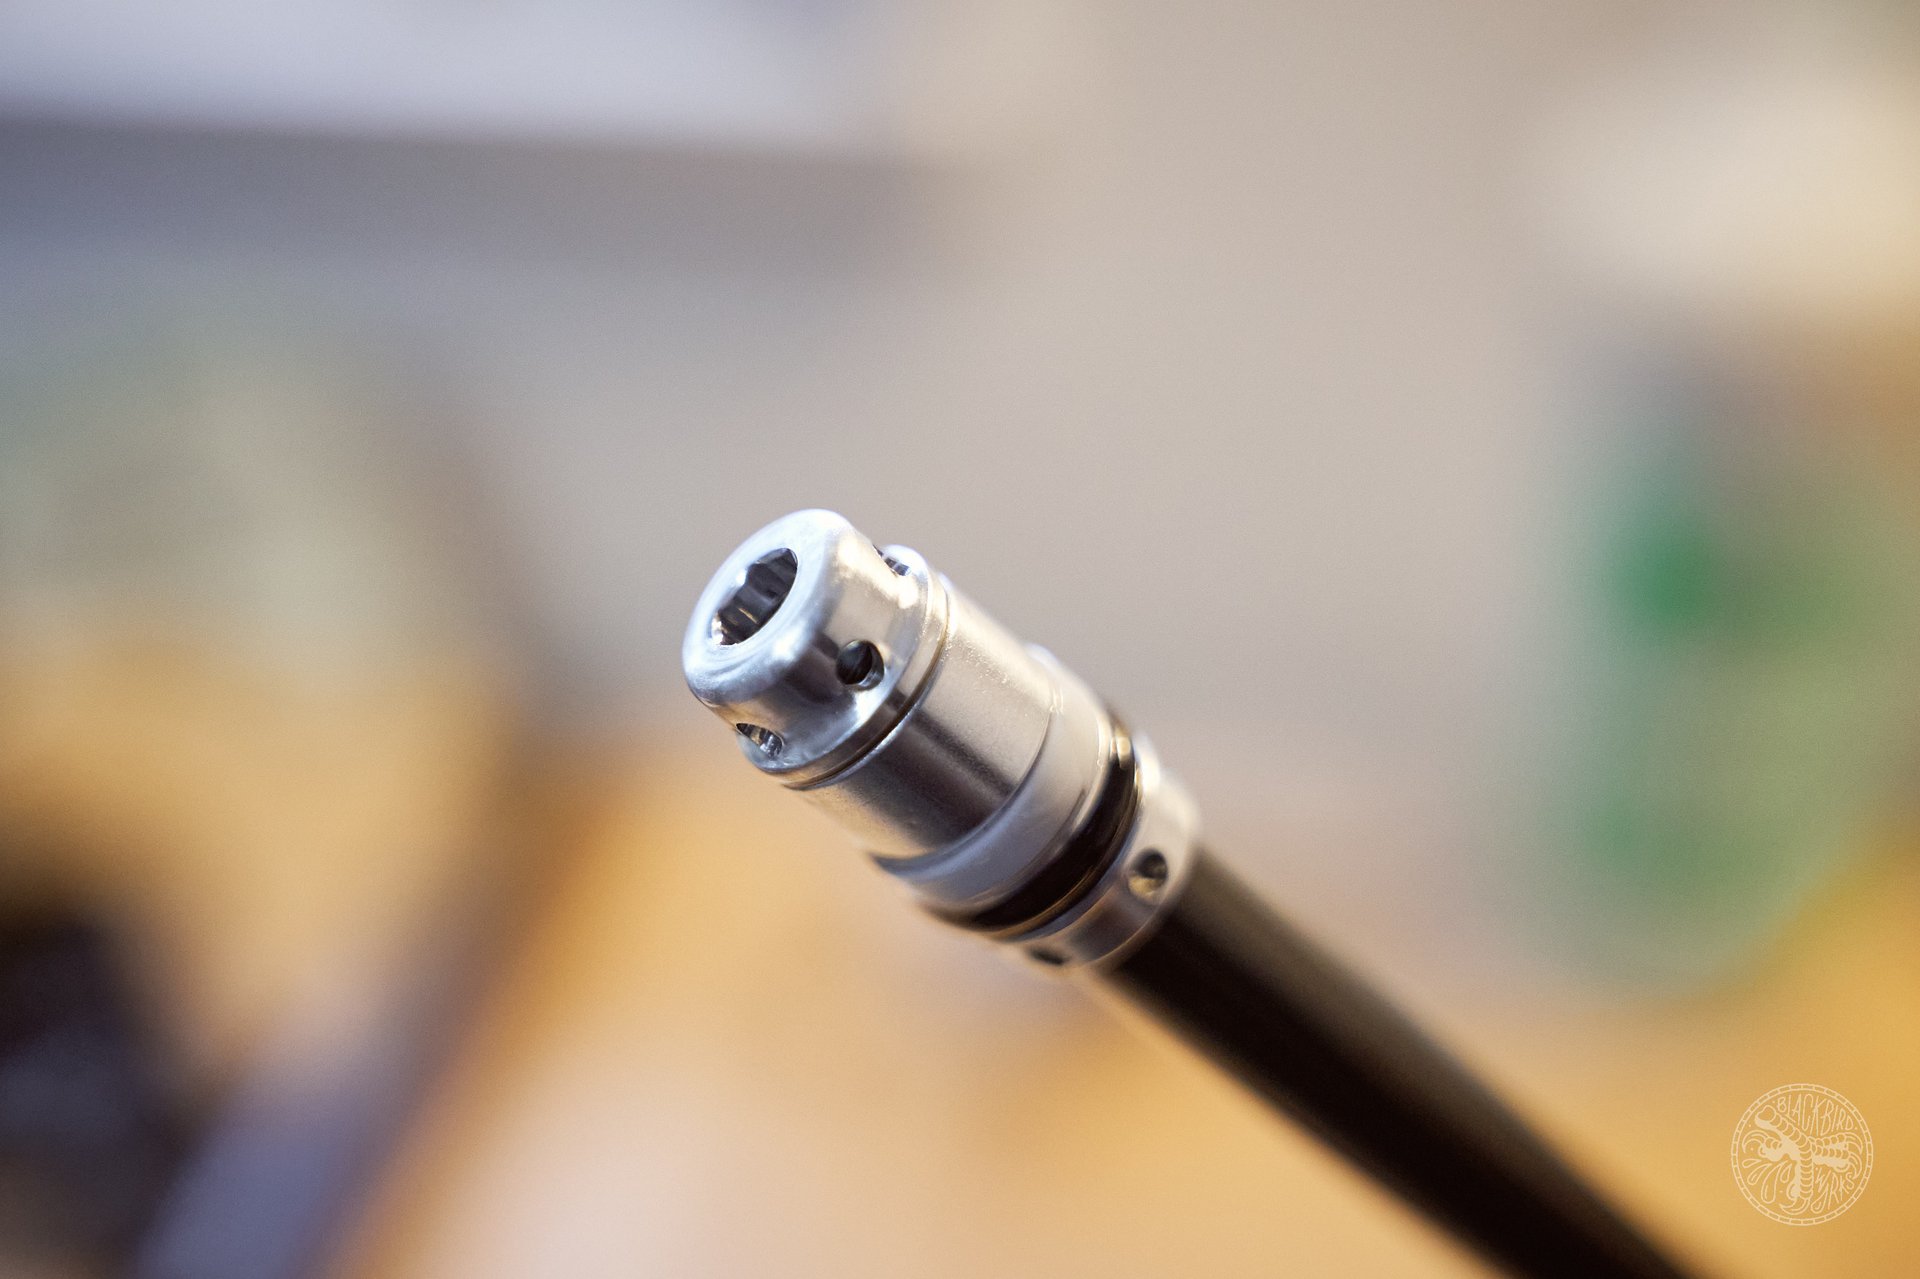
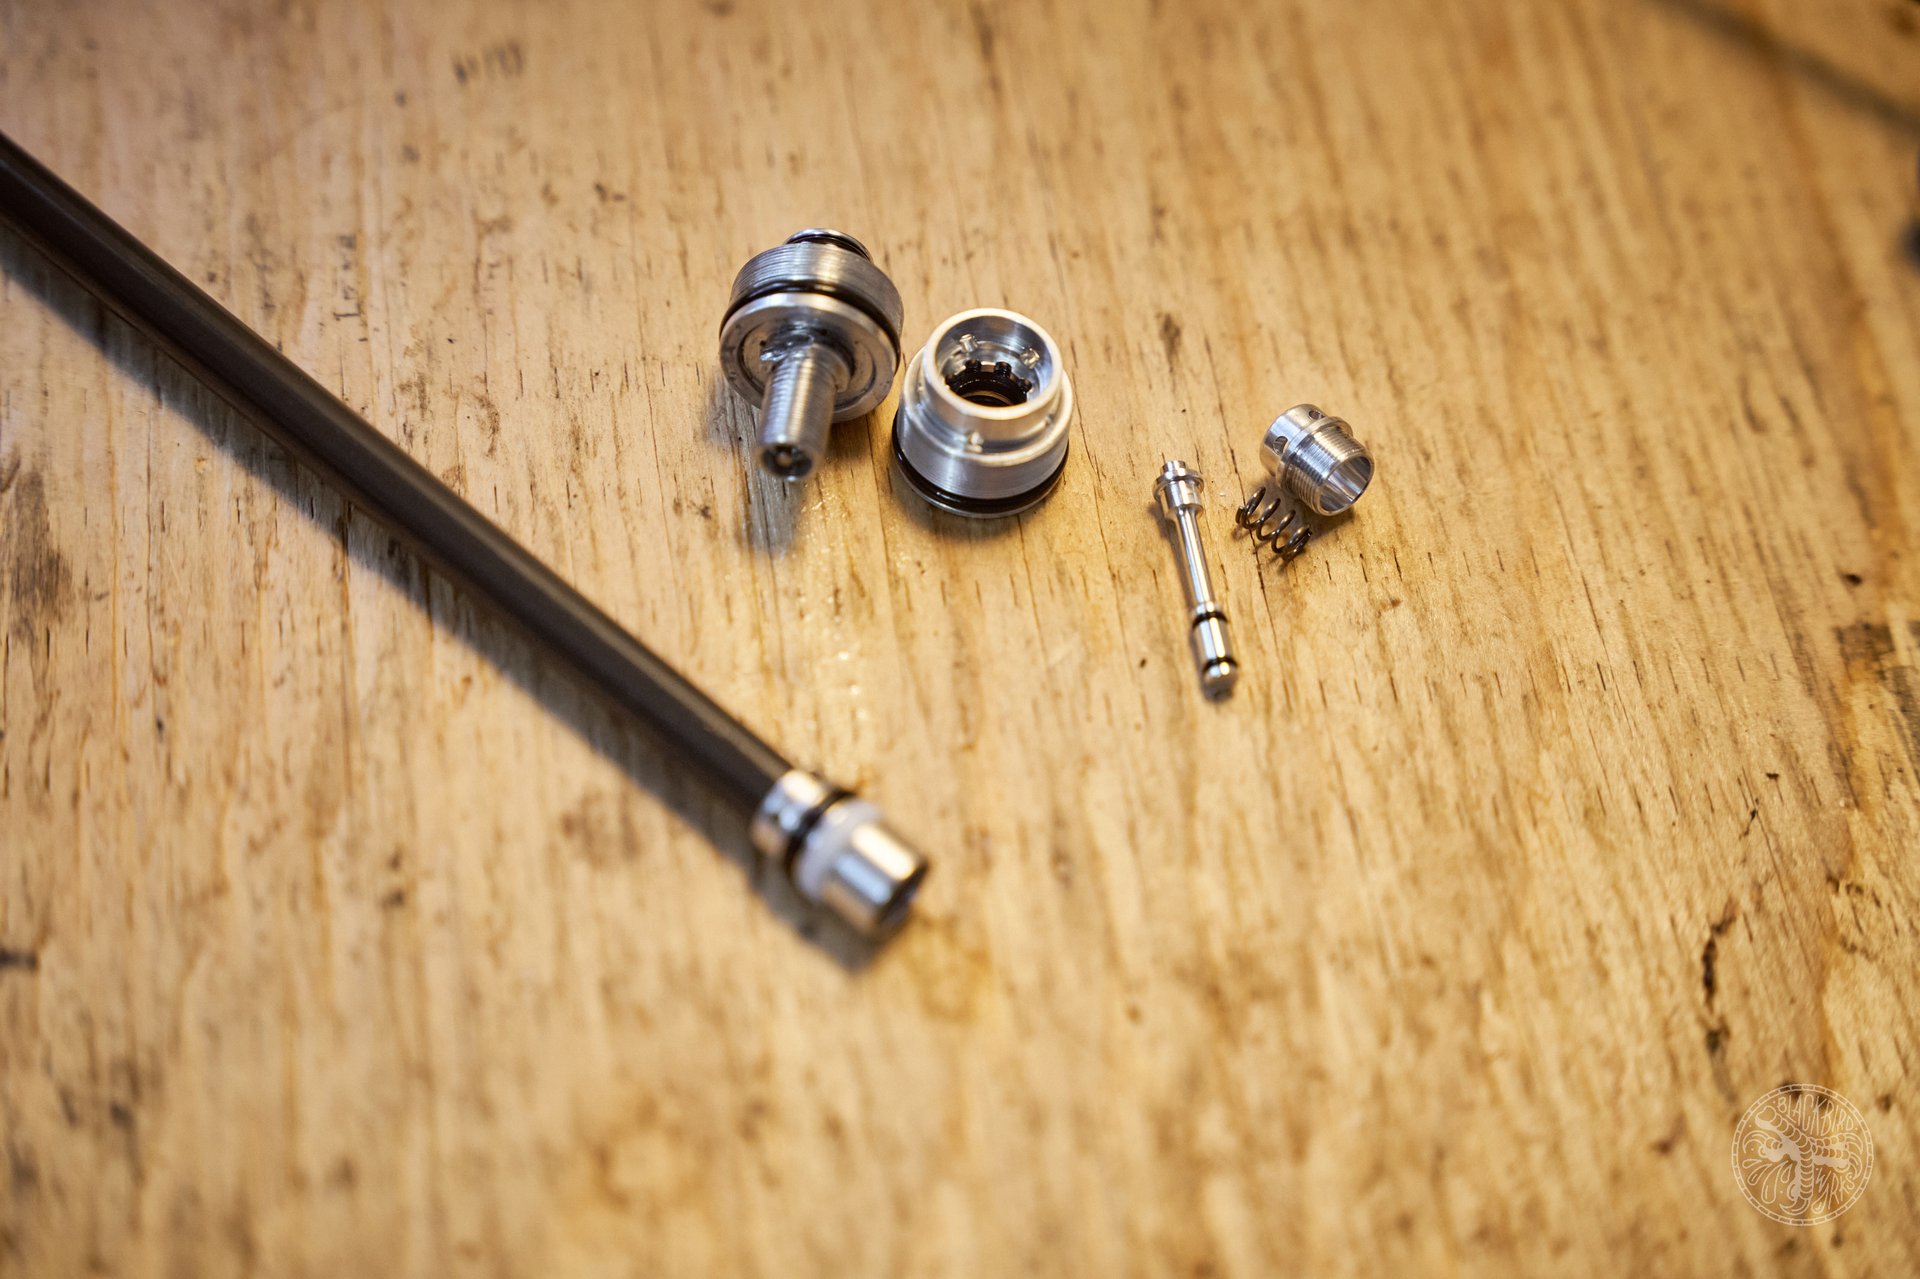
Remove the actuator rod from the cartridge. It goes all the way through and is probably the least impressively engineered piece of the whole unit. However, it works.
End seal from the actuator side of the cartridge. I used needle nose pliers I sharpened for this kind of stuff. They are not very stiff so one day I may break them. I recommend using circlip pliers for a better experience.
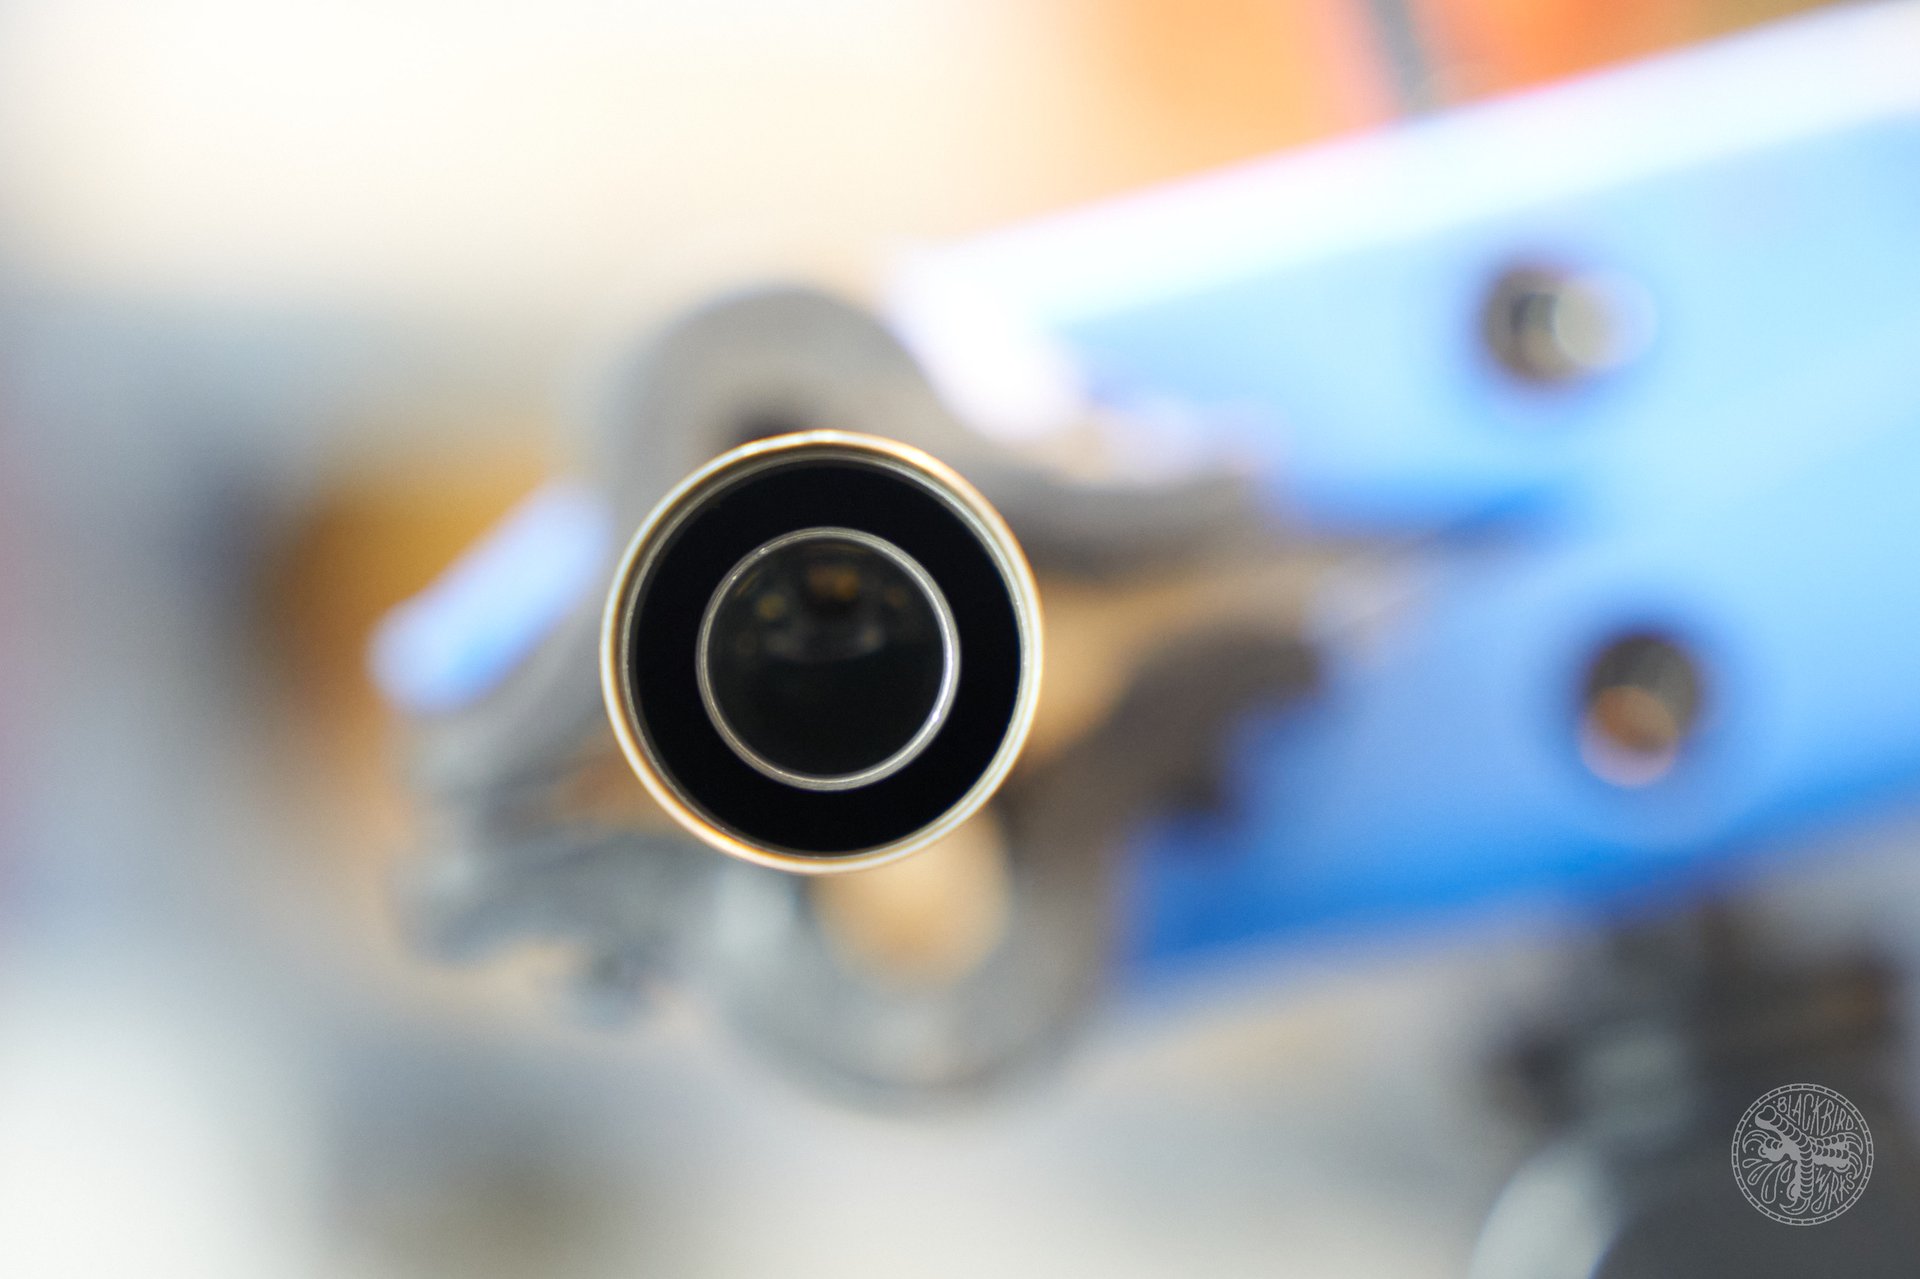
8mm on the air side of the cartridge. I loosened both sides and have not removed either. I have the first time when I did this and oil shot out everywhere. Make sure you really release all the air out of it.
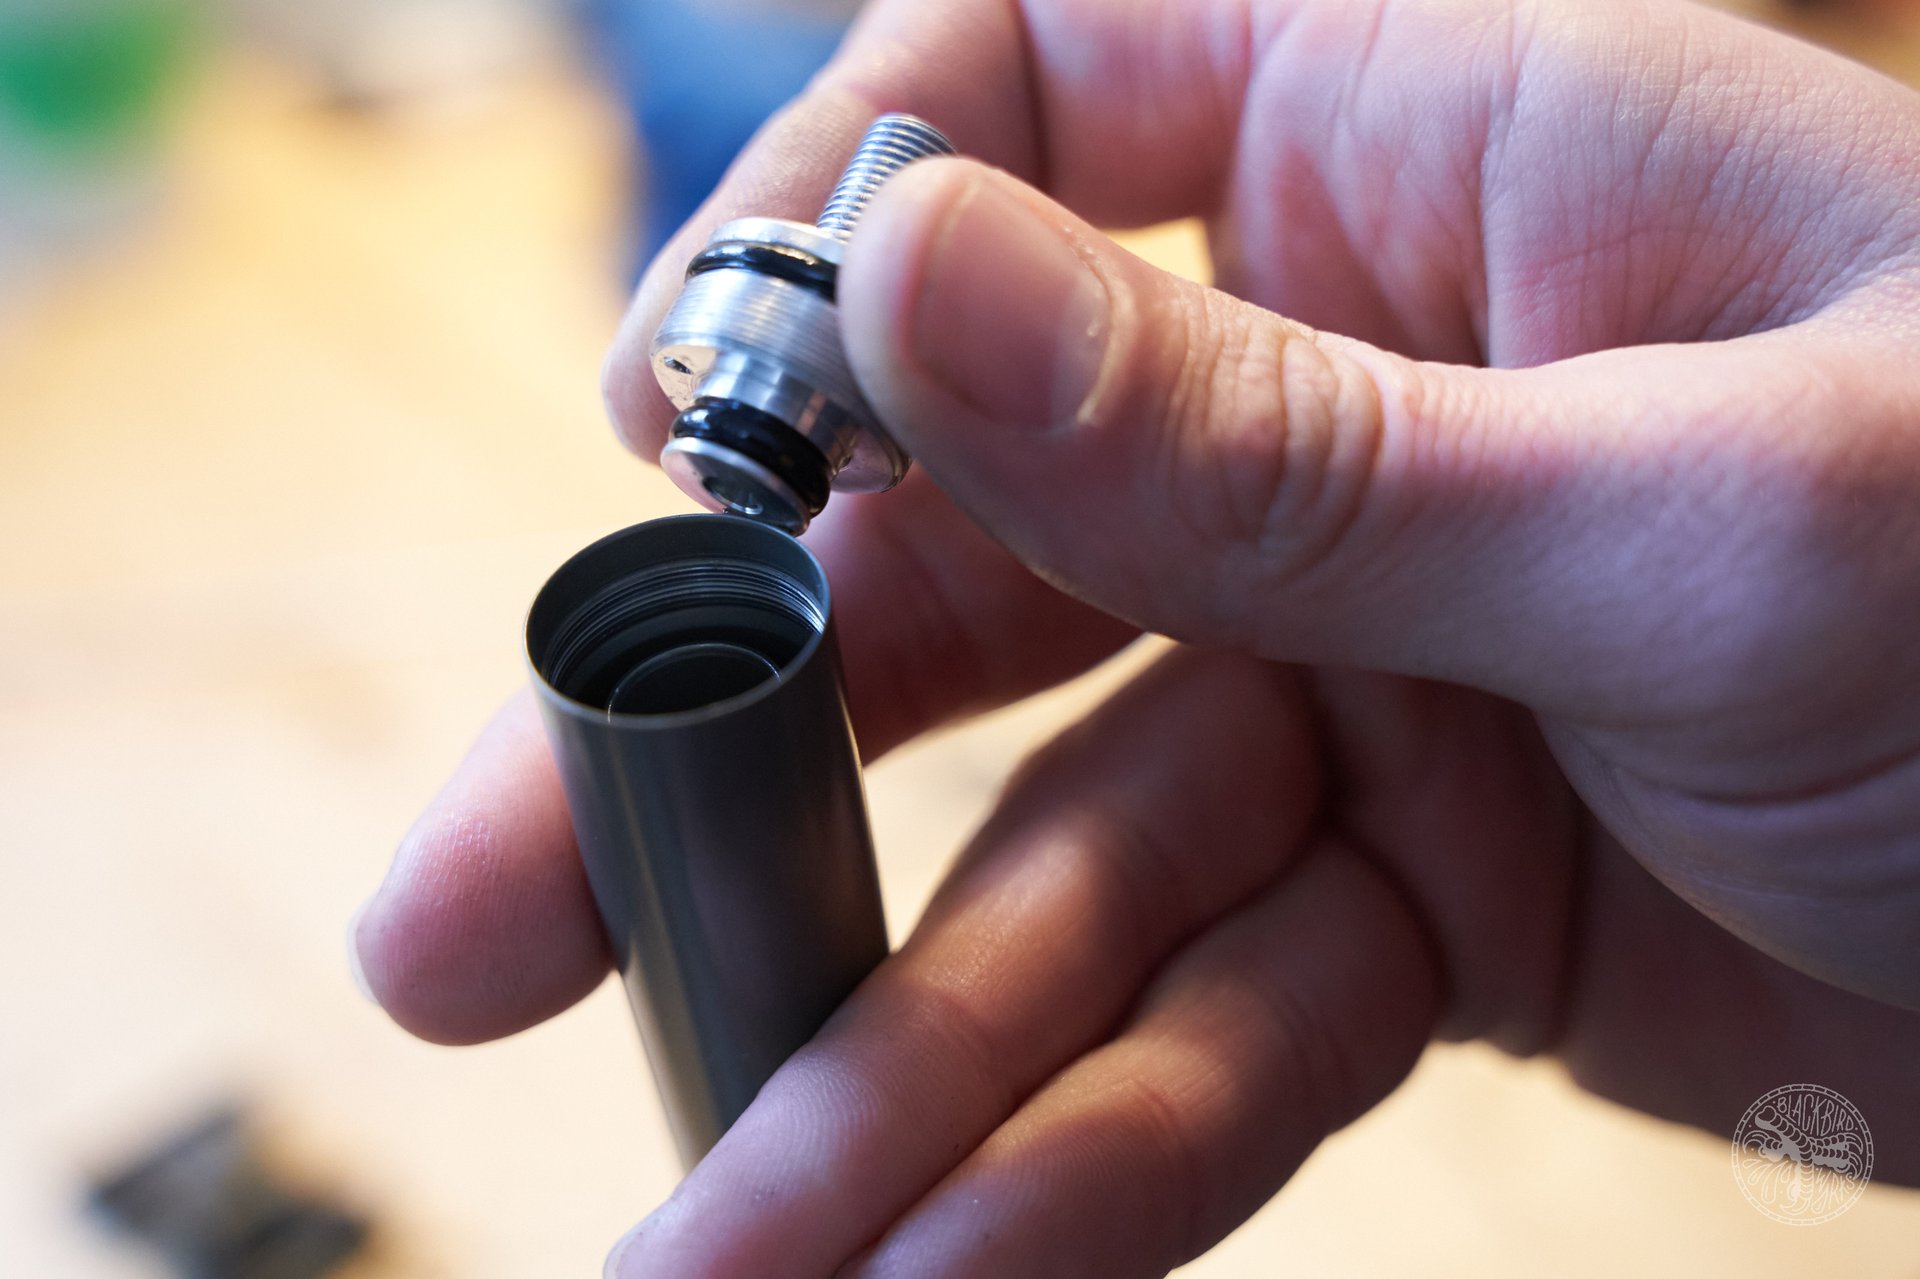
Airside seal is out. There are a couple of o-rings on it that you can change if you are having issues with air loss on your dropper.
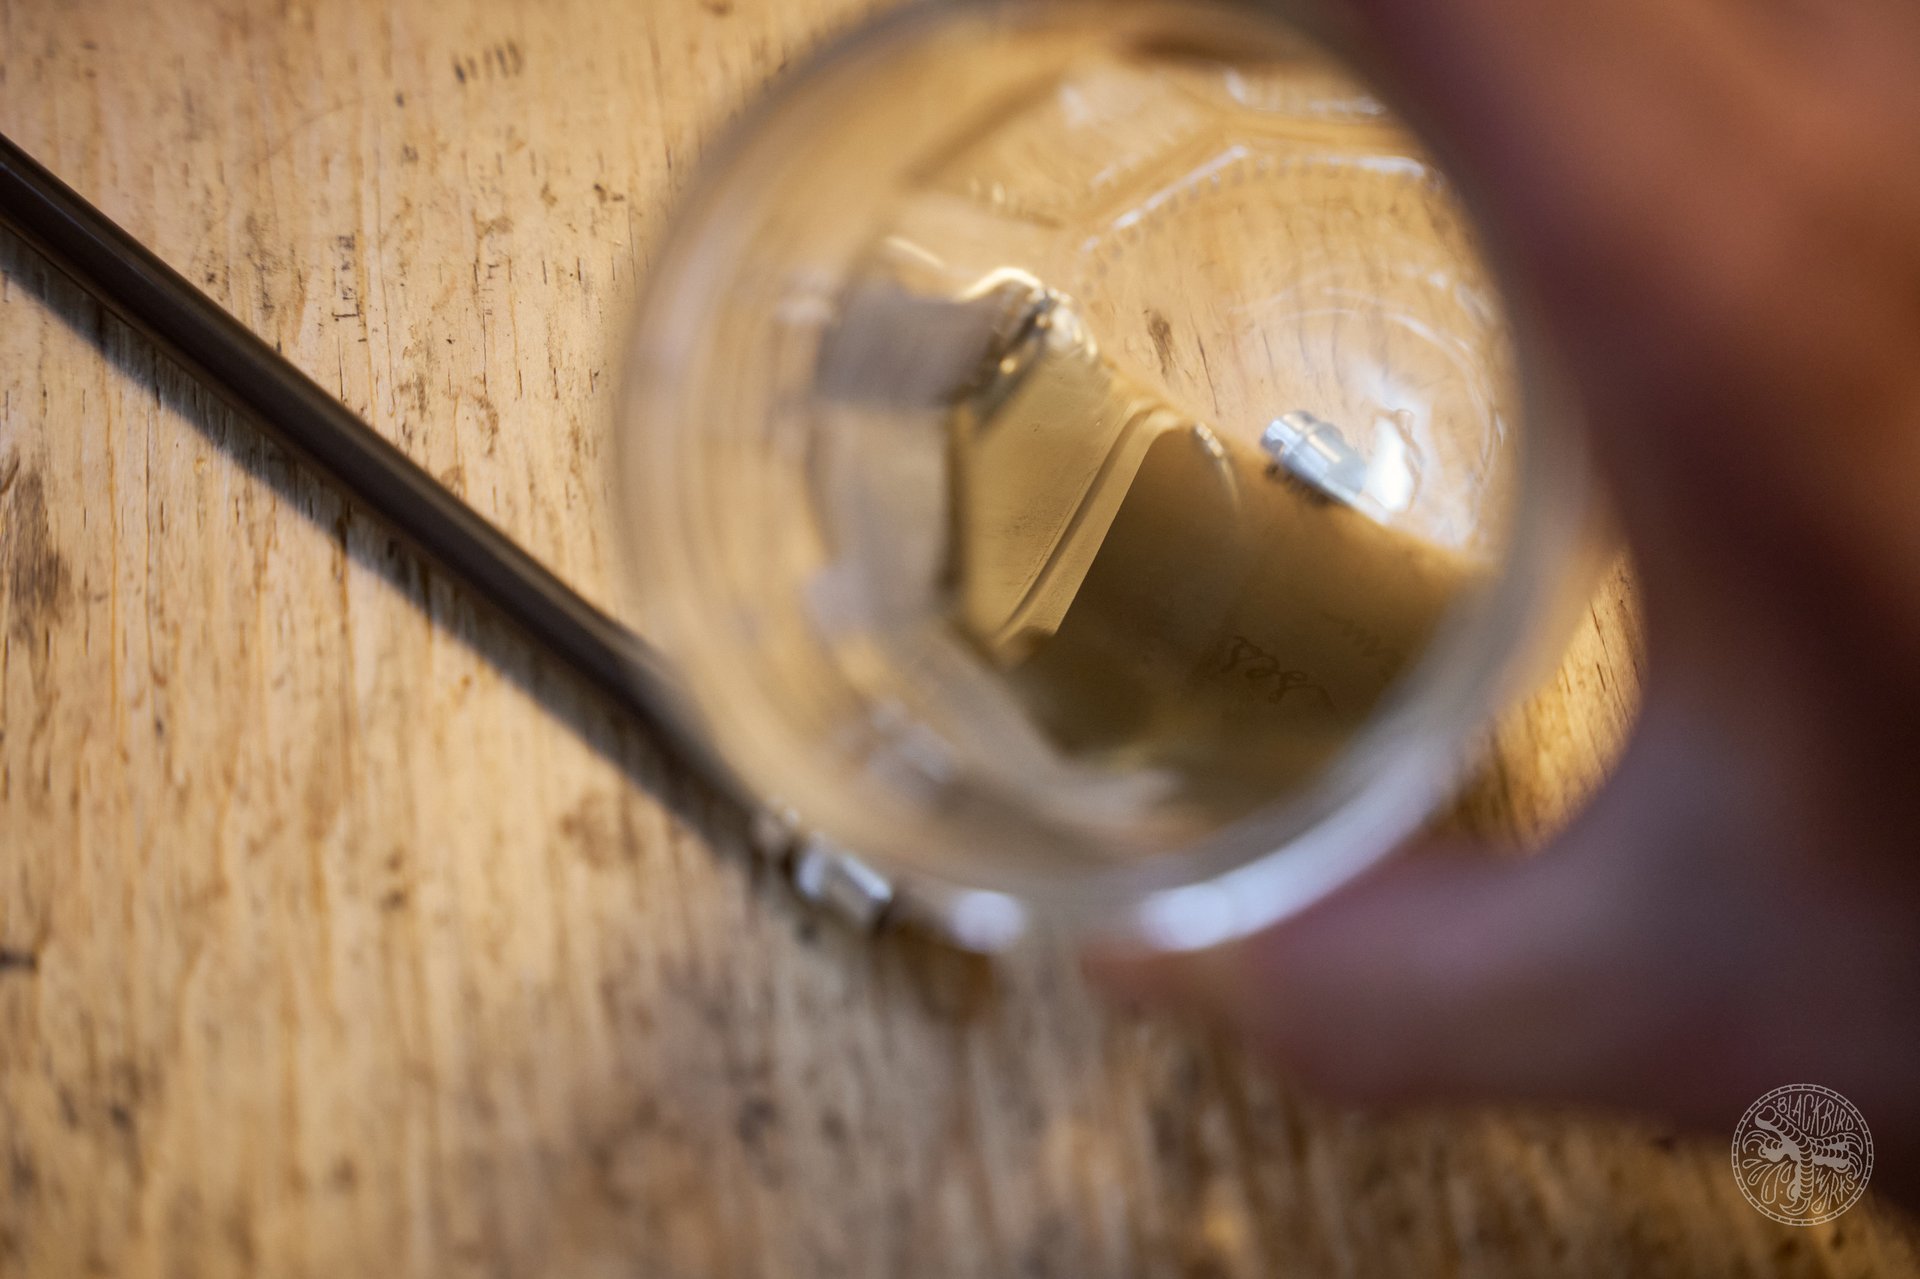
There are two tubes within the cartridge. The inner one sits about half an inch lower than the outer one.
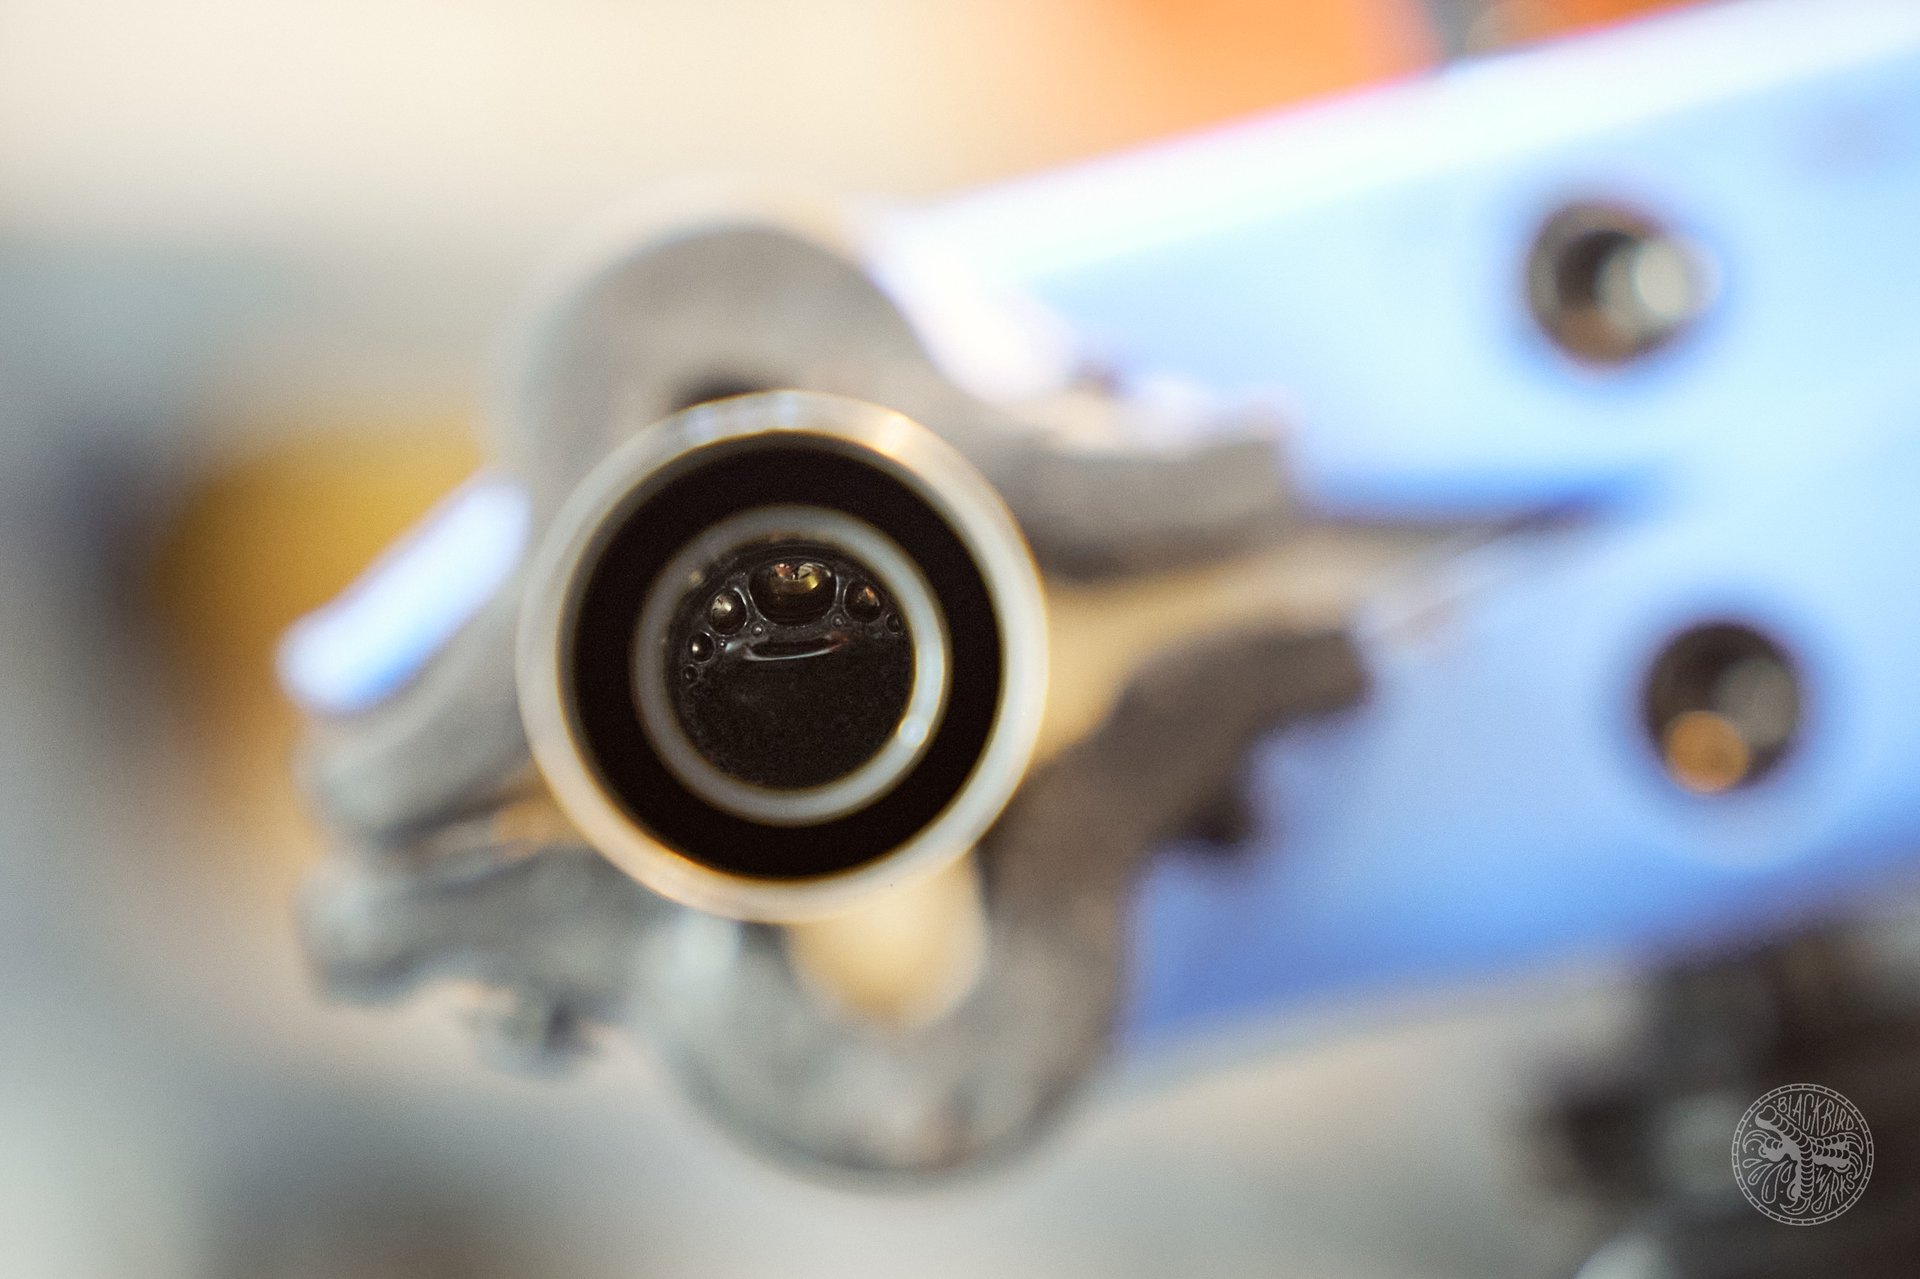
I had a quick smell test of the oil inside and it smelled like Reverb fluid to me, aka 2.5Wt shock fluid. It was filthy and I dumped it into a jar.
The tubes are connected with a bushing (IFP valve?) about 19cm down the rim. I made a measurement tool out of an old spoke. I put it between the tubes as far as it will go and bent it 90° at the rim of the tube to measure the depth.
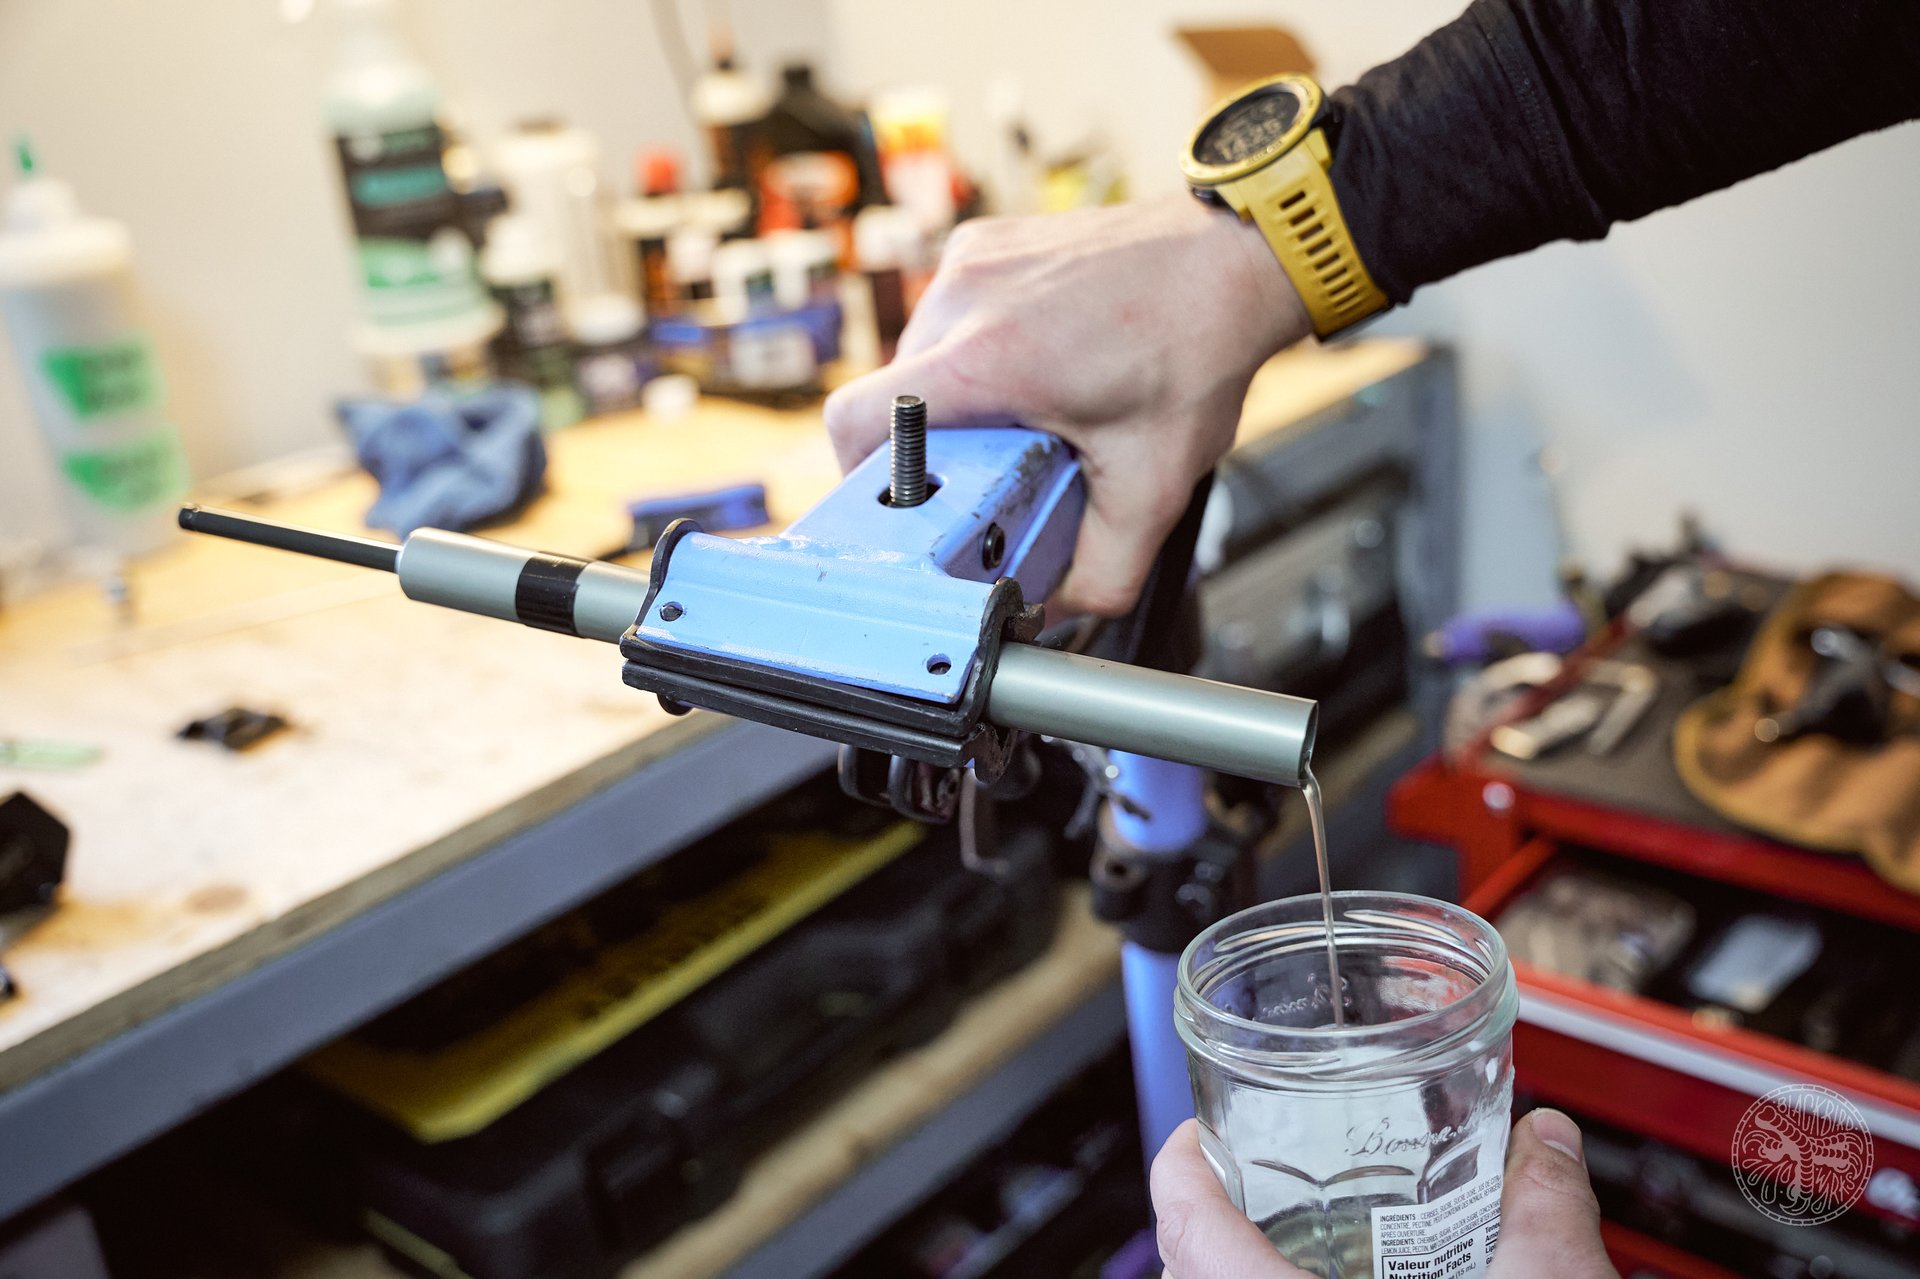
2-year old oil coming out. Remember, there is oil to come out from the other side, too.
Remove opposite side to drain rest of the oil.
Exceptionally well-machined transfer ports. The attention to detail is incredible.
I removed this seal about 10 times with pliers for practice and photo purposes, hence all the scratches. A couple more o-rings to replace if you are keen.
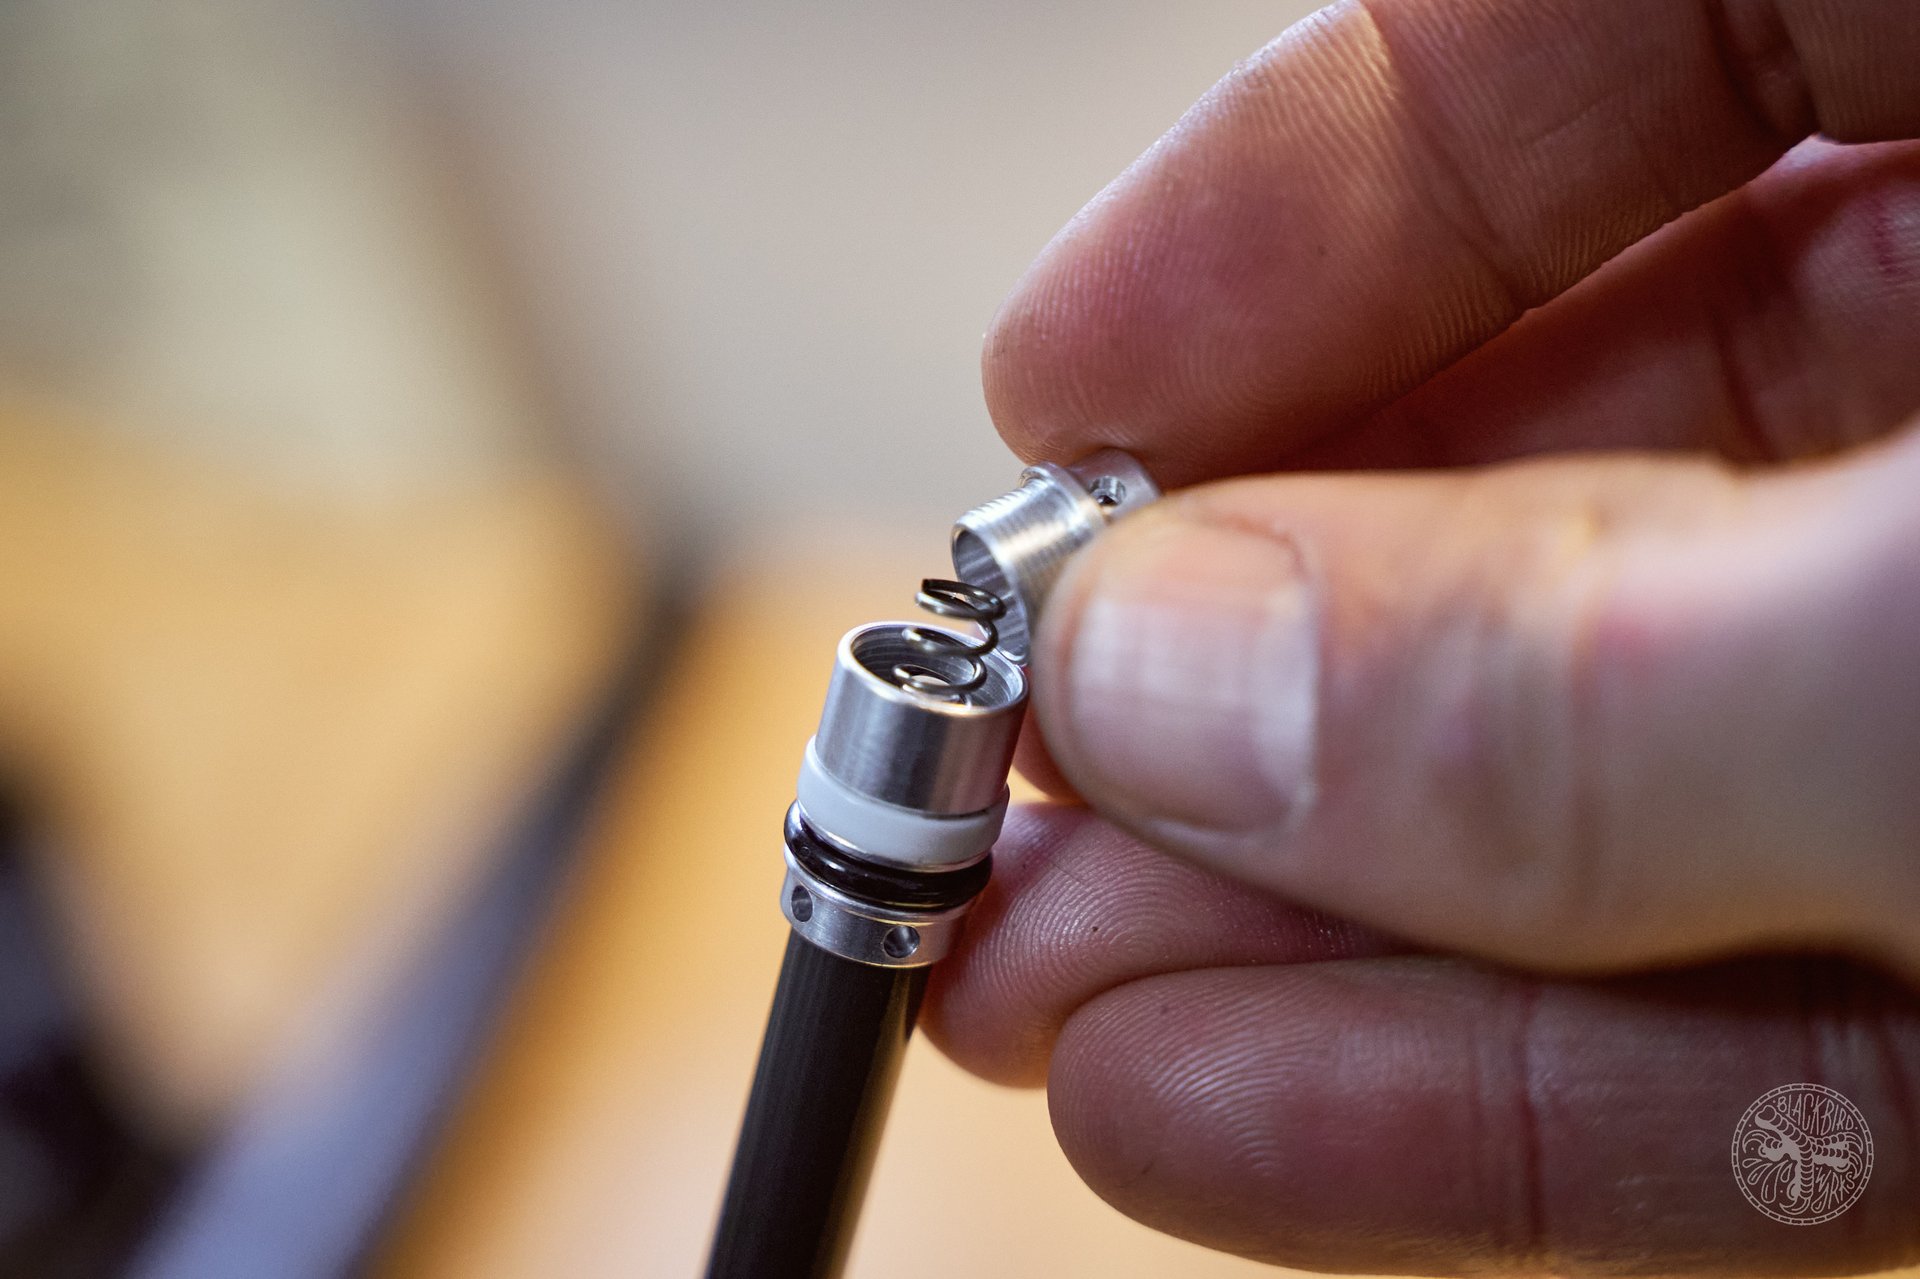
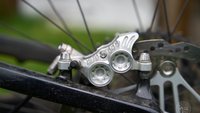
This is the spring loaded valve that opens up the oil flow between the chambers. I figured this was the part that was giving me grief with the post slipping.
It easily comes apart with a 4mm hex, almost like they wanted me to remove it or something.
Exceptional machining and fit to the tiniest part.
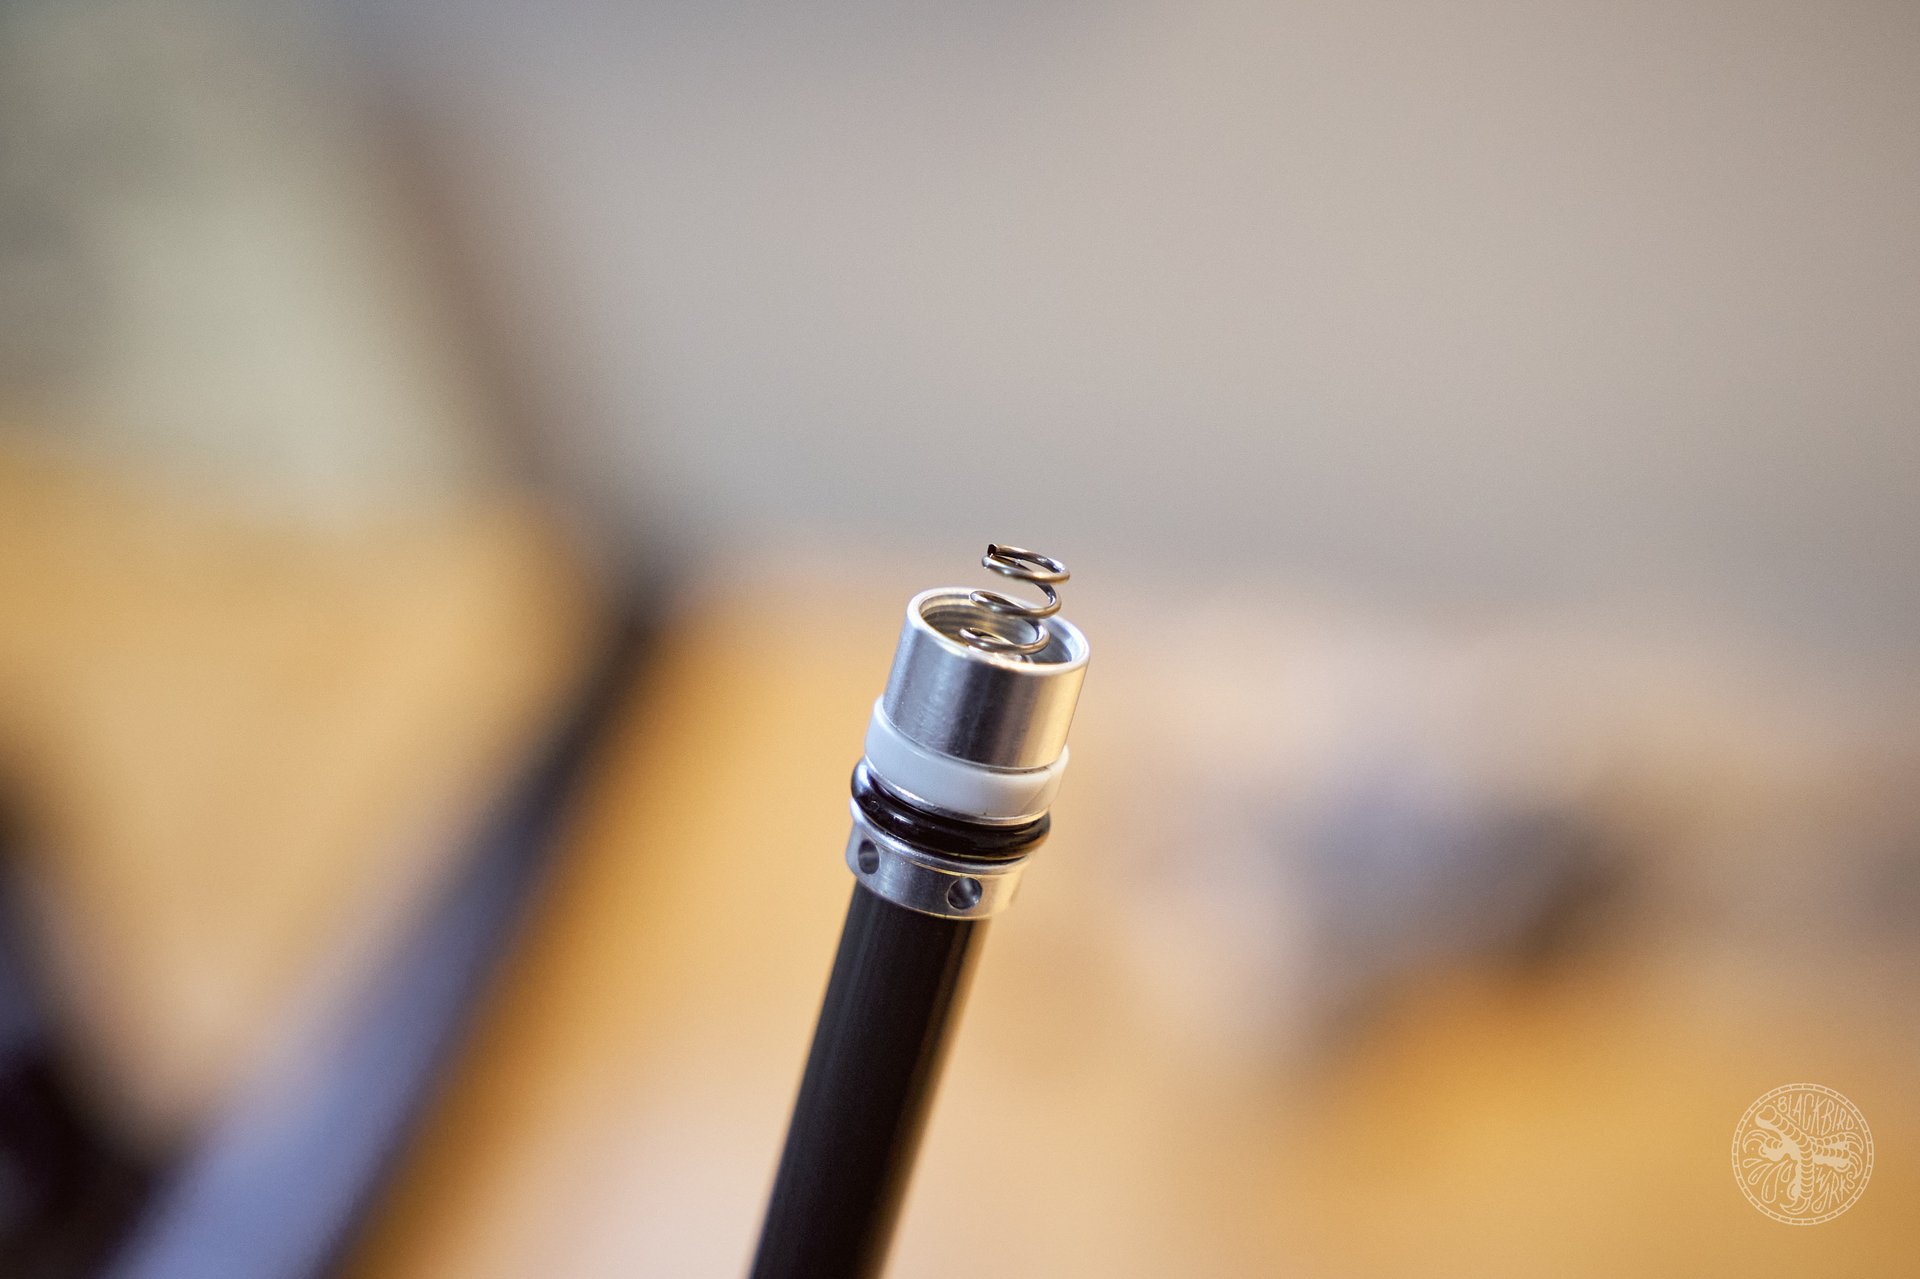
I am usually not a fan of tiny springs. I lose them in my shop all the time. I stretched the spring out a couple of millimetres to stiffen it up a little.
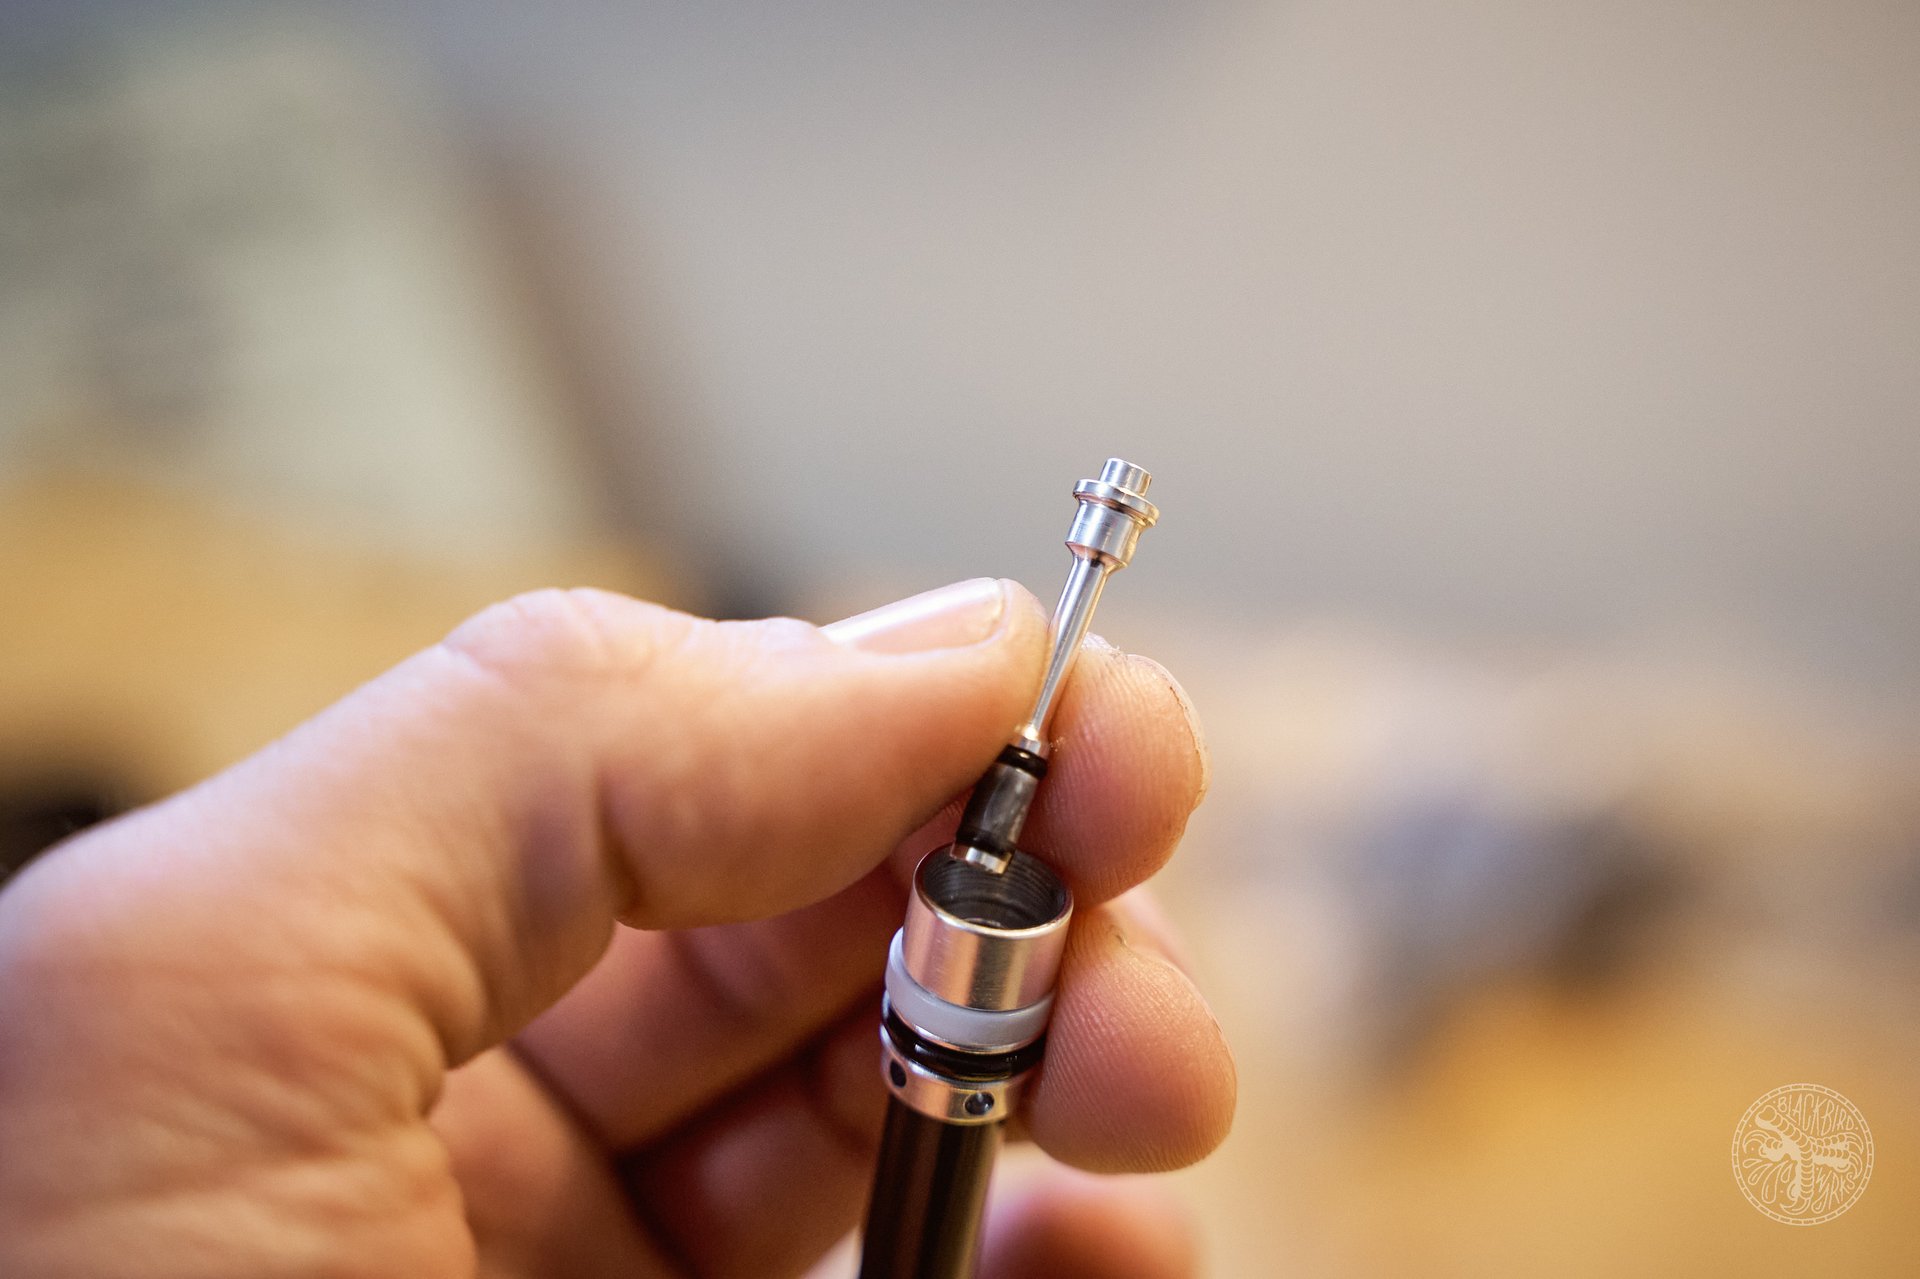
More tiny machined parts! The plunger that makes it all possible with the impossibly tiny o-rings.
Dirty oil residue between the o-rings.
Dying to text this photo to Ryan Walters, who is a pro machinist, but also scared that it is not that impressive for him.
The used up oil is not in great shape. I filled it up with 5wt oil to help with the possibly worn-out O-rings all throughout the cartridge.
Buttoned it all up and crossed my fingers that I didn't have any left over parts.
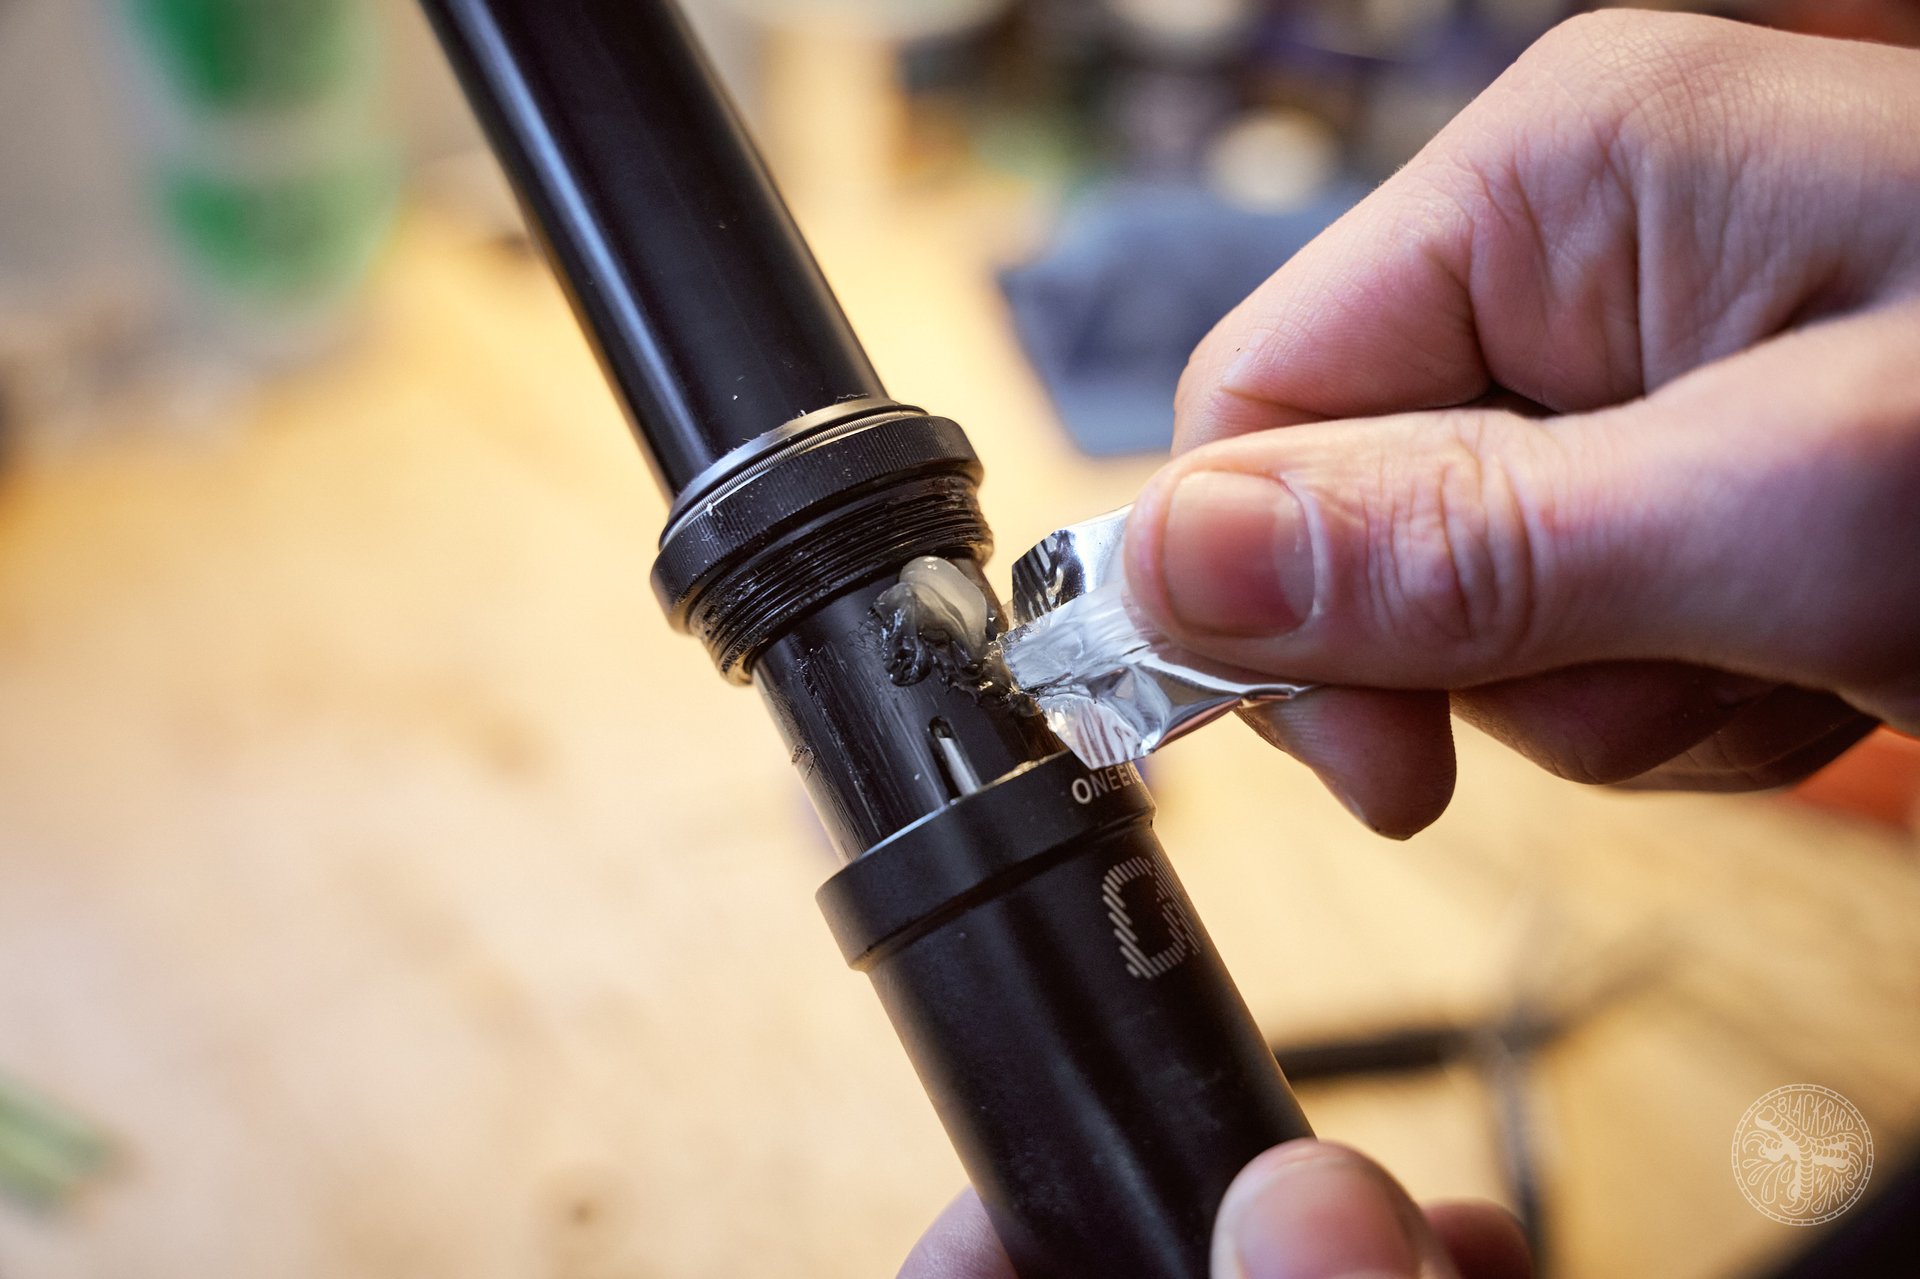
OneUp grease (Slickoleum?) in the grindy bits to wrap it all up.
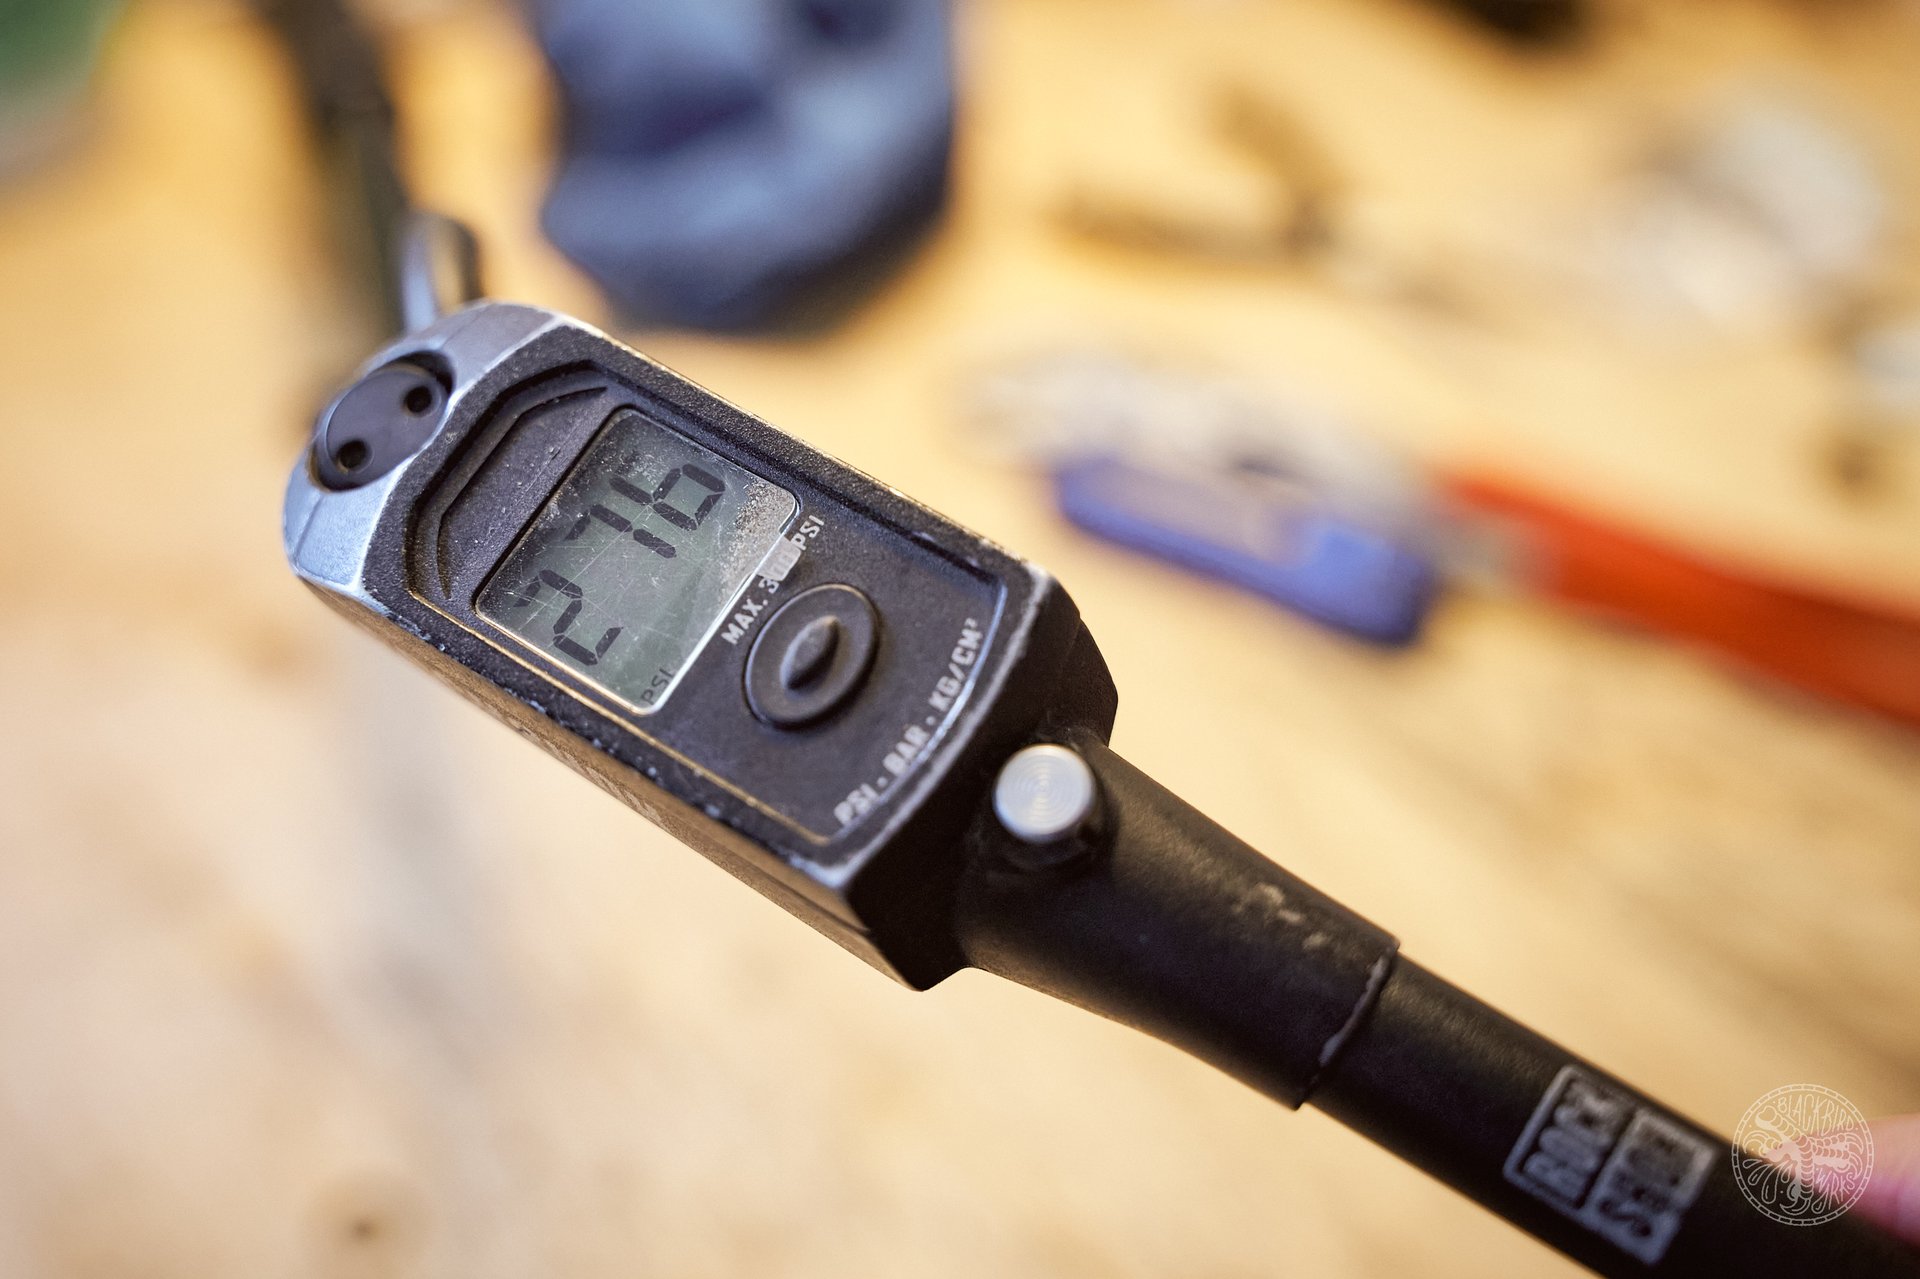
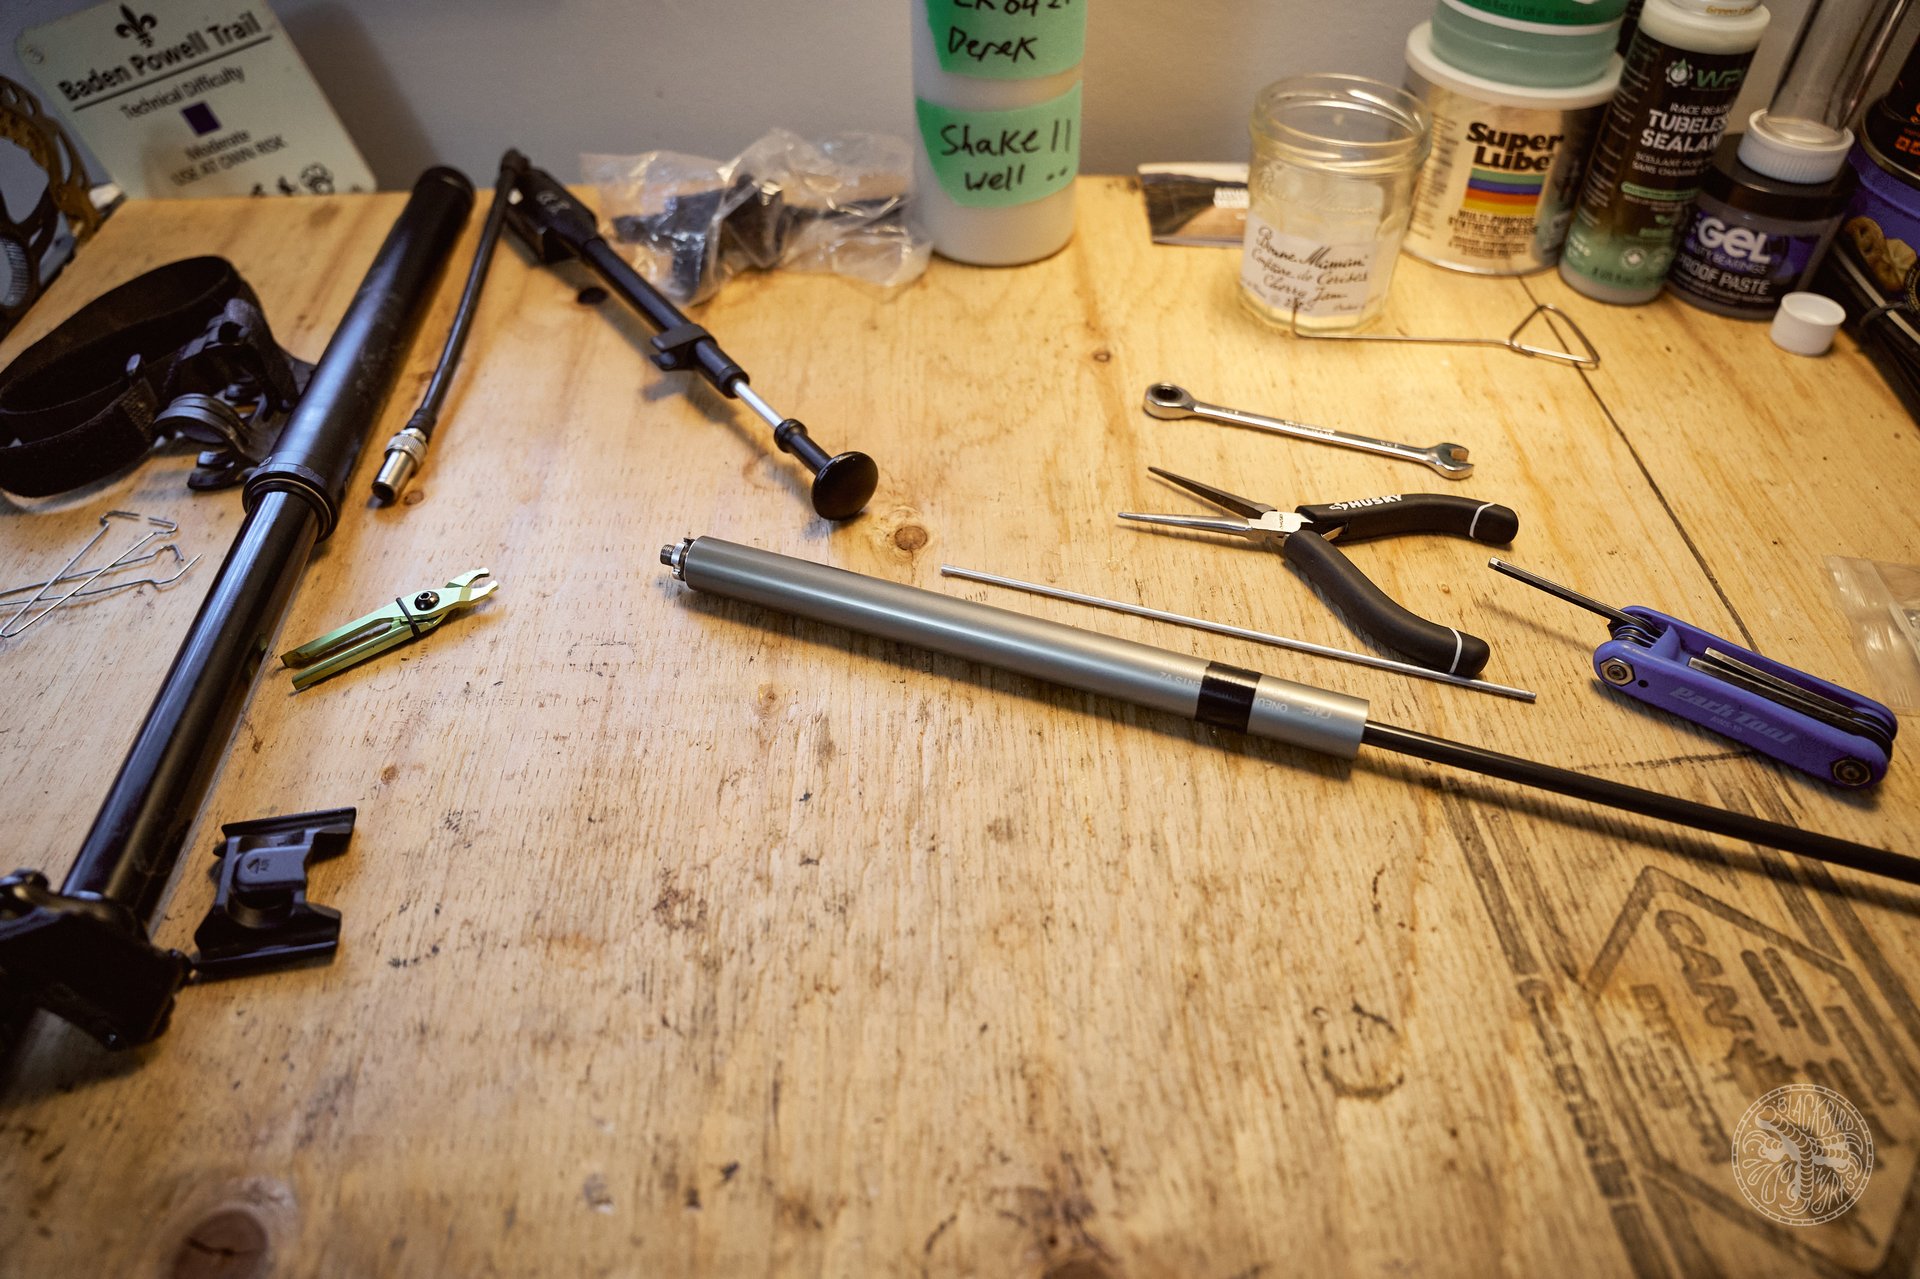
Top it up to 276psi (warmer climates 250, colder 300).
What did I learn?*
I learned that if it wasn't for the up and downy posts, I probably would have hung the towel up on mountain bikes a long time ago. They only got really good and reliable in the past 2 years or so and the bits that make up the OneUp post are a proof of this. It is amazing that a 250 CAD post can take so much abuse and still keep going after a slight refresh. Oh yea, my repair did work, too. Well, kind of. The post is very sensitive to touching the lever but at least it is not creeping up on its own anymore. I feel wiser for the whole experience too. After watching a Fox Transfer being taken apart for service, I am glad I did not attempt that. Who has Nitrogen tanks at home anyways?
Sasha the dog is tired and content. Knowing that her simple dispenser is reliable and magically gets refilled every now and then and I can't live without this remarkable innovation about 100 or so times every ride.
*A second reminder that OneUp does not recommend opening, closing, or otherwise fiddling with your cartridge but they will sell you a replacement for 79 CAD


Comments
YDiv
2 years, 3 months ago
Love this kind of stuff. Tinkering for the adventurous.
I've seen another alternative for the circlip pliers: 3D print a little block with matching holes and insert 4 old spokes. Can give you slightly better engagement if pliers aren't doing the job.
Reply
Deniz Merdano
2 years, 3 months ago
Love the idea. Plenty of yellow shimano brake blocks around here to drill some holes.
Reply
mrbrett
2 years, 3 months ago
Pin spanner?
Reply
Deniz Merdano
2 years, 3 months ago
I haven't come across one with a pointy enough tip. And there is not much material on them to grind one sharp
Reply
Guillaume Fortin
2 years, 3 months ago
The Unior adjustable pin spanner worked when I opened my One Up dropper cartridge.
Reply
JT
2 years, 3 months ago
This is why y'all get my clicks. Peter Verdone did a couple posts about this post should anyone want an even deeper look, including specs to make tools for the nut and cartridge seal. Given that these pieces are used in Tranz X posts and everybody else that rebranded a Tranz X, I decided to make em. The nut tool was pretty much made the way Peter did it, and 3D printed the pin tool for the cartridge seal, using a 1.8 spoke for the pins. PVD can be a bit much to read at times, but that's made up for by the quality info he puts out.
Reply
Deniz Merdano
2 years, 3 months ago
Thanks for the PV info.
I actually made a nut tool couple of years ago when the One Up post just came to the market out of a socket that comes with trick scooters. Very similar to Peter's version. I could not find the tool for the life of me, so out came the pliers.
Reply
Mammal
2 years, 3 months ago
Wow, I was surprised that the cartridge rebuild was simpler than the last Reverb rebuild I did, and those are designed to be maintained.
Reply
Perry Schebel
2 years, 3 months ago
would be neat if a cartridge rebuild kit were made available (for homegamers). though oneup is great with warranty (i had a v2 post suffer a similar failure last year), seems a waste to be binning complete cartridge units because of a worn $0.02 o-ring.
Reply
Deniz Merdano
2 years, 3 months ago
I think a cartridge core-charge could be a good compromise. Sending yours in to get a new one back at reduced costs. With all the one up posts popping out on OEM builds these days, it maybe a very resource heavy task for them.
But the reality is, we just need the right specs for the o-rings and fluids.
Reply
Perry Schebel
2 years, 3 months ago
> we just need the right specs for the o-rings and fluids.
thisss
Reply
cxfahrer
2 years, 3 months ago
Anyone got an idea from where to get that 8mm (?) O-ring in the valve? I know this size O-ring is used somewhere else....but where?
My old 210 had the chairlift issue (hanging the bike on the chairlift with the seatpost lowered), and I just disassembled it and found out that this O-ring was torn.
For testing I put an O-ring from an SV/AV adapter in, but it is not perfect - the post comes out 10mm and I dont know whether the O-ring is oil resistant.
FYI it was about 30min putting it apart and together again. Only "special" tools needed were a good vice with soft claws and those pliers mentioned above. The 8mm spanner wanted to destroy the socket (Loctite?), I helped myself with two nuts on the threading. For the refilling of the oil I just topped it out with the cartridge upside down. No need to bleed it.
Reply
Deniz Merdano
2 years, 3 months ago
what bike park hangs the bike off the seatpost??
I had a wurth o-ring set that i found couple of compatible ones but I too would like a lead on locally or online sourced decent o-rings. We do need to specs from Oneup first though
Reply
cxfahrer
2 years, 3 months ago
Klinovec CZ
Meanwhile I found a shop online here in Germany that sells small quantities.
I measured 4.0*1.75mm. A 4.0*2.0 would work also I guess..
PS:
https://www.ir-dichtungstechnik.de/gewerbe/de/o-ring-4-0-x-1-75-mm-nbr-70-5-shore-a-schwarz-black.html
Works so far...
Here is a complete service guide for the cartridge (includes IFP setting instructions!)
https://www.instructables.com/Servicing-the-non-servicable-OneUp-Dropper-Cartrid/
Reply
Finn
6 months, 3 weeks ago
Did you order more or all the neccessary o-rings to service the cartridge? If so do the sizes of this https://www.mtb-news.de/forum/t/oneup-dropperpost-v2-defekt.947580/ thread are correct?
I would like to swap all orings If I open the cartridge.
cheers
Finn
Ryan Walters
2 years, 3 months ago
Great work Deniz! Thanks for the callout, haha! I'm pretty impressed actually - surprised that the internals to that cartridge are that complex. I thought there was a lot less to them, and definitely impressed that they can be opened up at all.
I'll be giving this tear-down a try if/when my post needs some love.
Reply
Skooks
2 years, 3 months ago
Excellent, informative article Dennis, thanks alot. I assumed these cartridges were 'unserviceable', but now I know better.
Reply
Vik Banerjee
2 years, 3 months ago
Yes good to see the insides of components like this.
Reply
Deniz Merdano
2 years, 3 months ago
I did too. I've seen a couple of Bontrager cartridges and much like trunk struts for a car they are sealed units.
Reply
Mammal
2 years, 3 months ago
Yep, same for the X-fusion ones I had.
Reply
Onawalk
2 years, 3 months ago
I would have considered myself a bit of a OneUp fanboy, I seem to have purchased a tonne of their stuff.
That V1 post though, it gets a quick (35 minute) rebuild once a month, and with internally routed cables, is a bit of a pain in the ass.
The friggin top bushing just seems to keep eating itself and causing more and more friction.
OneUp was mediocre about warranty on it, sent a couple rebuild kits, with an updated bushing, those didn’t last any longer. Still struggle frigging with it, and it makes me want to look elsewhere for the next post…
If only the AXS reverb went UP and DOWN with the click of a button, I’d throw down hard earned Canuckistan bucks on it
Be good to one another out there
Reply
Deniz Merdano
2 years, 3 months ago
Fair opinion! What bike is your post on? I find some bikes eat up droppers posts because of the slacker seat tube angles.
Reply
Onawalk
2 years, 3 months ago
Transition Sentinel, 2018, aluminium frame.
The Trans-x dropper that was on the bike, worked flawlessly for almost 2 years. I bought the OneUp post (reformed fanboy) as it was the shortest overall unit I could get at 170mm.
It worked great for a couple months, then constant rebuilds. Im not one to warranty many things, usually can’t be bothered, really wish I had with this, as the rebuild frequency has been extensive.
If only RS would build that AXS post to go both up and down with a click, I’d splash out for sure.
Reply
HollyBoni
2 years, 3 months ago
I have a few of their products and I like them a lot, but i'm not that impressed with my V2 either. It's got so many positive reviews but I don't understand why. There is a lot of side to side play, I can feel it while riding sometimes, especially when i'm riding something steep and moving around in the saddle a bit. With a Shimano lever the lever is pretty darn hard to push. When I have my weight on the saddle and I push the lever it's even harder, there is this "notch" I have to push through (they sent me a new cartridge and it's exactly the same). It also makes some strange noises (which is normal according to OneUp) and in colder weather the post goes up very slow. The seal is not the best either.
But I guess $200 is considered "budget" and all of this is pretty normal. It's a shame because you can clearly see that a lot of thought went into the dropper to save every mm of stack height, insertion length etc. but I think the quality is not there.
Reply
Deniz Merdano
2 years, 3 months ago
I've definitely heard some people just not getting along with their droppers.
Try increasing the air pressure to the upwards of 200s to see if it will help with your problems. The more air I put in the system, the better It worked.
For the side to side movement issue, they do sell oversized guide pins to take up some of the slack.
I do agree however, this level of complication does sometimes lead to manufacturing issues at the factory.
Reply
Mammal
2 years, 3 months ago
With regard to the lever, I had an X-fusion lever with my first OneUp post, and it didn't have close to enough leverage to feel smooth. It was quite stiff. I've got two now, one with a OneUp lever, and one with a Trans-X lever, and they're both smooth like butter. Some posts have much lighter activation force than others, so various levers don't play the same way.
With regard to the seal, is it letting a lot of moisture into the post? There isn't much to seal from leaking out of the post, so I'm assuming that's the case.
Reply
HollyBoni
2 years, 3 months ago
The seal lets crap in, and lets grease out. I know most posts do that but the OneUp does it more than i'd like.
For the lever i'm using a Shimano MT500. Maybe another lever would help. But other than the heavy lever feel, it actuates a bit weird. If I have my weight on the saddle, and I push the lever, there is this "wall" that I hit with the lever, like a click in an indexed shifter (just much harder), and when I push through that, the post goes down. If I unweight the saddle, push the lever, then put my weight on it, everything is fine and the lever is smooth. My cheapo no-name stock dropper didn't do this. OneUp sent me a new cartridge (thanks!) but it's exactly the same.
Maybe a new lever and oversized pins would help, but i'm a bit over of throwing more money at a dang seatpost.
I guess i'm a bit salty because for a looong time I rode cheap bikes, and I only started riding more expensive stuff in the last few years, and i've had plenty of quality issues (and design issues) with parts that cost waaaaay more than they should. I've had bikes that were worth about $200, and I had plenty of fun riding them. Now my seatpost cost that much and it doesn't work like it should. 😁
Reply
Onawalk
2 years, 3 months ago
I have a feeling that OneUp has created a fairly loyal following, they have some excellent products (pedals, chain guide, steer tube tool, pump) so they get a tonne of positive reviews from that following.
I’ll second the comment on actuation pressure being excessive for sure. I have the OneUp dropper lever, like the ergonomics of it, but it takes some force to actuate.
I have to run 250-300 psi in the post, or the return speed is very slow, a week after rebuild, which happens monthly or more.
Maybe OneUp will read my rants and toss me a crash replacement price on a V2, and I’ll see how that works out
Be good to one another out there!
Reply
JT
2 years, 3 months ago
I've had the same issue with my Tranz X's on occasion. I haven't pinned down what the culprit here is, but I'll wager it's along the lines of body weight putting enough pressure on the valve to keep it from opening when the lever is pressed. There is a bit on PVD's site about taking the actuator rod out and making a new one 1.5mm longer to quicken the engagement. https://www.peterverdone.com/oneup-210/ is a stupid informative article. The bit in there about increasing the size and number of vent holes at the post actuator seem like it could negate the post pushing lube out on drop then sucking stuff back in on return by keeping air pressure consistent. Warranty would obviously be voided, but if it keeps lube clean and inside it may be worthwhile to let that warranty slide.
(Sorry to come off like such a fanboi, but really, there's GREAT info in that link)
Reply
HollyBoni
2 years, 3 months ago
Great stuff, thanks!
Reply
JT
2 years, 3 months ago
Just a follow up. Last weekend I pulled both my PNW and Tranz X posts out. The PNW post had breather holes while the Tranz did not in the base pieces. I drilled the PNW to 3/32 and made breathers on the Tranz. A few things happened. First, the posts don't wheeze as much as they used to. Makes sense since they now breathe easier. Second, both return a good bit quicker. I didn't do anything to the cartridges, so it seems the larger & added breathers allow the pressure to equalize in the post easier (again, makes sense). Third, both posts stopped leaking out of the dust seal. It took more than a few activations, but eventually they stopped leaving a lube ring around the stanchion. I can't confirm grime isn't getting into the posts, but it seems reasonable that since lube isn't getting pushed out that debris won't be getting sucked in. Given the similarities in architecture between these and the One Up, I wouldn't be surprised if the same mods remedied the same issues. Obviously the warranties are voided, but I feel this may be something that solves design problems that create warranty issues.
Also, the test ride for the Tranz was on a night ride in sub 0 F on my fat bike. It was a bit weird having the post pop up as quick as it does now. Nearly resulted in some discomfort in the posterior.
Reply
HollyBoni
2 years, 3 months ago
Thanks for the follow up. The next time I have the post out, i'll drill a few holes.
https://www.peterverdone.com/wp-content/uploads/2019/07/20190725_140809.jpg
Do you happen to know if Peter drilled two holes here, or more but you just can't see them from this angle?
JT
2 years, 3 months ago
This comment has been removed.
JT
2 years, 3 months ago
He made both holes. Check out pics 67-74 at the bottom. It looks like he made the two holes to intersect with an existing breather.
Caspar Beronius Christensen
2 years ago
Im with HolliBoni here …. not impressed ! 31,6 180mm V2 ; and after 10-15 rides it started to pull grease up on stanchion . Emailed 1up and they suggested a rebuild kit with new upper collar/seal , even “paid” for it ( but shipping was more than kit , and with only 10-15 rides, come on…) anyway new collar /seal and…. no change , still pulling grease.. and no I did not “over grease” it in any way…. Guess Ill just ride it dry until it dies , and then its Highline 3 all the way for me… 30-40pct cheaper and friend has riden the crap out of 1 for a year with no prob. at all …..
Reply
JT
2 years, 3 months ago
This comment has been removed.
Nico
2 years, 3 months ago
The cartridge and the way it is fixed to the stanchion look a lot like my PNW Loam post. If my cartridge starts having issues it’s good to know if can tear into it and replace some parts/oil before buying a new one.
I think it’s worth a try at least to save some money and parts going into the trash or metal recycling.
Reply
canterbury
2 years, 3 months ago
I've actually put loctite on mine!
"There is no locktite on the threads which should make for a hassle-free removal"
I find that over time the slotted nut comes loose and you can get about 0.5cm of upward play in the seat when not fully extended.
Really annoys me - for some reason taking the seat off is one of my least favourite jobs in all of bike maintenance.
Other than that, my 210mm OneUP v2 has been flawless for years. Few full services, but mostly just a bit of lube under the collar and that's about it. Rarely add air to it (hard to think of when I last did)
Reply
Corey Kawucha
2 years, 3 months ago
Brutal design. Air valve hiding under the saddle clamp. One of the worst ideas I've seen - especially for a dropper post. I have a Spesh Command Post and a PNW Rainier which is coil based so no need for air. The Command Post is going on it's 4th season and works perfectly after a few quick service/grease sessions. I add air every 4-5 rides to keep the pressure up the way I like it. The PNW Rainier is a gem that just keeps on trucking without any maintenance.
I'm sure the One Up is an OK post but hiding the air valve is just plain dumb design. 9 Point 8 does this too... weird.
Reply
Deniz Merdano
2 years, 3 months ago
I had a command post back in the day. It was indeed easy to service when needed. Pump it upto 40psi and watch it whack your jewels every time.
Specialized canada stopped importing rebuild kits for them, which killed each and every post in the past couple of years. Every one of those people switched to OneUp.
I really struggle to find an alternative location to the air valve for a part that sits vertically through the entire dropper. It either has to be under the saddle or under the actuator..
Reply
Moritz Haager
2 years, 3 months ago
You know, I don't think the valve location is the biggest issue. It's the seat clamp design which makes removing and replacing the saddle such a miserable chore. This 2 bolt clamp design is so common to lots of seat posts so not unique to one up, and its an ergonomic nightmare. If they could come up with a more elegant design that makes saddle removal a breeze I think the valve location would be fine.
Reply
rotorburn
2 years, 3 months ago
Well to be fair, you should almost never have to add air to the thing. But agreed, that's a silly design. Specialized nailed it in that regard. And with durability generally, the command post is a thing of beauty.
Reply
Hbar
2 years, 3 months ago
I was hooked at "warship dazzle".
Reply
Deniz Merdano
2 years, 3 months ago
Surprisingly not many dazzle camo bikes out there.
Reply
rotorburn
2 years, 3 months ago
My post used to make what looked like aluminum anti-seize paste after a few months. I found that the keys were grinding the inner post in the non-anodized key slots when it was actuated, which then creates a grinding-paste like substance that destroys your upper seals pretty quickly.
I put some epoxy in the key slots to fix it in place, and that's been a good solution thus far, but I wish they had a better solution.
For me it still wins for the intersection of: long length, small clamp height, cheapish, available, servicable, durable, good support. I'm sure there are high end ones that also perform well (Fox, BikeYoke), but this is just so much better than my prior ones that I'm pretty happy.
Perhaps 3-4 quick (5-10 min) cleanings per year, some new gear every couple years (seals, etc). I've gone through a couple cartridges, but I guess that's ok as well. I'll probably rebuild the cart next time now that I have more intel.
Reply
Deniz Merdano
2 years, 3 months ago
I like the epoxy idea.
Do you think the oversized keys would solve that issue?
Reply
Kochobass
1 year, 2 months ago
It is really weird that no one has the measurements for o-rings that are needed for cartridge rebuilding purporses. My mechanic is putting it apart as we speak and i'll take those o-rings to a local sealings shop to be measured and replaced. If I get the replacements i'll let you know about it.
Reply
Kochobass
1 year, 2 months ago
Here are the diameters of all o-rings in the cartridge:
4.47x1.78 1pc
15.6x1.78 2pcs
8.10x1.60 1pc
6.50x2.50 1pc
7.65x1.78 1pc
2.00x1.00 2pcs
all of them are NBR70 or at least I bough NBR70 hardness at local sealings shop.
Will keep you posted if the dropper works after the change.
Reply
Finn
6 months, 2 weeks ago
Di it work?
Reply
Please log in to leave a comment.